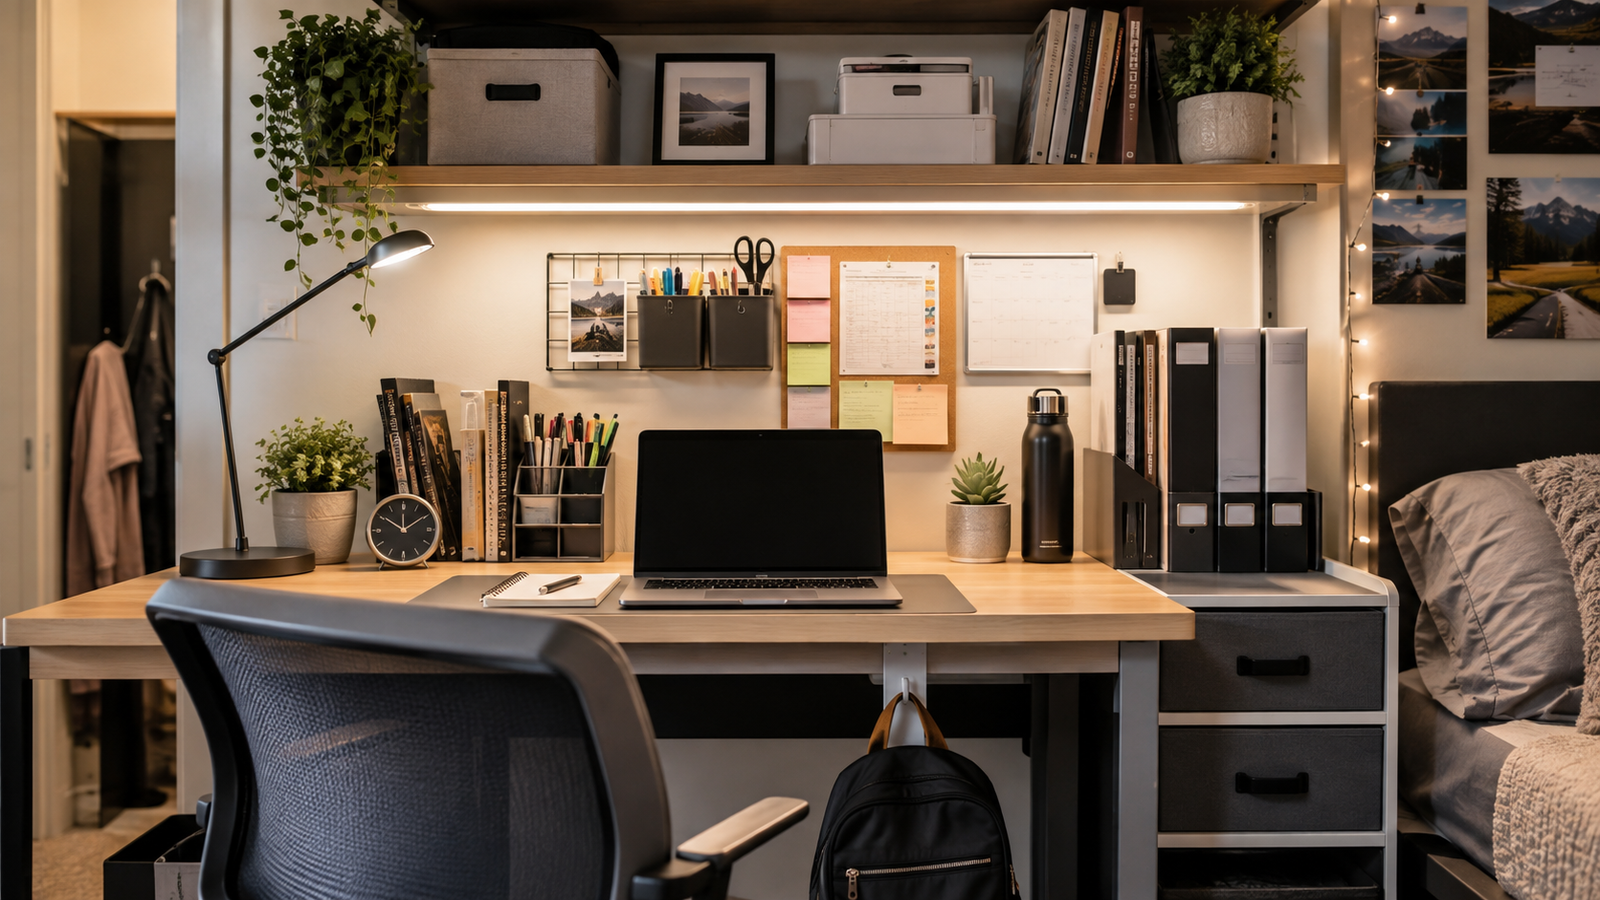
A dorm desk has to work harder than an ordinary home office. It may serve as your study area, charging station, vanity, snack counter, and storage zone, often within a few feet of your bed. Without a clear system, even a few notebooks and charging cables can make the entire room feel crowded.
These dorm room desk organization and setup ideas focus on useful, visually distinct solutions rather than matching containers that only look tidy in photographs. Each setup is renter-friendly, realistic for a small room, and designed to give you more usable space without drilling into dorm walls or adding bulky furniture.
1. Build a Freestanding Over-Desk Library Bridge
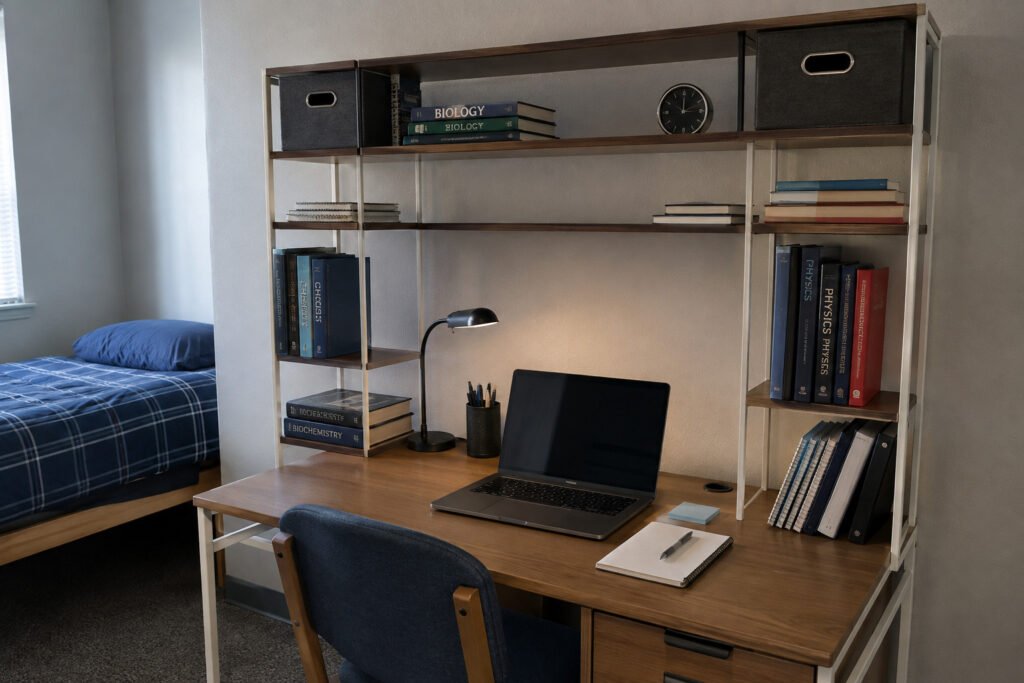
Use a freestanding hutch or bridge-style shelving unit to create storage above the desk without attaching anything to the wall. Look for a frame with shelves approximately 6 to 8 inches deep, which is enough for textbooks, notebooks, and closed storage boxes without making the desk feel enclosed. Leave the center section open so your laptop, monitor, and task light have enough breathing room.
A cream metal frame with walnut shelves gives the setup a warm modern look, while an all-white unit feels lighter in a narrow dorm. Keep heavier books on the lower shelves and lighter decor above. Before buying, measure the desk width, ceiling height, and clearance around any built-in outlets.
2. Create a Monitor Riser With a Keyboard Garage
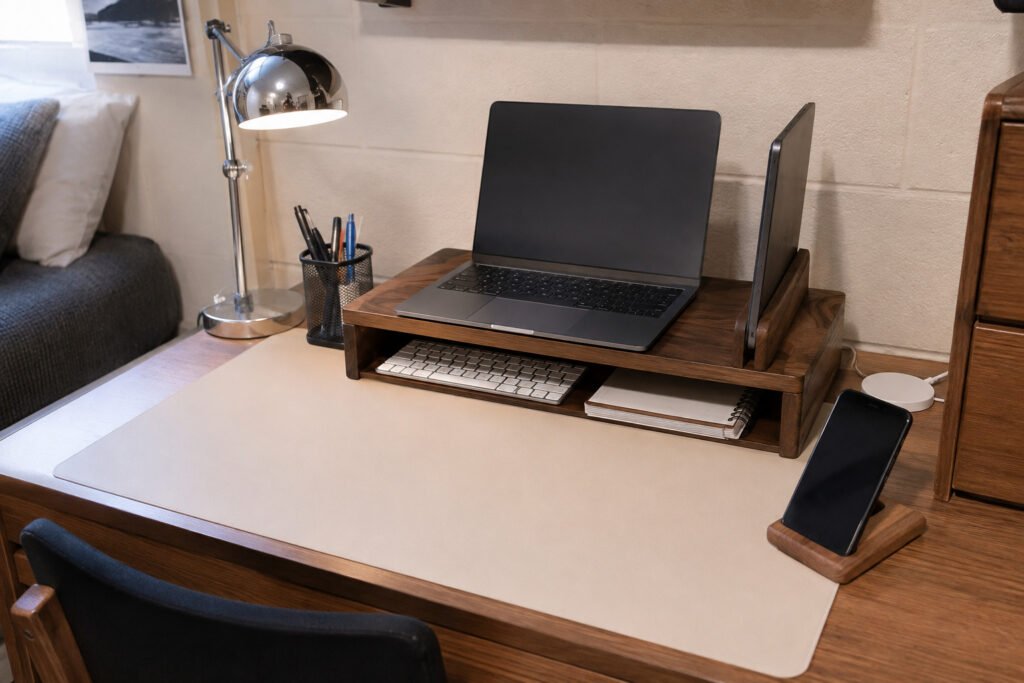
Raise your laptop or monitor on a riser that is approximately 4 to 6 inches high, then use the open space underneath as a parking zone for your keyboard, planner, or current notebook. A riser with a narrow vertical slot can also hold a tablet or closed laptop upright instead of leaving it in a pile.
Walnut works well with chrome or cream accessories, while clear acrylic makes a small desktop appear less crowded. The riser should be wide enough to support the screen safely but shallow enough to preserve writing space at the front. Avoid decorative risers with legs that block the storage area underneath, since that defeats the main purpose of the setup.
3. Install an Under-Desk Charging Grid
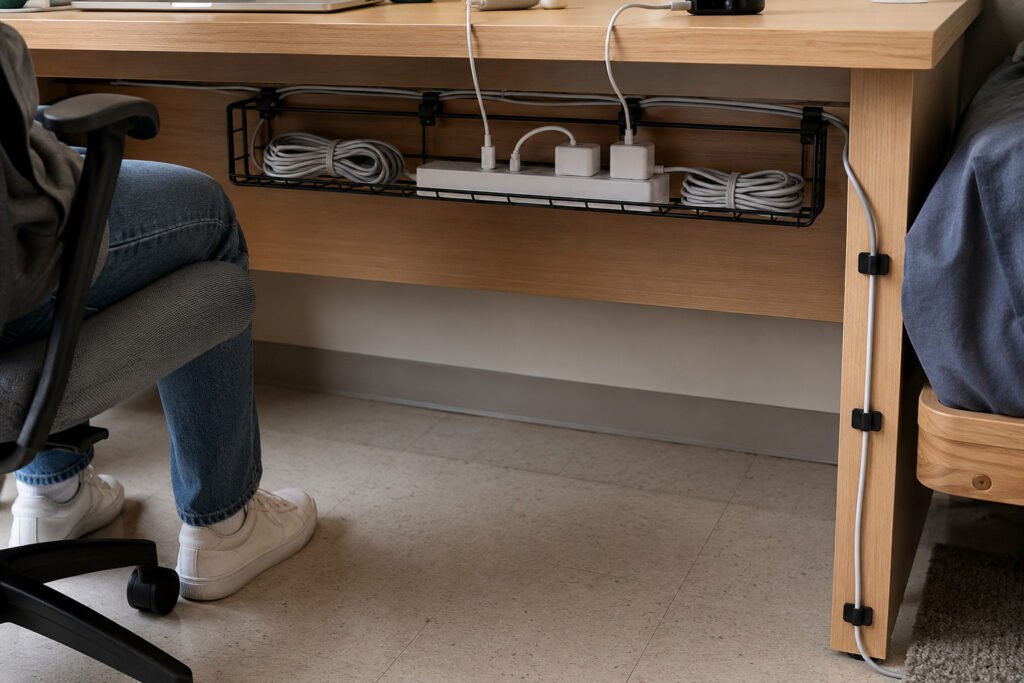
Move the power strip, charger bricks, and extra cable length off the floor by securing them inside a removable metal tray beneath the desktop. Use adhesive cable clips to guide cords along the back edge and down one desk leg, leaving only the short charging ends visible on top.
This setup keeps wires away from your feet, rolling chair, and cleaning supplies while freeing the desktop from tangled cables. Check that the tray does not reduce knee clearance before installation, especially if the desk already has a shallow drawer. Removable clamps are usually safer for dorm furniture than strong adhesive pads, which may damage a laminate finish when removed.
4. Add a Slide-Out Course Cart
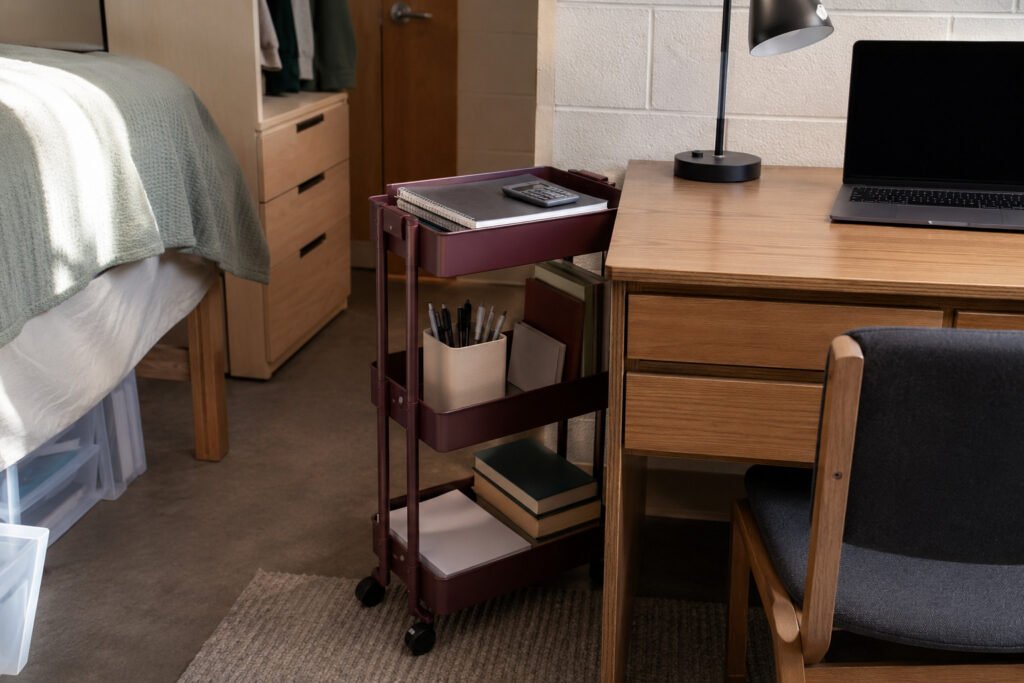
Place a narrow three-tier rolling cart beside the desk and assign each level a specific academic function. Keep current course notebooks and frequently used supplies on top, stationery and reference materials in the middle, and printer paper, backup supplies, or heavier books on the bottom.
A cart between 10 and 14 inches wide can often fit beside a standard dorm desk without blocking the chair. Choose cream, chrome, sage green, or muted burgundy so the cart feels connected to the room instead of looking like utility storage. During study sessions, pull it closer; afterward, roll it into a side gap or beneath the desk if there is enough height.
5. Set Up a Flip-Up Study-to-Vanity Station
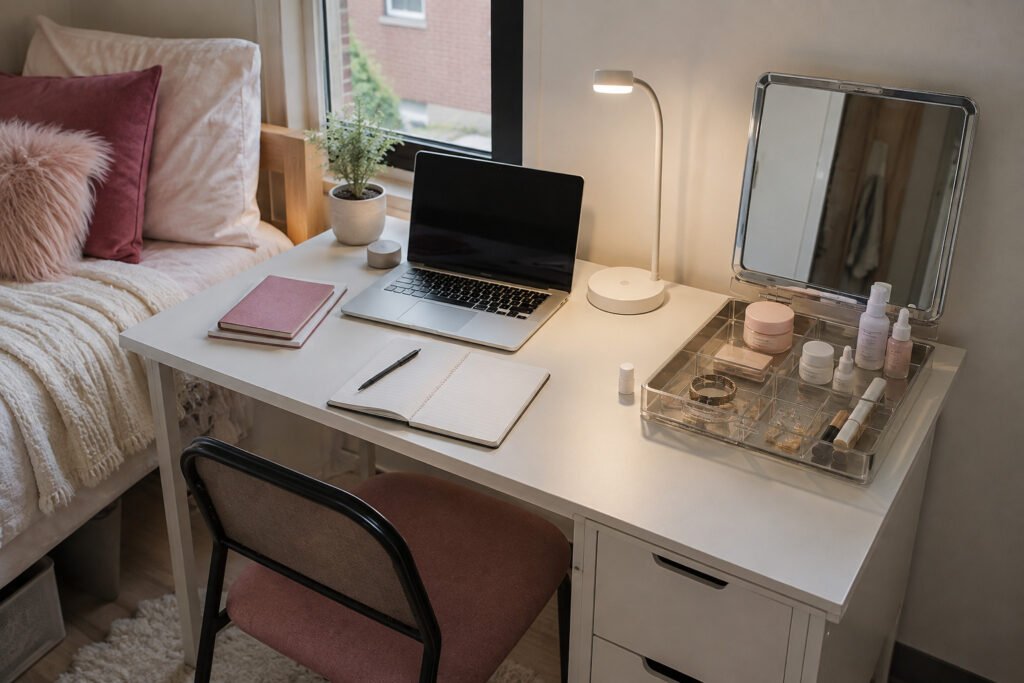
When there is no room for a separate dressing table, reserve one side of the desk for a folding mirror and a removable grooming tray. Keep daily skincare, makeup, jewelry, or hair accessories together in the tray so the whole category can be lifted away before you begin studying.
A mirror that folds flat or closes like a case takes up less visual space than a large permanent tabletop mirror. Position it near daylight when possible, but avoid placing it in the center of the desk where it competes with your laptop. This setup works best when the study side and vanity side remain clearly defined rather than blending into one cluttered surface.
6. Make a Foldable Felt Focus Screen
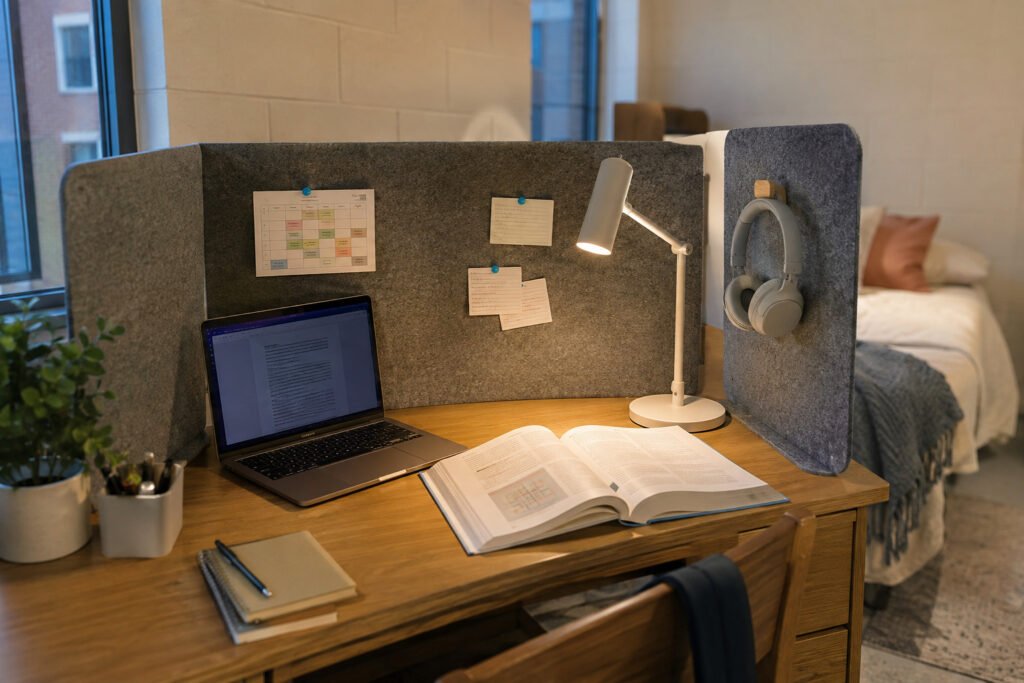
Create a temporary study pod with a freestanding felt screen placed behind the desk and along one side. A panel approximately 16 to 20 inches high can reduce visual distraction from a roommate’s bed, television, or movement without blocking light or making the desk feel boxed in.
Choose oatmeal, moss green, charcoal, or muted blue felt, and use the surface for a small class schedule, a few flash cards, or lightweight headphones. Avoid covering the entire panel with notes because the visual clutter can become another distraction. A folding screen can be stored beneath the bed or behind a dresser when you want the room to feel more open.
7. Divide the Drawer Into Subject Capsules
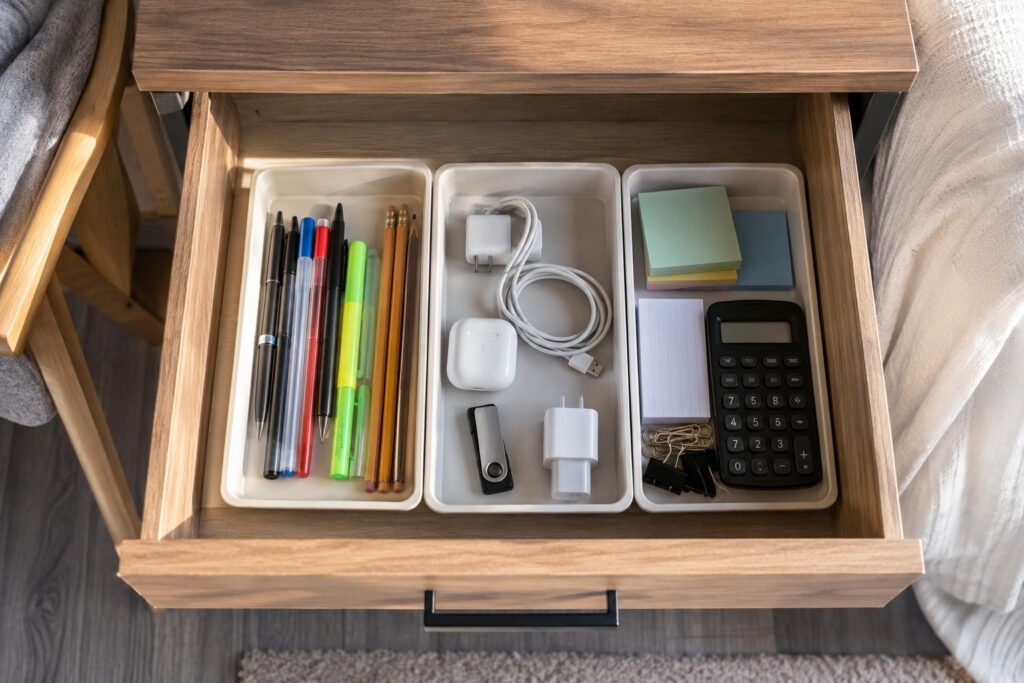
Instead of filling the drawer with many tiny organizers, use three removable trays based on function. Keep pens, pencils, and highlighters in one; chargers, adapters, and USB drives in another; and sticky notes, index cards, clips, and a calculator in the third.
Smoked acrylic, clear plastic, or warm-white organizers keep the drawer looking modern while making every category easy to lift onto the desk. Measure the drawer’s interior depth before purchasing, since many attractive organizers are too tall for shallow dorm furniture. Leave a little empty space rather than forcing every supply into the drawer, which makes items harder to see and encourages unnecessary accumulation.
8. Create an Under-Desk Backpack Parking Dock
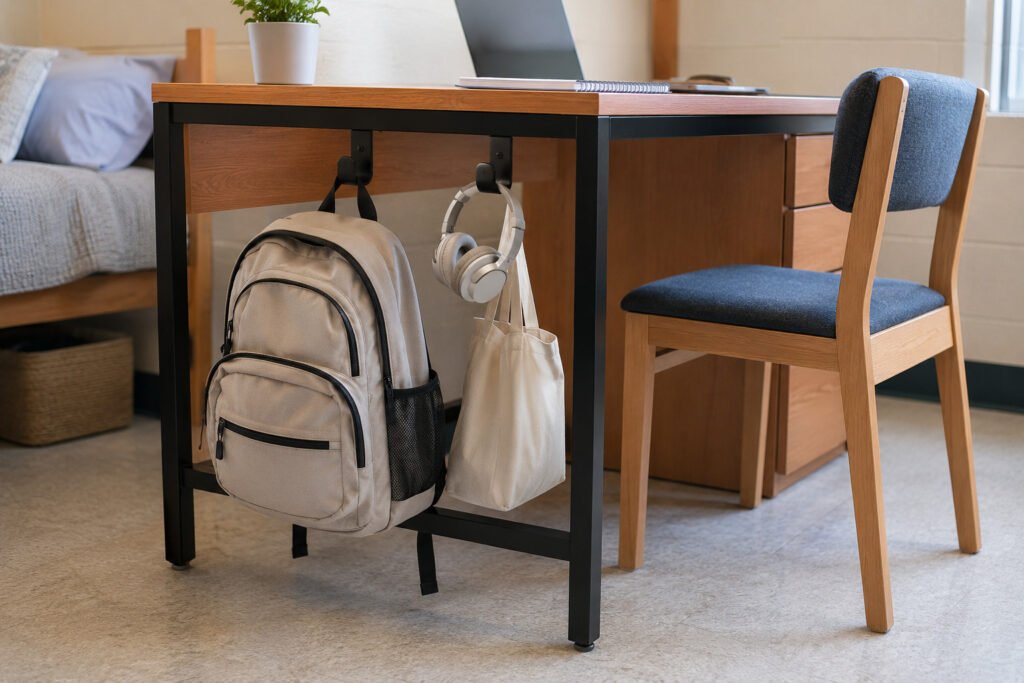
Give your backpack a permanent landing place by installing a heavy-duty removable hook beneath the outer side of the desk. Position it away from your knees and chair, allowing the bag to hang approximately 4 inches above the floor so the straps do not collect dust or get caught under furniture.
A second smaller hook can hold headphones, an umbrella, or a reusable tote, but avoid turning the desk side into a row of hanging bags. Check the hook’s weight limit and use a clamp-style option when the backpack regularly carries heavy textbooks. Keeping the bag off the chair also means you can sit down without moving your belongings every time.
9. Use a Clamp-On Light and Headphone Rail
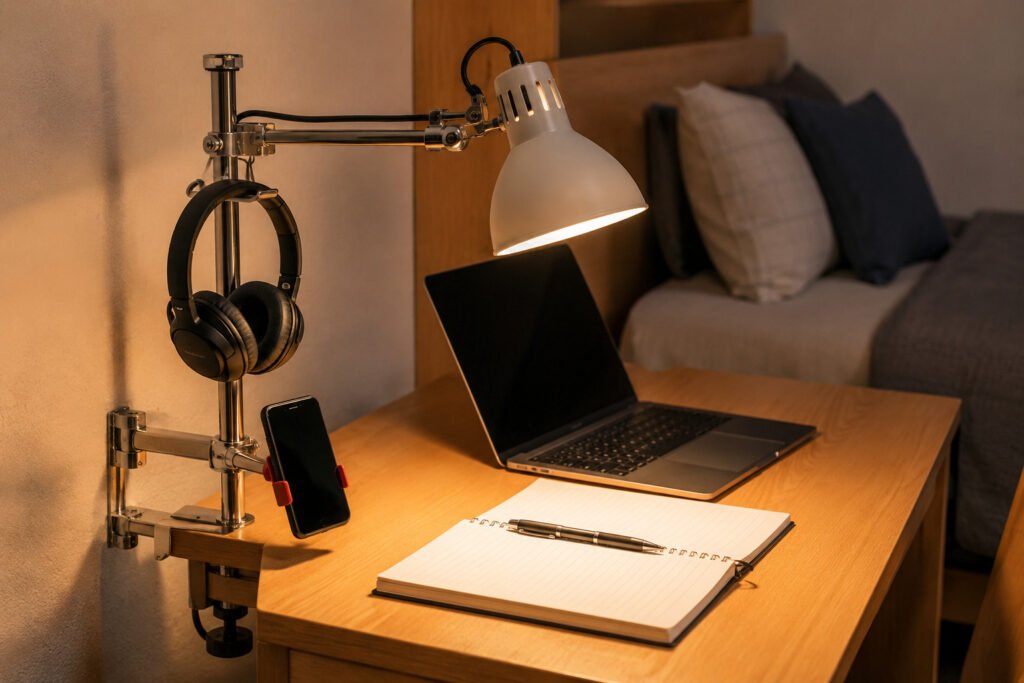
Replace a wide-base desk lamp with a compact clamp-on model attached to the back corner of the desktop. Choose an adjustable arm that directs light over your notebook rather than onto the computer screen, where glare can make evening work uncomfortable.
A vertical clamp post can also support a headphone hook and small phone holder, allowing several tools to share one narrow footprint. A bulb between 3000K and 4000K usually provides a balance between warm room light and clear task lighting. Before ordering, check the thickness of the desk edge and confirm that the clamp will not damage its laminate surface.
10. Add an Acrylic Semester Command Panel
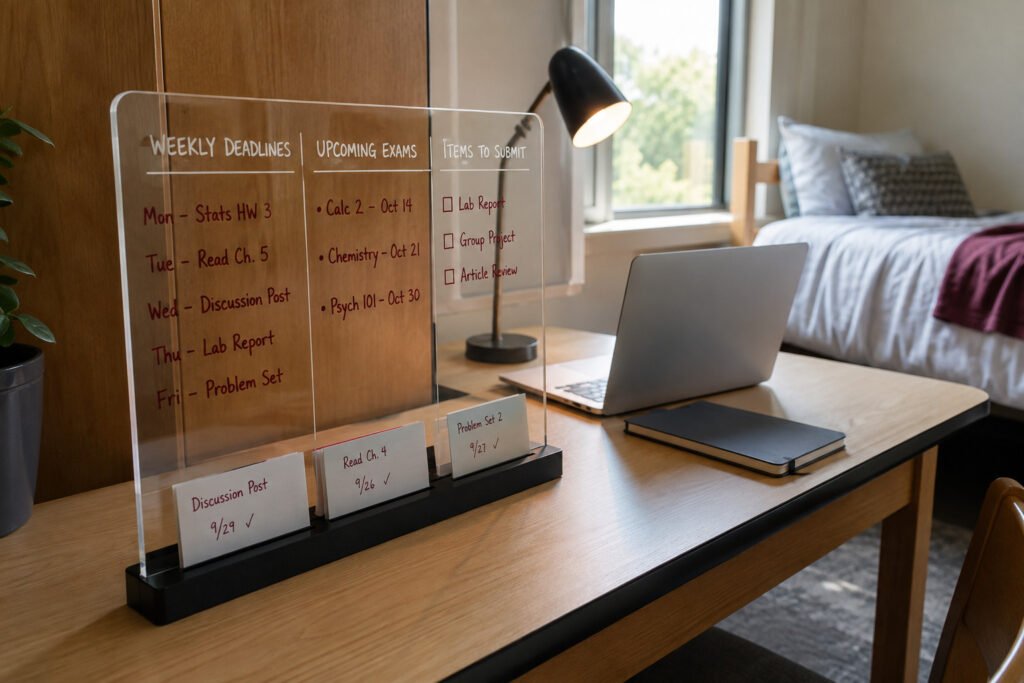
Use a clear acrylic planning panel on a freestanding base instead of covering the wall with sticky notes. Divide the surface into three simple zones: weekly deadlines, upcoming exams, and items that need to be submitted. Display only active tasks so the board remains useful rather than becoming a record of the entire semester.
Transparent acrylic allows the room beyond it to remain visible, which gives the setup less visual weight than a solid bulletin board. Place the panel along the outer edge of the desk rather than directly behind the laptop. White, burgundy, or muted blue dry-erase markers add controlled color without making the planner difficult to read.