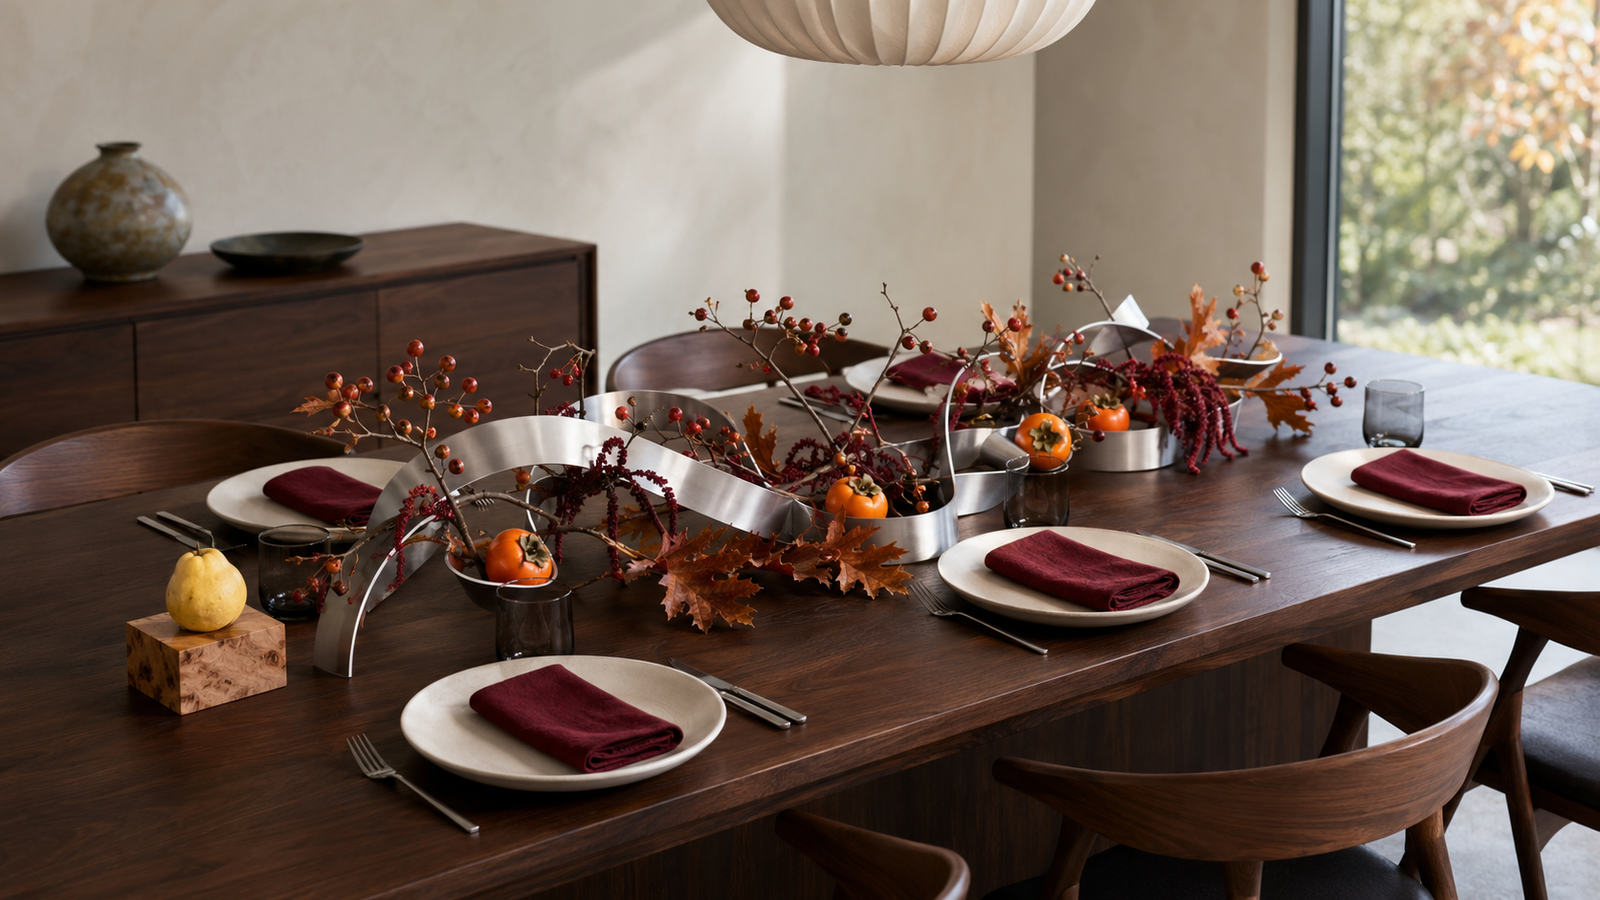
A bowl of mini pumpkins may signal fall, but it rarely makes a table feel fresh or considered. The most memorable fall tablescape ideas treat seasonal fruit, branches, leaves, and seed heads as sculptural materials instead of scattering them between ordinary candles.
These 21 arrangements combine natural autumn elements with chrome, smoked glass, burl wood, stone, handmade ceramics, and tactile metal. Each centerpiece creates a distinct visual moment while preserving enough room for dinner plates, serving dishes, and comfortable conversation.
1. Balance Persimmons on a Sculptural Chrome Orbit Stand
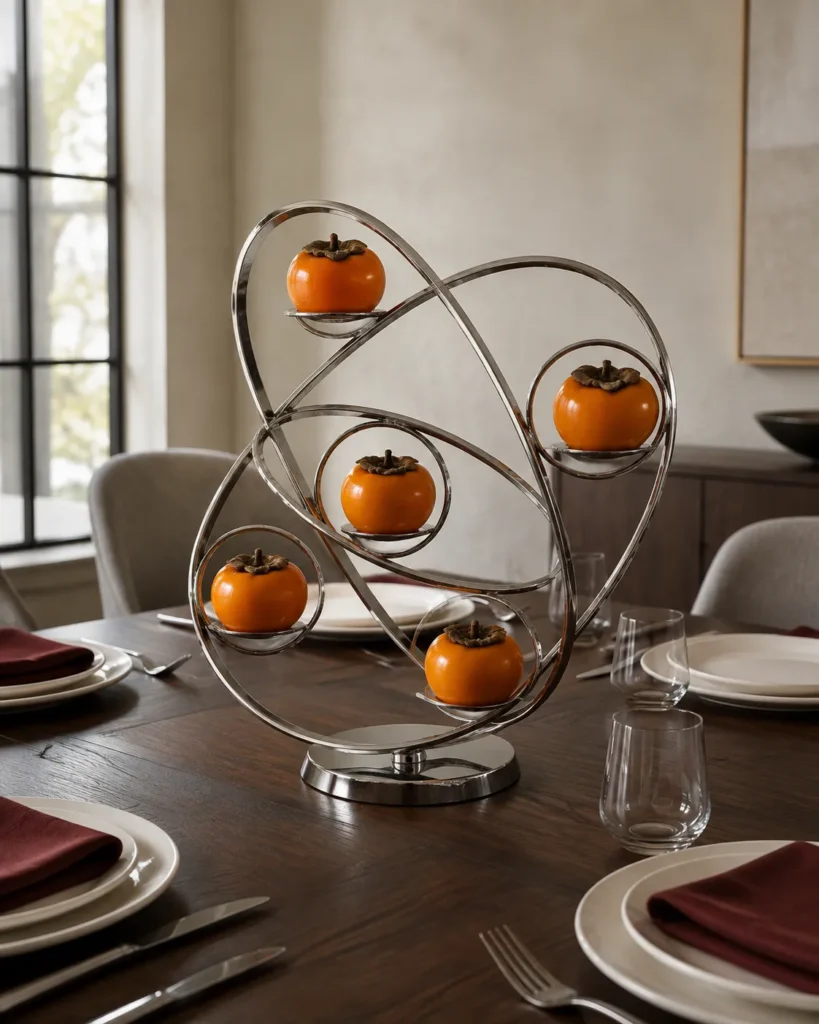
Place three or five firm persimmons inside a freestanding chrome structure made from intersecting rings. Keep some openings empty so the polished metal, orange fruit, and negative space carry equal visual weight. Oxblood napkins, bone-white plates, and streamlined stainless-steel flatware will support the retro-futuristic look without competing with it.
Chrome reflects lamps and candlelight, so it appears cooler during the day and more fluid after dark. Choose a weighted stand no taller than 14 inches to keep it stable and below most seated sight lines.
2. Build a Fallen-Forest Scene Inside Smoked-Glass Boxes
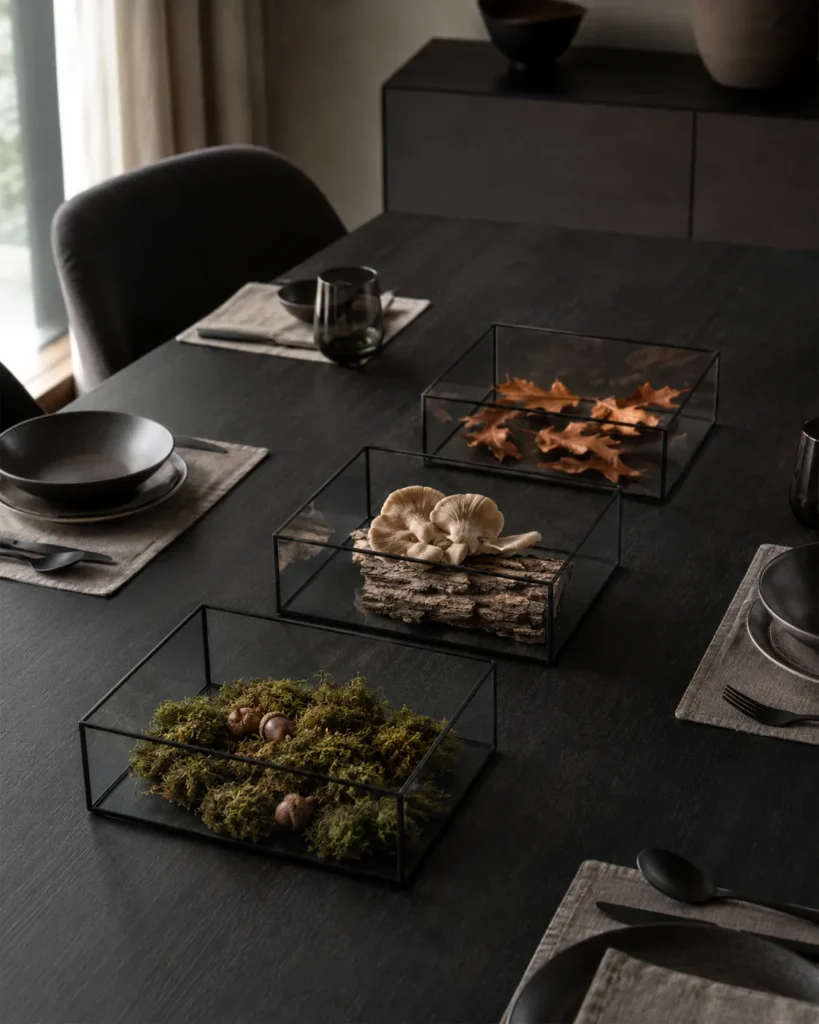
Fill three low, open-topped smoked-glass boxes with separate forest-floor compositions. One might contain moss and acorns, another bark and edible mushrooms, and the third curled copper leaves. Leave space around every specimen so the boxes resemble modern botanical displays, not packed terrariums.
Set the boxes 8 to 12 inches apart along a rectangular table, leaving the gaps available for serving bowls. Use shallow protective liners beneath fresh moss because moisture trapped against glass can produce condensation and stain an unsealed wood table.
3. Display Quince on Staggered Burl-Wood Plinths
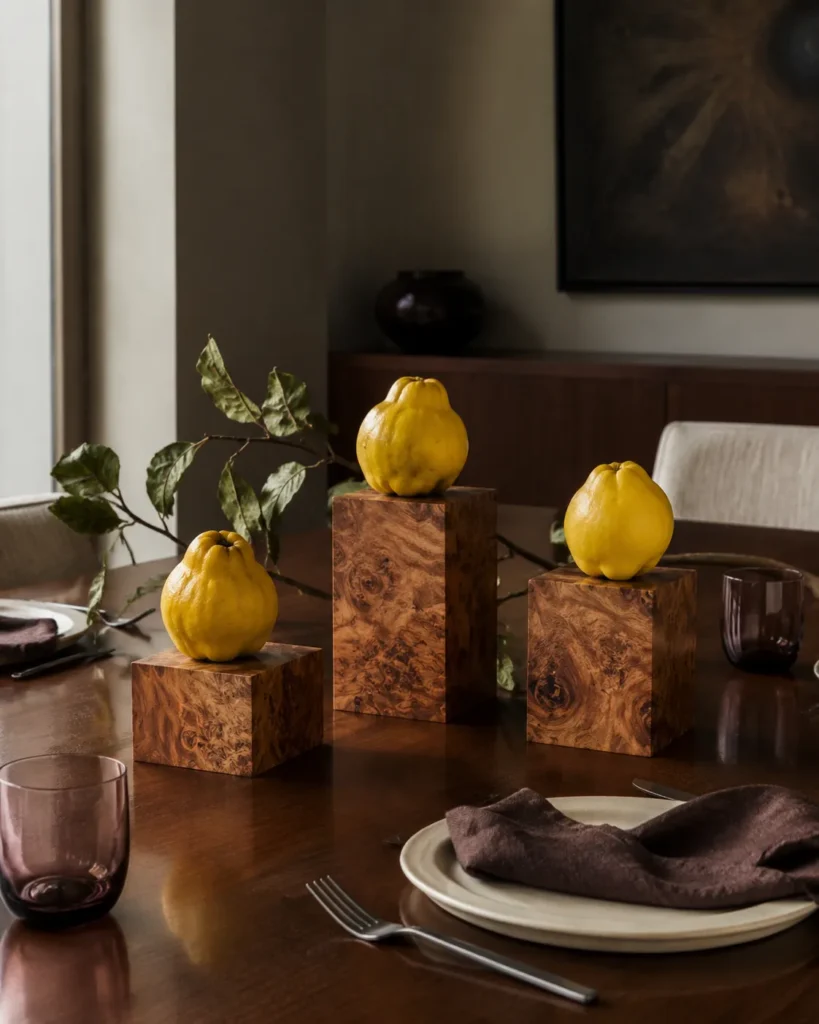
Arrange three small burl-wood blocks at different heights and center a single golden quince on each one. Add one leafy cutting that travels behind the blocks, then complete the table with smoky plum glasses, cream plates, and dark brown linen.
The swirling grain gives the centerpiece movement even though the fruit remains still. Genuine burl can be expensive, but convincing veneer over solid wood works well at this scale; avoid printed plastic grain, which becomes obvious beside real fruit. Keep the tallest block below 10 inches for easy conversation.
4. Thread Turning Foliage Through a Hollow Ceramic Arch
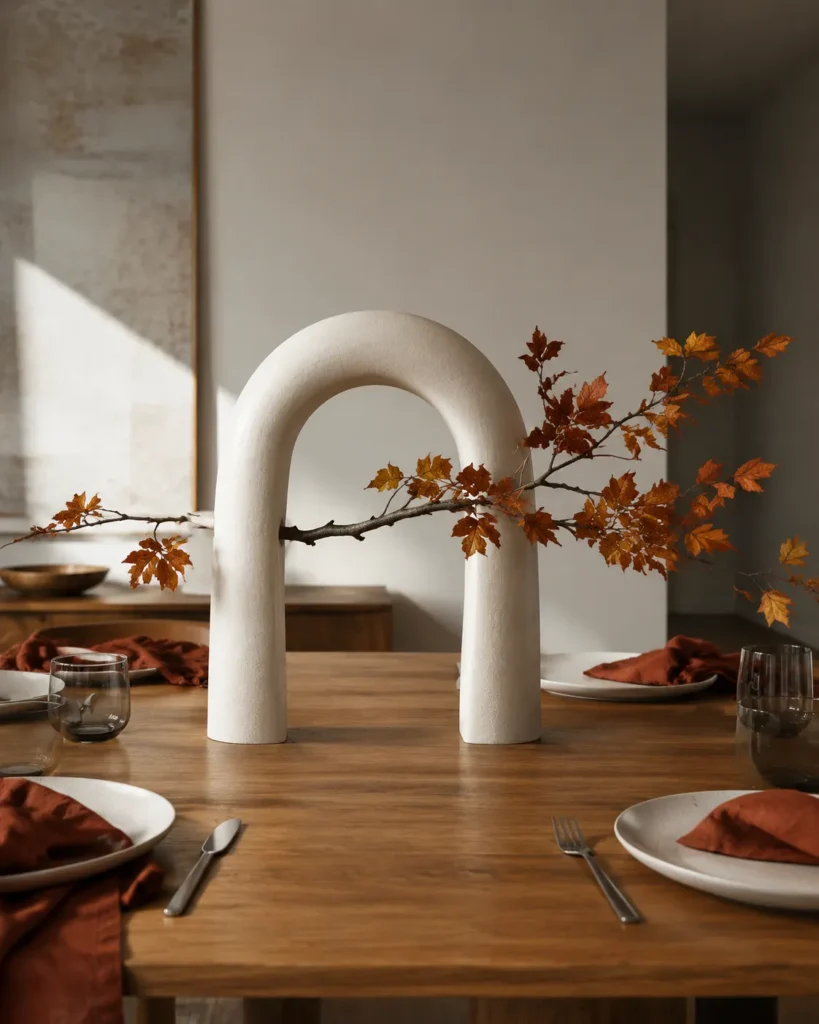
Use a freestanding ceramic arch or ring vase as an architectural frame for one slender branch of amber foliage. Guide the branch horizontally through the opening, allowing its leaves to extend farther on one side rather than forming a balanced bouquet.
An unglazed ivory or rust-colored vessel will absorb light and make glossy leaves appear more defined. If the piece has a narrow base, secure the stem inside a hidden water tube and add museum putty beneath the vessel. The finished arrangement feels spacious and modern while requiring very little plant material.
5. Shape an Ikebana-Inspired Chestnut Branch Centerpiece
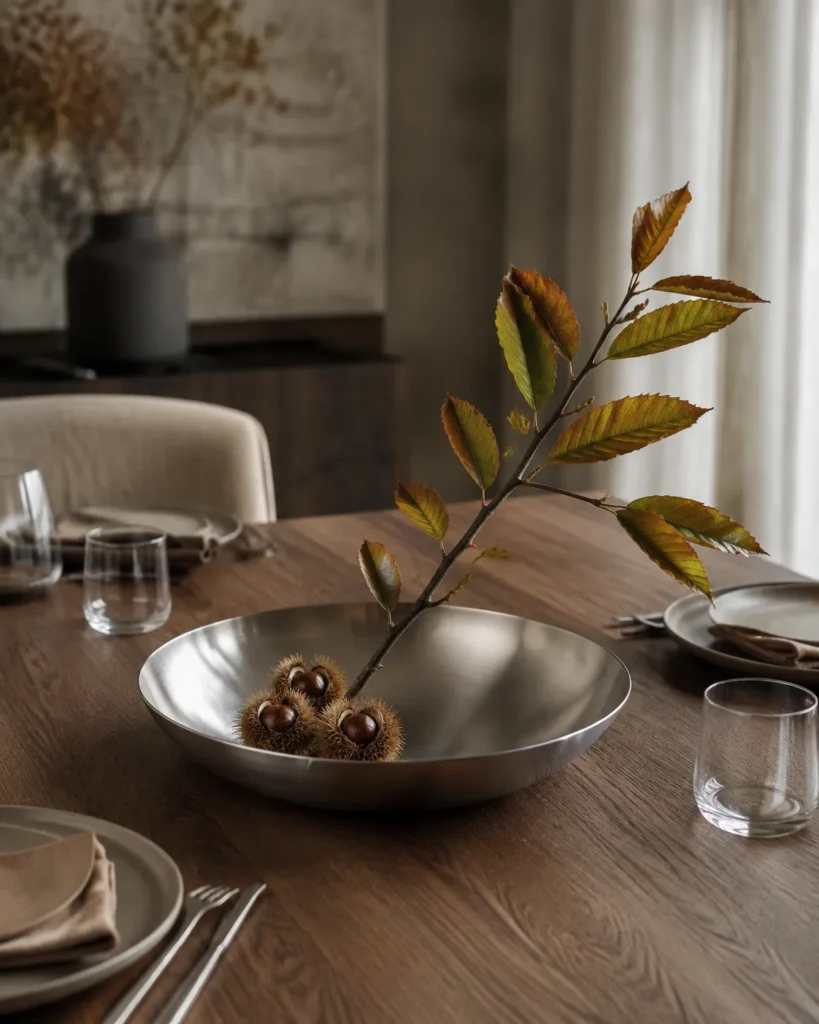
Anchor one angled chestnut branch in a shallow brushed-steel bowl using a floral pin holder. Place a few chestnuts in their textured husks near the branch’s base, leaving most of the reflective metal exposed. Warm gray plates and chestnut-brown napkins will bridge the cooler steel and organic materials.
The composition relies on asymmetry, line, and empty space rather than floral volume. Choose a pin holder heavy enough to support the branch, and test the arrangement before setting the table; a beautiful branch that shifts whenever someone bumps the table isn’t practical.
6. Stack Edible Mushrooms Beneath Ribbed-Glass Domes
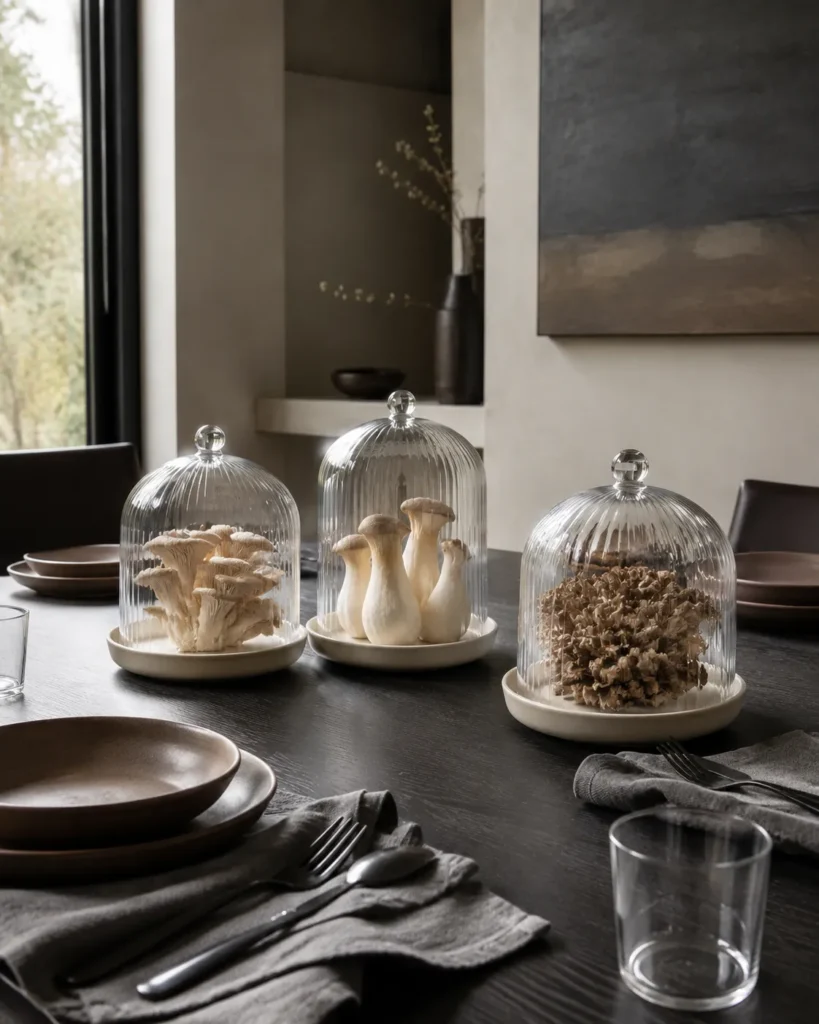
Build three low clusters from oyster, trumpet, and maitake mushrooms, then cover each group with a ribbed-glass dome. Vary the dome heights slightly while keeping the tallest under roughly 14 inches. Mushroom-brown stoneware and fog-gray linen will reinforce the tonal palette without making the display feel rustic.
Ribbed glass distorts the silhouettes and turns ordinary produce into botanical sculpture. Set the mushrooms on washable ceramic plates rather than directly on the table, and install the arrangement shortly before guests arrive. After dinner, refrigerate any mushrooms that remain suitable for cooking.
7. Arrange Pears Across a Charred-Wood Grid
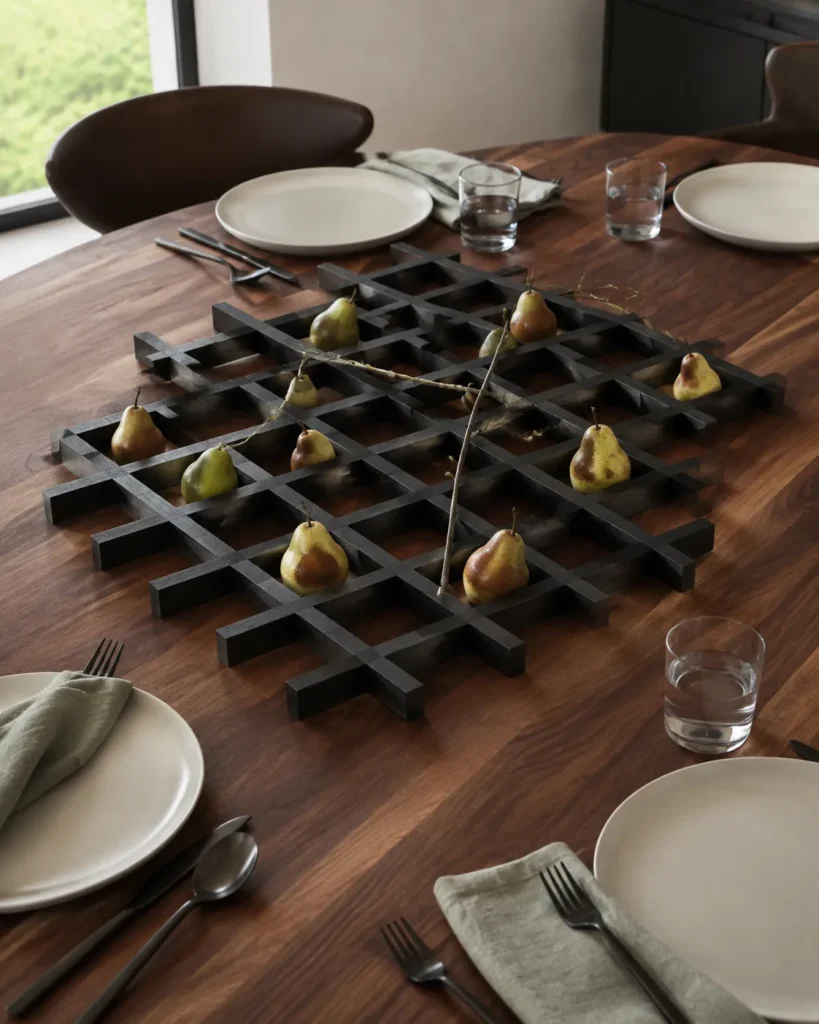
Center a low grid made from intersecting food-safe blackened wood slats on the table. Place green and russet pears in selected openings while leaving at least half the grid empty, then lay one thin pear branch diagonally across the structure.
The regular geometry controls the fruit’s rounded forms, and the pale pears stand out clearly against the dark finish. A local woodworker can make the grid from scrap hardwood, or you can adapt an unfinished wood trivet with food-safe black stain. Add felt pads underneath so the edges don’t scratch the tabletop.
8. Suspend Pressed Leaves Between Glass Panels
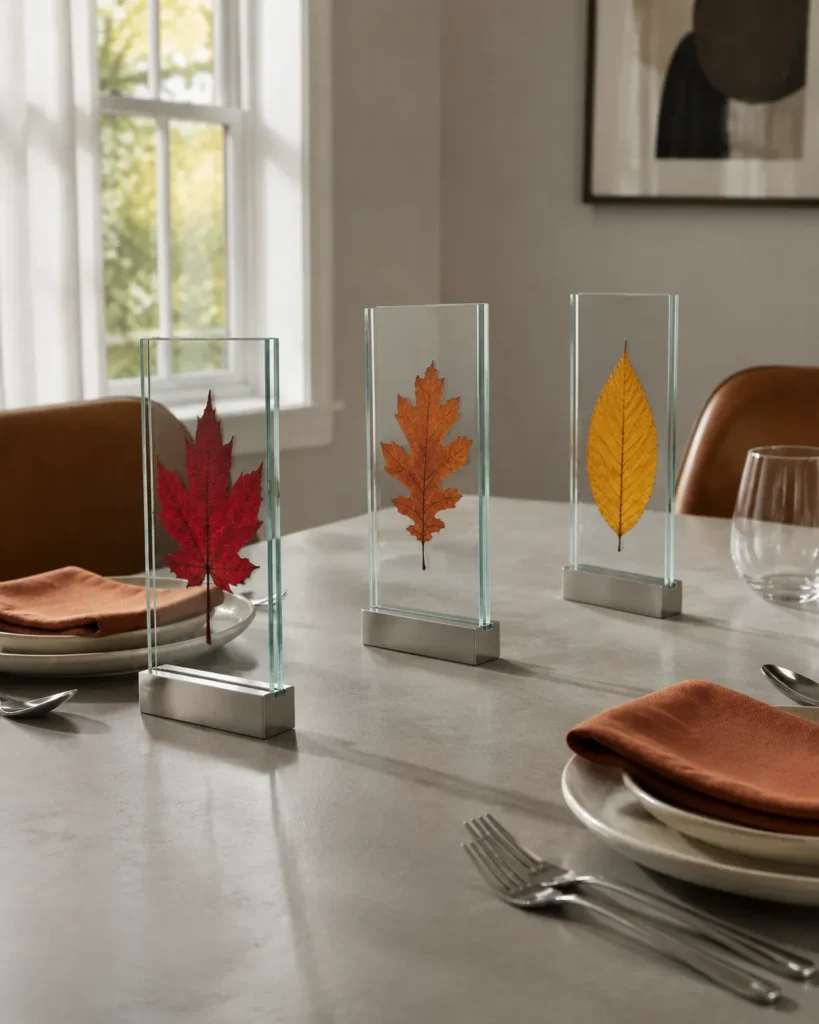
Press individual maple, oak, and beech leaves, then position them between pairs of narrow frameless glass panels held upright by metal bases. Three panels placed down the table will catch daylight and reveal the leaves’ veins without covering the surface with foliage.
Keep each panel around 8 to 12 inches tall and confirm that the bases can’t tip easily. This idea works especially well on a small table because its footprint is narrow. If children will be seated nearby, substitute clear acrylic panels, which produce a similar layered effect without breakable glass.
9. Nest Pomegranates Inside a Handwoven Reed Spiral
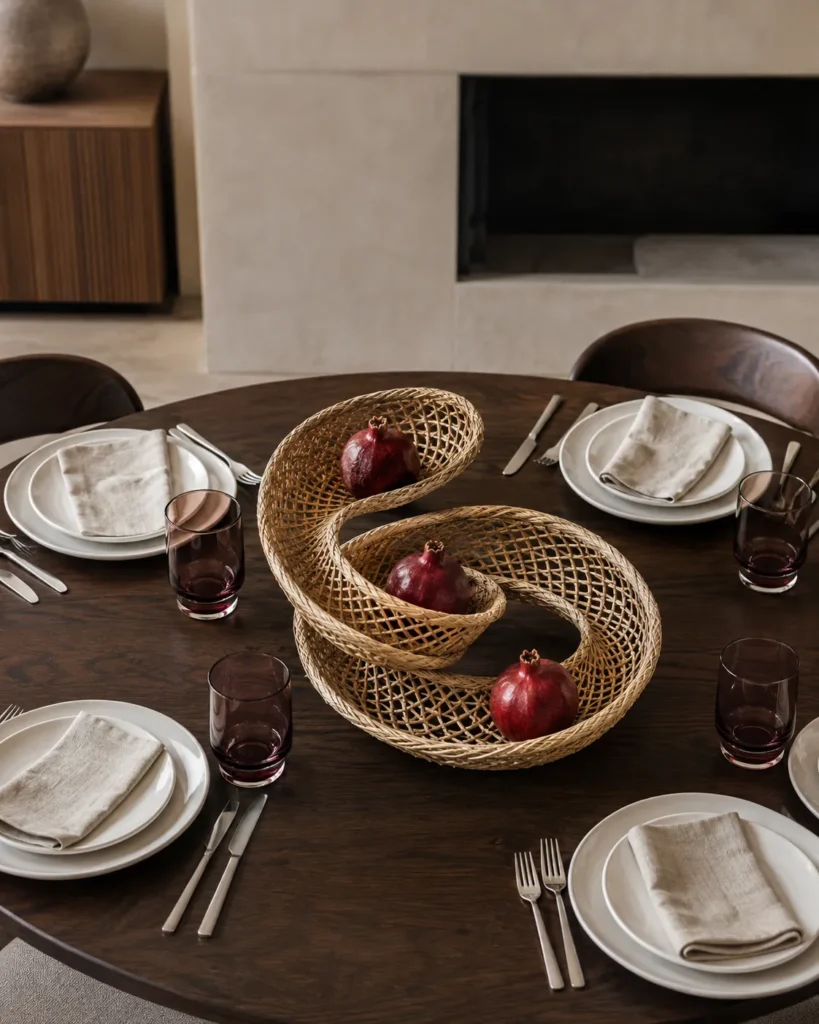
Use a wide coiled reed centerpiece that rises gradually like a spiral shell. Nestle three pomegranates within separate curves and resist filling every opening. Chalk-white plates and deep red water glasses will repeat the fruit’s coloring while letting the woven construction remain visible.
The circular movement suits both round and square tables, where a long runner can feel awkward. Look for a handmade wall basket or shallow sculptural tray that can lie flat; it doesn’t need to be sold as table decor. Check for loose fibers before adding fruit or placing it near food.
10. Float Cranberry Branches in Modular Stone Troughs
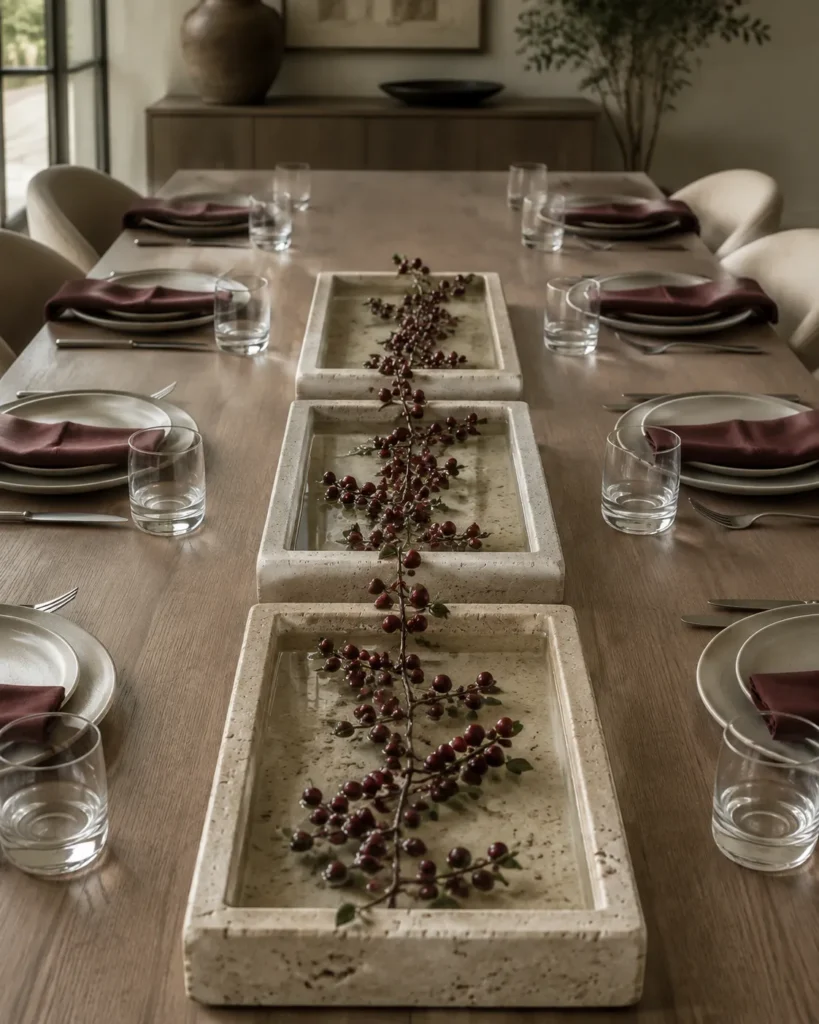
Line up three short travertine or honed-stone troughs and add no more than an inch of water to each. Float clipped cranberry branches or dark red berry clusters across the surface, arranging the stems so they appear to continue from one vessel to the next.
Breaking the centerpiece into modules makes a long table feel connected without creating one heavy block. Genuine stone is attractive but difficult to move once filled, so stoneware or matte composite containers offer a practical substitute. Protect porous stone with watertight inserts and place cork pads underneath.
11. Construct a Brutalist Cairn From Gourds and Stone
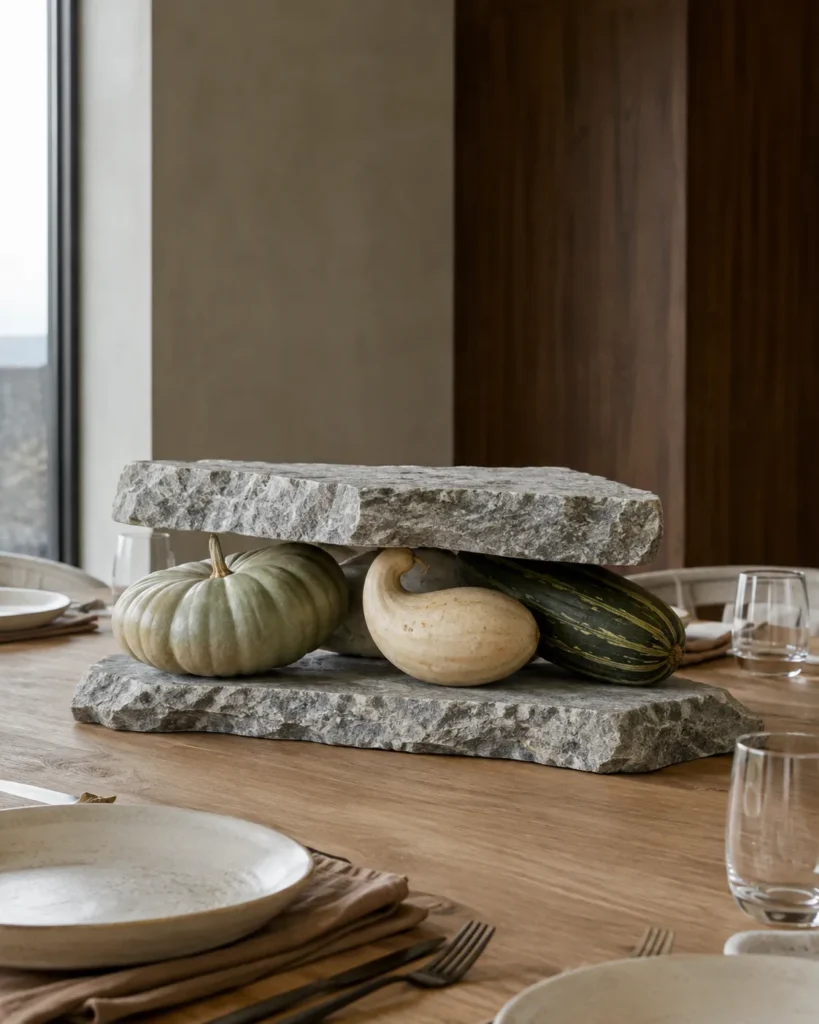
Select three hard-skinned gourds with distinctly different profiles, such as one flat, one curved, and one elongated form. Stack them between two rough-cut stone slabs, using concealed floral picks or reusable adhesive to prevent rolling. Keep the full composition broad and low rather than precariously tall.
The visual tension between rough stone and irregular produce gives familiar gourds a far more architectural identity. Test the structure away from finished dinnerware, and don’t use soft or damaged produce. Clay-colored linens and heavy off-white plates will complement the centerpiece’s solid visual weight.
12. Plant a Seed-Head Meadow on a Mirrored Tray
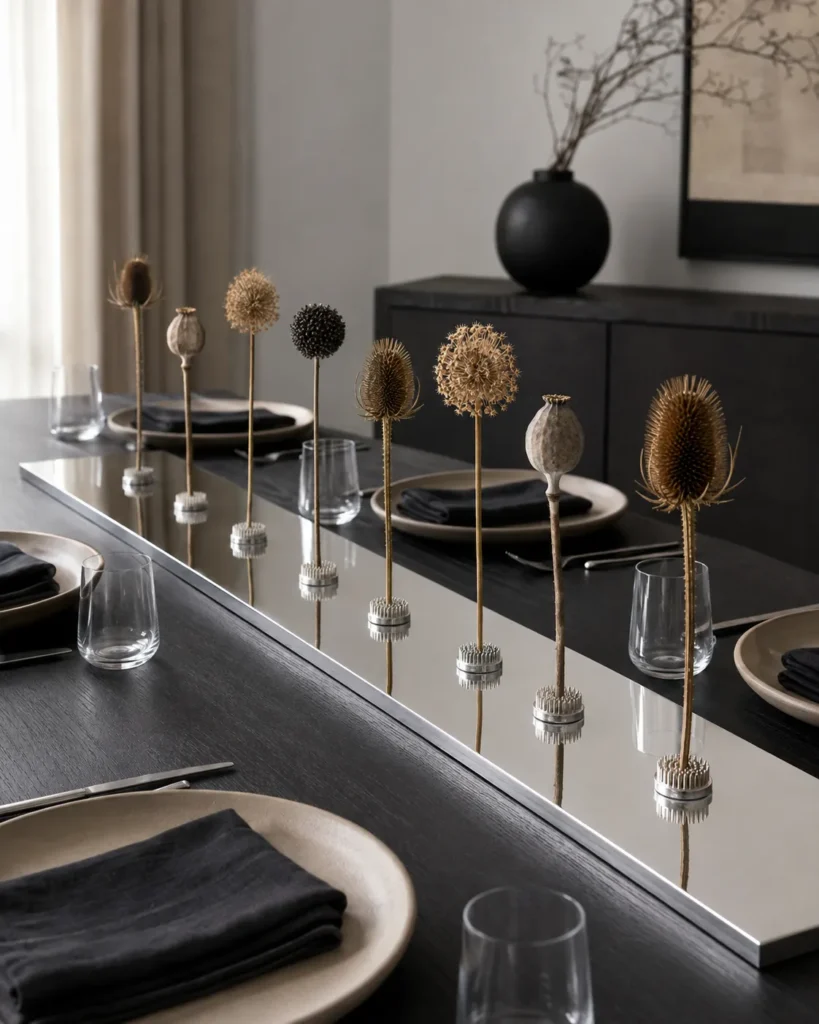
Arrange small metal flower frogs across a long mirror-finish tray and insert one dried stem into each. Use varied silhouettes—poppy pods, teasel, scabiosa, and allium—but restrict the palette to wheat, brown, and muted black.
Individual spacing prevents the seed heads from becoming another bulky dried bouquet. Their reflections create a second layer without increasing the arrangement’s height or width. Keep stems between 7 and 12 inches tall, with shorter ones near serving areas. Put thin nonslip pads under the tray because polished metal can slide on smooth tables.
13. Fold Tactile Tin Into Channels for Moss and Rose Hips
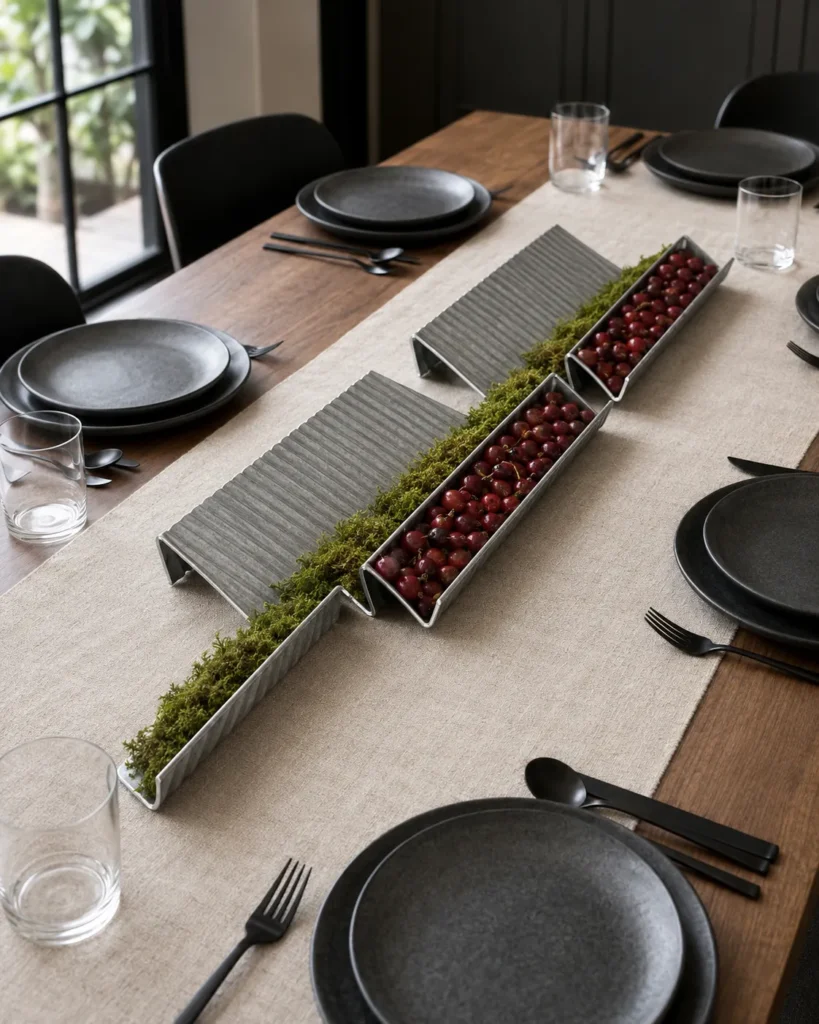
Run a folded or corrugated tin form down the center of the table, creating a series of shallow zigzag channels. Fill alternating sections with preserved moss and rose hips while leaving the remaining folds exposed. Matte black flatware and simple oatmeal linen will keep the material combination sharp.
The metal introduces an industrial rhythm, while the botanical inserts soften it without hiding its shape. Ask a metal shop to hem sharp edges, or adapt a finished corrugated serving tray. Never place raw cut sheet metal where hands, napkins, or clothing could catch on it.
14. Weave Grapevines Through Ceramic Ring Vases
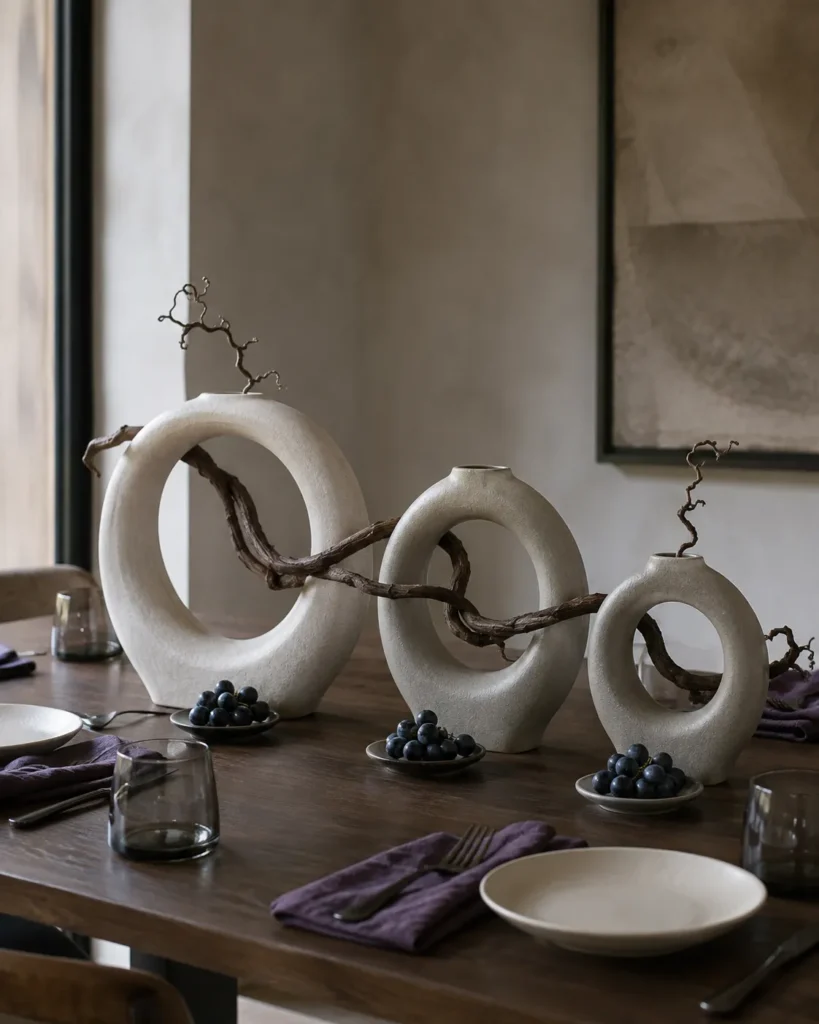
Position two or three freestanding ceramic rings along the table and guide dark grapevines through their open centers. Allow small grape clusters to rest at the bases, with the stems traveling upward and around each ring rather than hanging loosely across the table.
Repeating the circular forms creates rhythm, while the vines connect the separate vessels into one centerpiece. Choose rings with wide, weighted feet and use hidden water tubes for cut stems. Grapes can stain pale linen when crushed, so keep ripe clusters on small glazed saucers that blend into the arrangement.
15. Suspend One Orchard Branch Above the Table
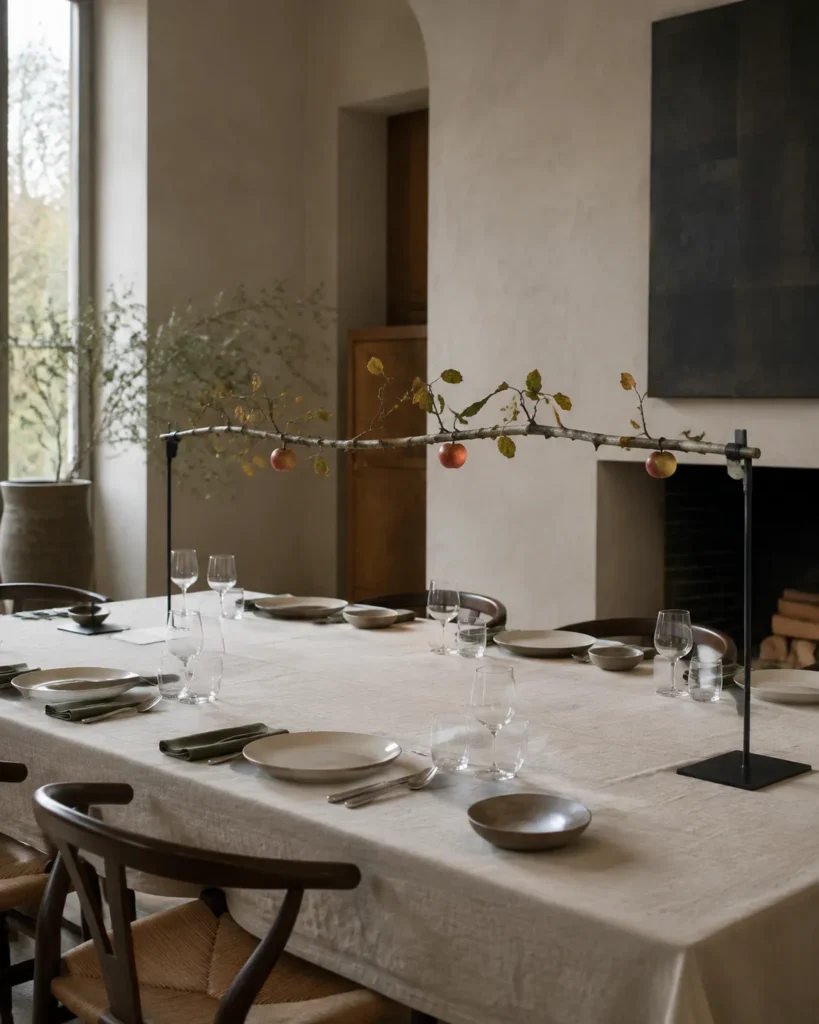
Mount a lightweight apple or pear branch horizontally between two slim tabletop supports, approximately 18 to 22 inches above the surface. Preserve only a few leaves and fruits, and keep the tabletop below restrained with low stone dishes and compact place settings.
Moving the centerpiece overhead frees space for a family-style dinner while creating the feeling of eating beneath an abstract orchard. The supports must be weighted and positioned beyond guests’ elbows. Don’t suspend heavy fruit above plates; lightweight faux supports can conceal wire while the visible foliage and smaller fruit remain natural.
16. Illuminate Translucent Leaves Inside Alabaster Bowls
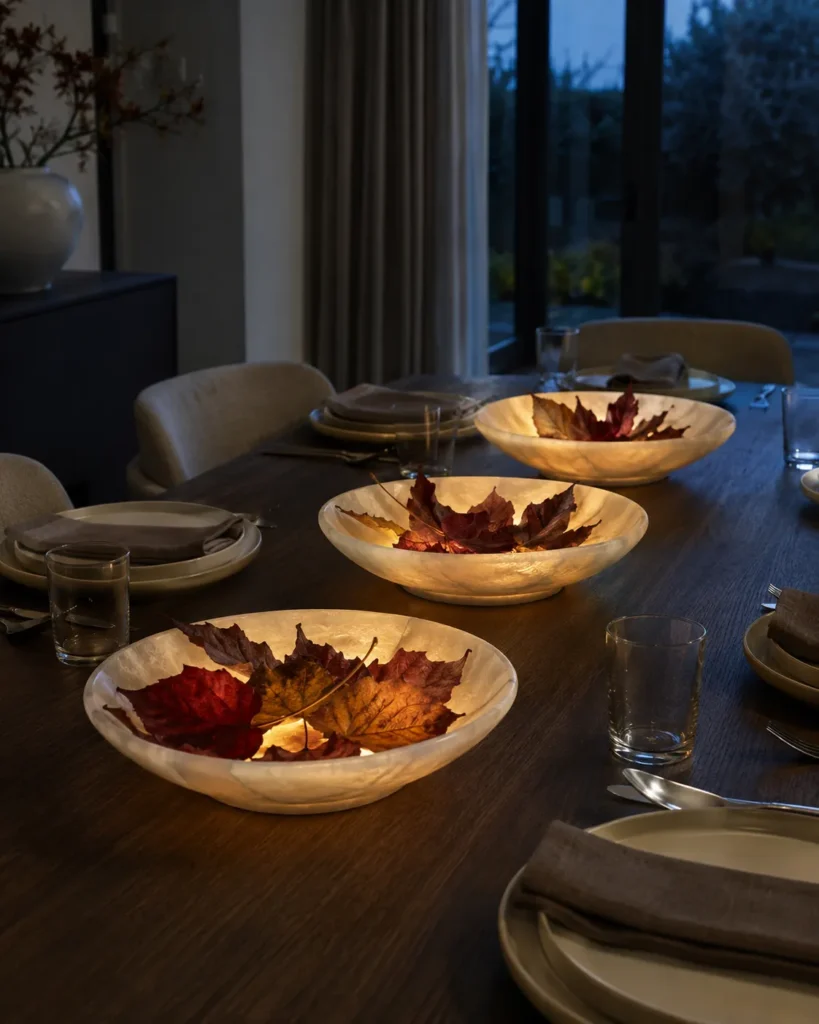
Arrange curled amber and burgundy leaves in shallow alabaster or translucent stone bowls. Conceal a low-heat rechargeable light beneath a removable frosted insert so the illumination passes through the leaves without exposing the fixture.
This treatment makes leaf veins visible after sunset and produces a gentler glow than a row of open candles. Use only LED lights, since dried foliage should never sit against heat. Real alabaster can be costly and vulnerable to acidic spills, but resin-stone bowls with believable veining offer a lighter, easier-to-clean alternative.
17. Fold Corn Husks Into Fans Along a Steel Wave
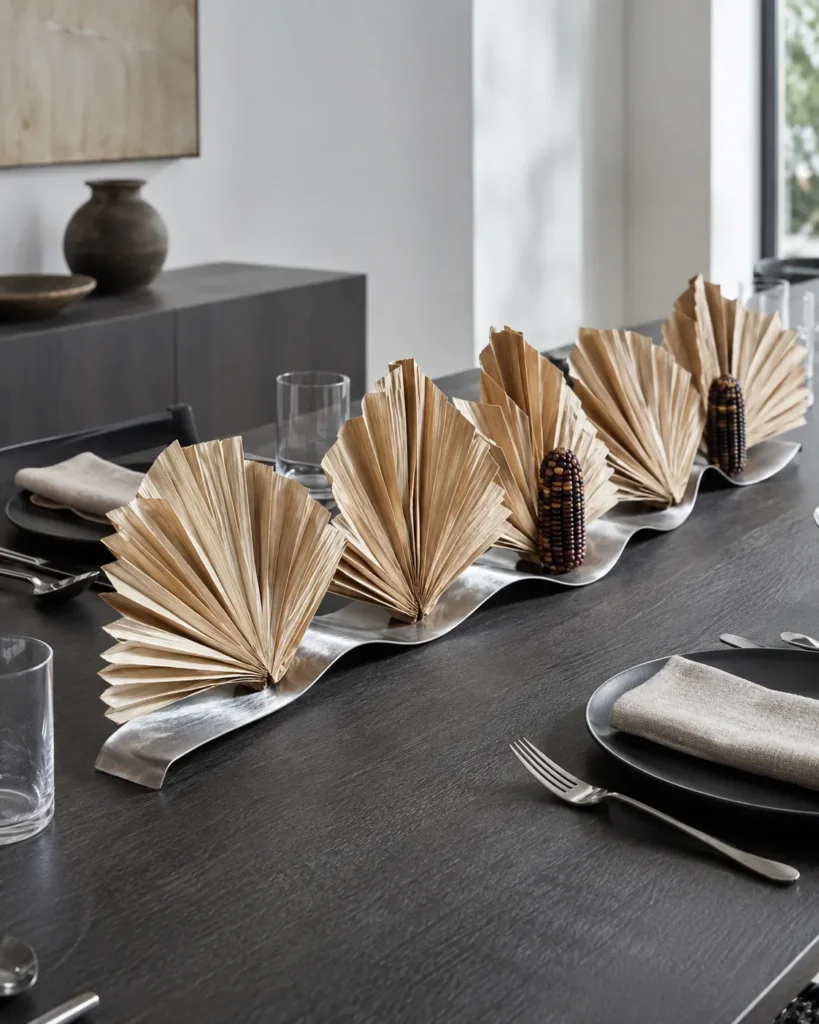
Soften clean dried corn husks with a light mist, then fold them into geometric fan shapes. Secure the fans at measured intervals along a low, undulating stainless-steel base and add a few miniature ears of flint corn for concentrated burgundy, ocher, and black color.
Pleating exposes the husks’ fine veins and removes the usual farmhouse association. Glass votives can sit nearby, but keep flames at least 12 inches from the dry material. If the husks begin to curl unevenly, press them under a heavy book before assembling the fans.
18. Frame Autumn Fruit Inside Tinted Display Cubes
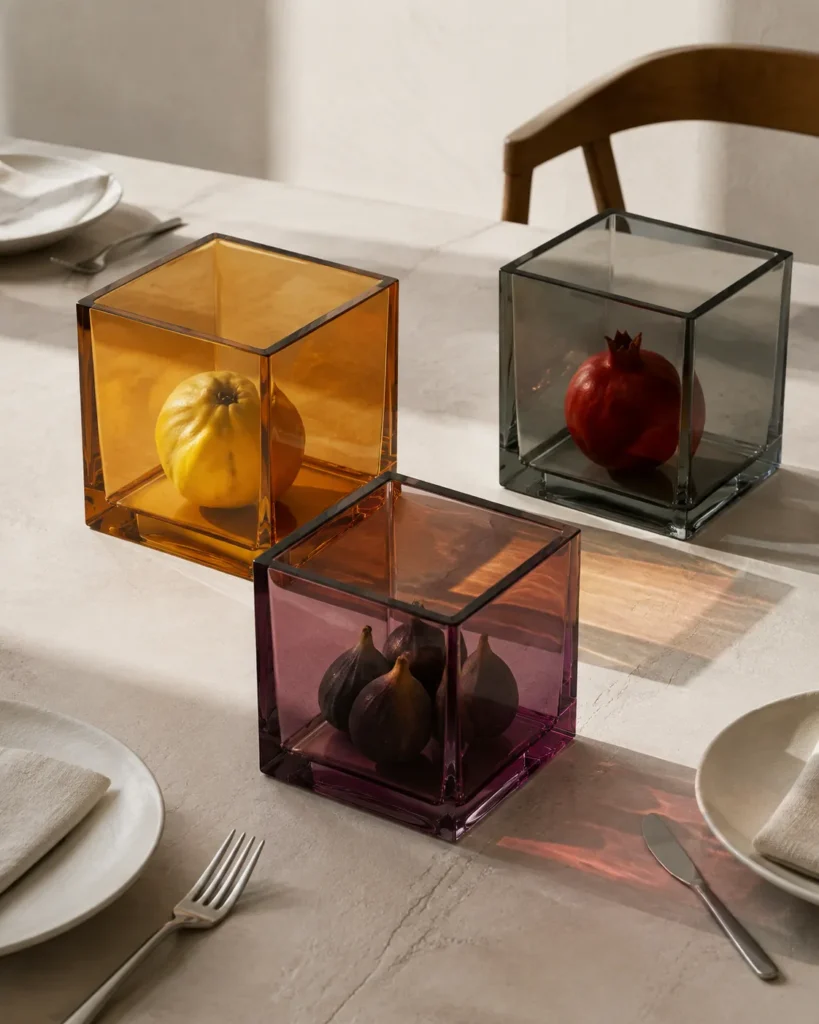
Place a quince, a cluster of dark figs, and a pomegranate inside separate open-top cubes made from translucent amber, plum, and smoky gray material. Arrange the cubes asymmetrically, rotating each one so their colored shadows overlap in afternoon light.
The boxes create visual boundaries around each fruit, making a small amount of produce feel deliberate. Acrylic is lighter and safer than glass for busy households, although cheap, thin acrylic scratches quickly and can look cloudy. Choose thicker panels with polished edges and wipe them with microfiber rather than paper towels.
19. Run a River of Nuts Through Rippled Ceramic
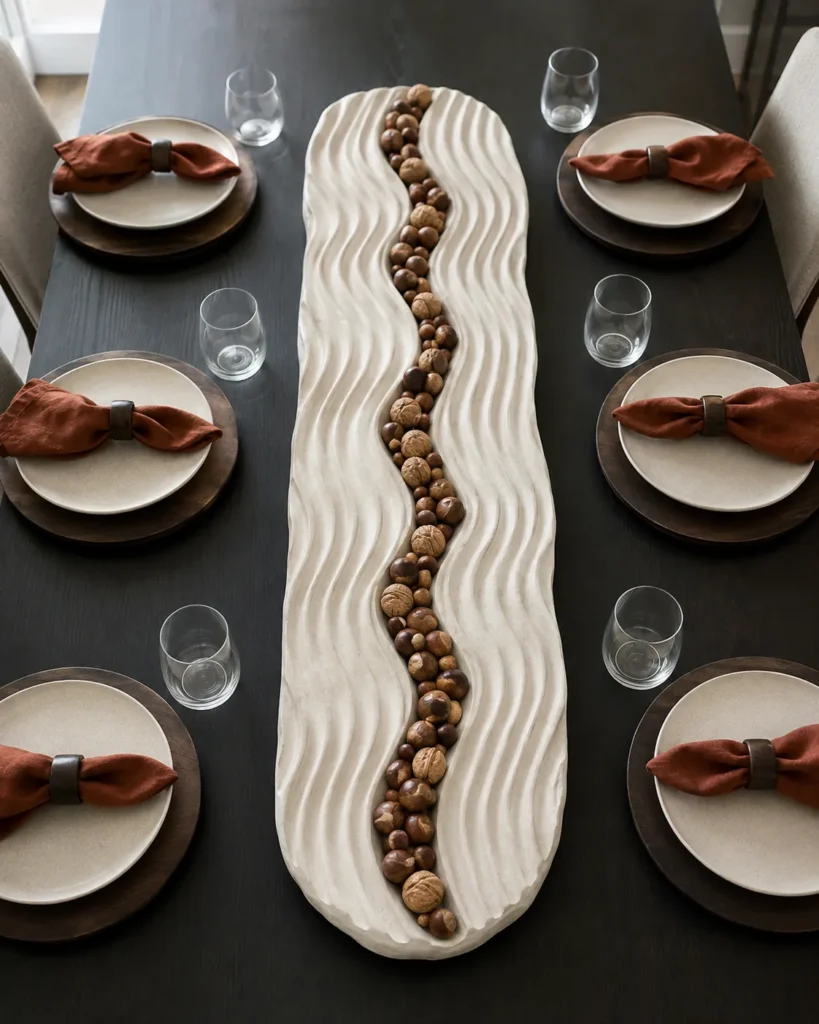
Choose a long handmade ceramic vessel with deep wave-like ridges and fill one continuous channel with walnuts, chestnuts, and hazelnuts. Leave the remaining grooves empty so the vessel’s form stays visible. Rust napkins and dark wood chargers will repeat the shells’ warm browns without turning the table monochromatic.
The narrow line guides the eye down a rectangular table and uses repetition more effectively than scattered nuts. Buy nuts in their shells from the grocery store, but wash and dry them thoroughly. A washable ceramic piece is preferable to raw plaster, which stains and sheds powder.
20. Cast Botanical Shadows With a Sculptural Table Light
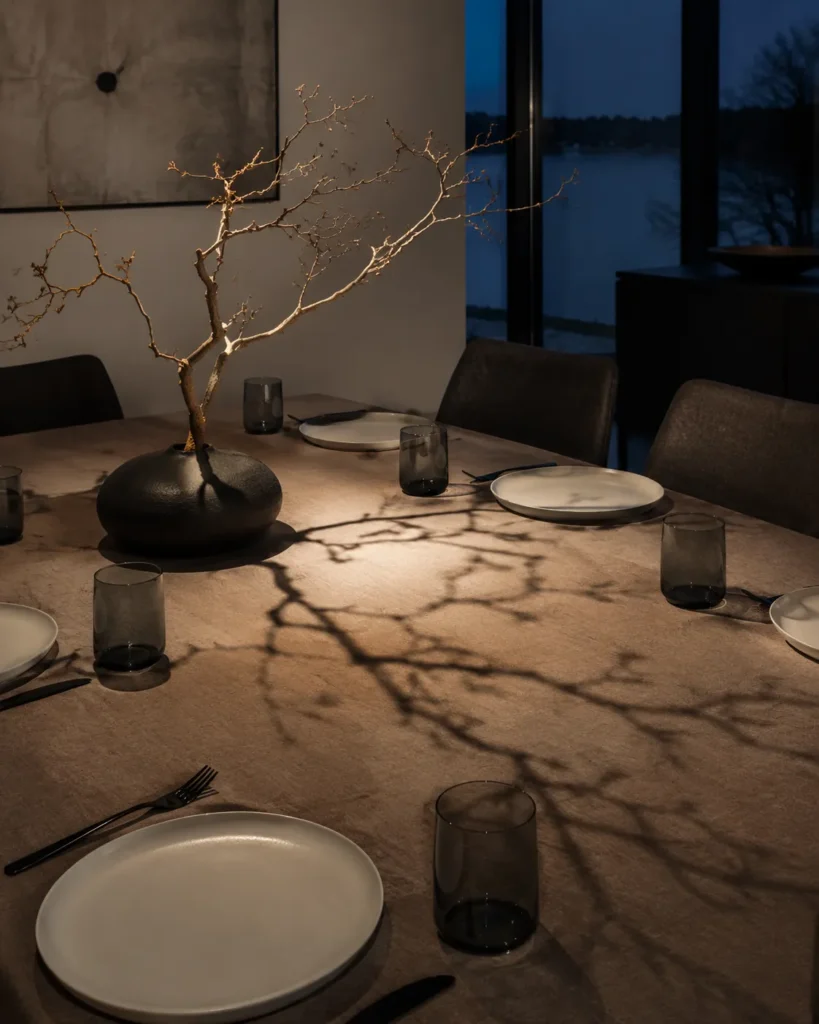
Secure one sparse bare branch in a low, heavy vessel and position a small directional rechargeable lamp behind it. Aim the beam so an enlarged branch shadow travels across a clay or muted ocher tablecloth, stopping short of guests’ faces.
Here, the shadow becomes part of the centerpiece and creates scale without taking up serving space. Test the effect after sunset because strong daytime light will wash it out. Use a warm LED beam for brown and orange textiles; cool white light can make those colors appear dull and slightly gray.
21. Weave a Living Autumn Ribbon Through Metal Curves
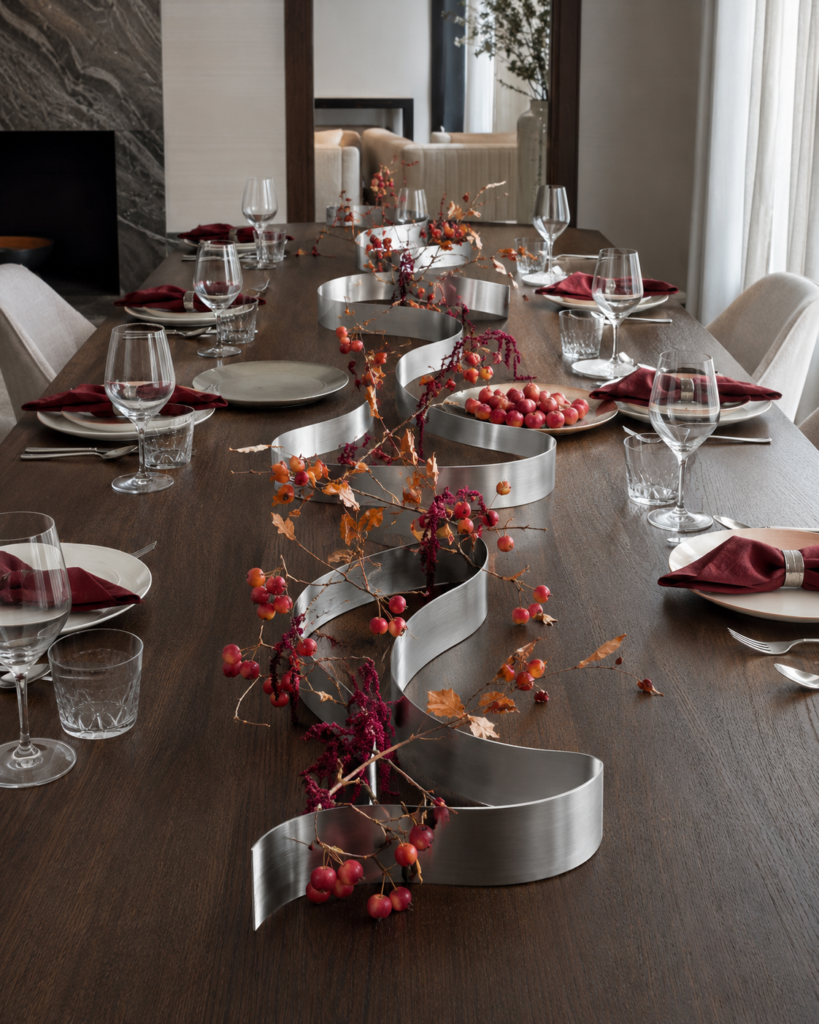
Create a continuous centerpiece from interlocking brushed-metal curves placed down the middle of a long table. Thread crab-apple branches, red amaranth, curled leaves, and berry stems through the openings, keeping the botanicals sparse enough for the metal rhythm to remain clear.
The alternating curves guide the eye from one end of the table to the other, while gaps leave room for shared dishes. You can build the structure from modular metal wine racks or sculptural napkin holders. Add rubber feet and cap any unfinished edges before using them near guests.
What to Consider Before Styling a Modern Fall Table
Limit your centerpiece to roughly one-third of the table’s width so full-size dinner plates and glasses don’t feel crowded. Most solid arrangements should remain below 12 to 14 inches; anything taller needs enough open space underneath for guests to see one another. For suspended designs, check the branch from every seat before serving food.
Modern arrangements depend on editing, so don’t repeat every centerpiece color in every napkin, plate, and glass. Choose one supporting color and let wood, metal, stone, or clear glass provide the remaining layers. Natural materials also change during the day: leaves curl, fruit softens, and moss releases moisture, so assemble perishable centerpieces close to the meal.