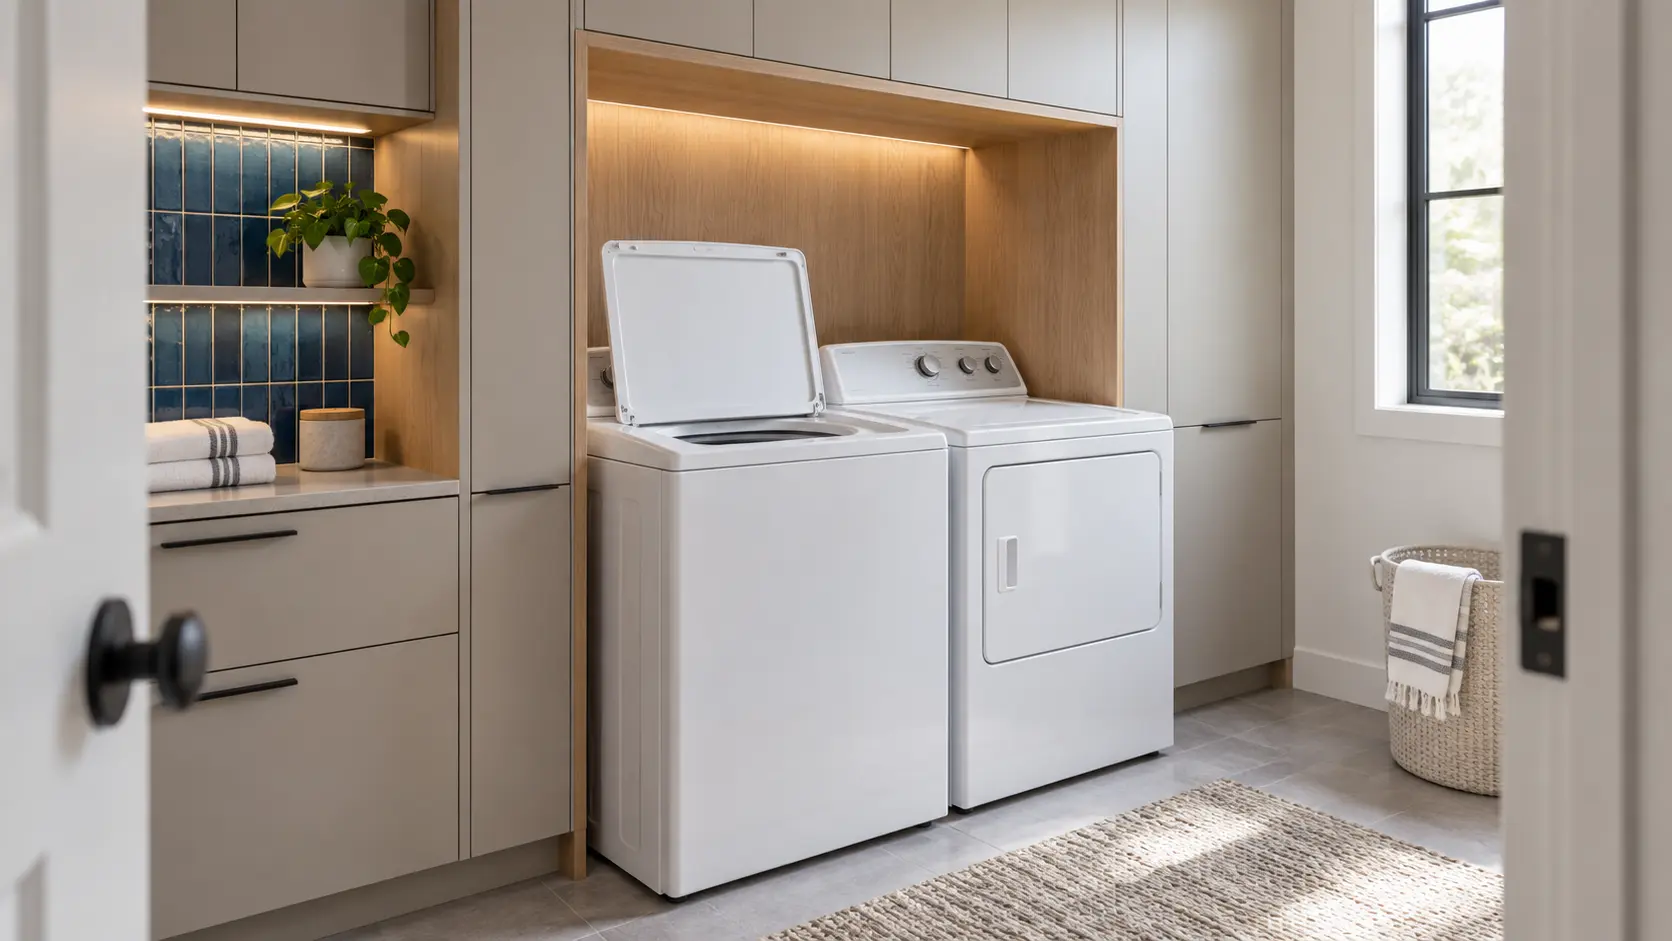
A top-loading washer can make a compact laundry room difficult to plan. You need storage and a folding surface, but the machine’s lid requires more open space than a front-loading model.
These small laundry room ideas with top loaders solve that conflict through sliding worktops, shallow cabinets, wall-mounted drying features, and visually strong finishes. Each idea respects everyday movement, appliance access, and the proportions of a real laundry room—not just a room arranged for photographs.
1. Frame the Washer With Storage
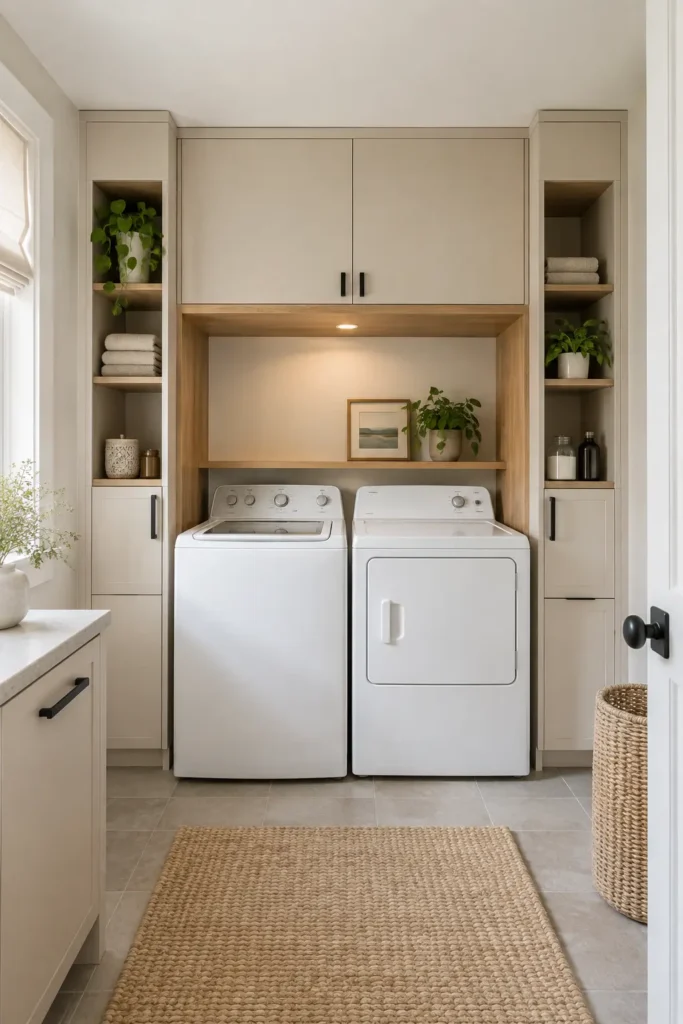
Turn the washer and dryer into a deliberate focal point by surrounding them with two shallow storage towers and an upper cabinet. Matte mushroom cabinetry paired with a rift-cut white oak lining gives the appliance opening the finished appearance of custom millwork.
Keep the side cabinets approximately 10–12 inches deep so they don’t dominate a narrow room. Measure the washer with its lid fully open before positioning the bridge cabinet or interior shelf. Removable shelves and accessible back panels will make plumbing repairs and future appliance replacement far easier.
2. Add a Sliding Folding Counter
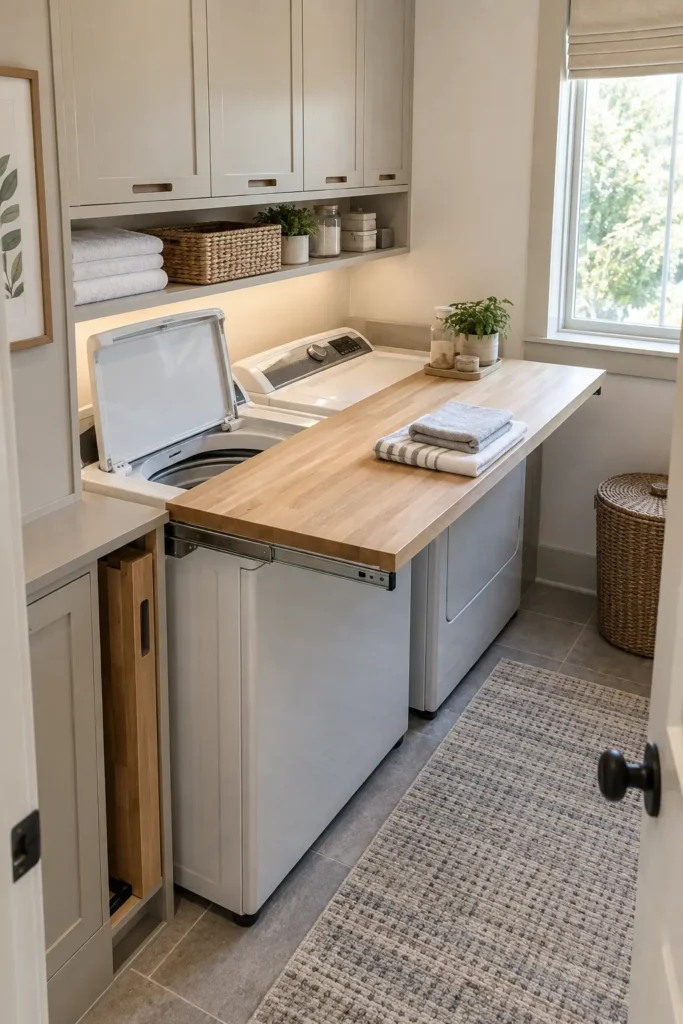
A sliding wood worktop provides generous folding space without permanently covering the washer. Mount a sealed butcher-block or furniture-grade plywood panel on heavy-duty, full-extension hardware so it can move across the appliances and park inside a narrow side compartment.
The counter must slide completely away before you open or operate the washer. Avoid unfinished wood, which can swell near damp clothing, and round the exposed corners to make a tight aisle safer. For a simpler version, use a removable panel and store it vertically in a dedicated slot beside the machines.
3. Create a Bold Blue Laundry Niche
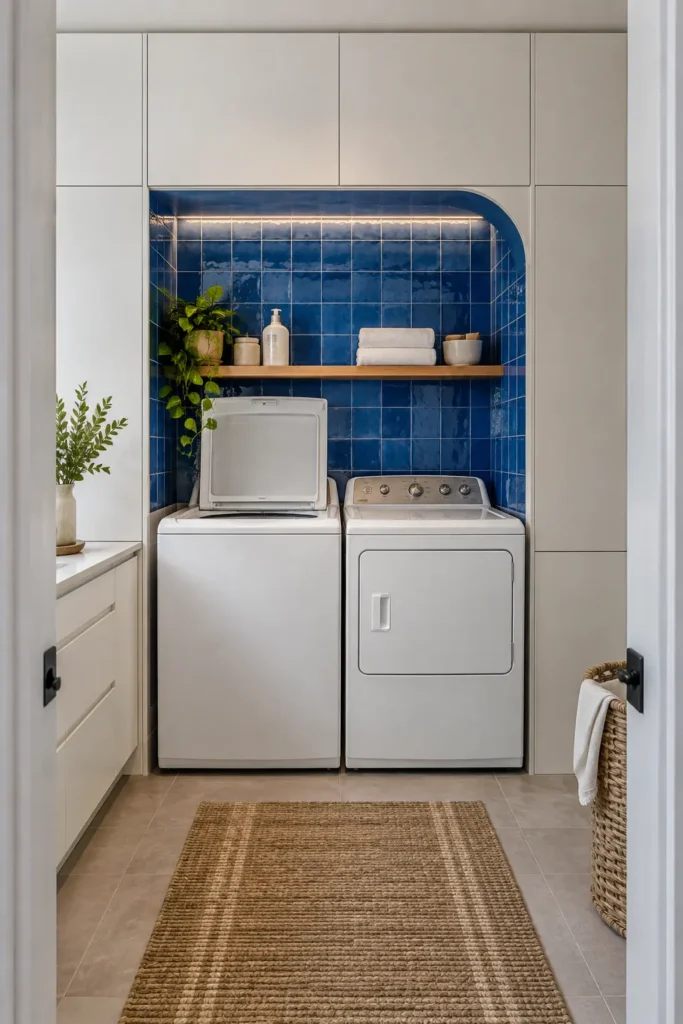
Surround the appliances with flat-front plaster-white cabinets, then line the central opening with saturated blue tile. A softly curved upper corner prevents the cabinet wall from looking rigid, while concealed linear lighting brings out the variation in handmade-look tile.
Place the light outside the washer-lid path and choose a fixture rated for the room’s conditions. Blue tile can look flat under weak, cool bulbs, so use neutral white lighting that reveals its depth without producing an orange cast. Keep the remaining finishes quiet so the niche remains the room’s clear focal point.
4. Install Fluted Glass Doors
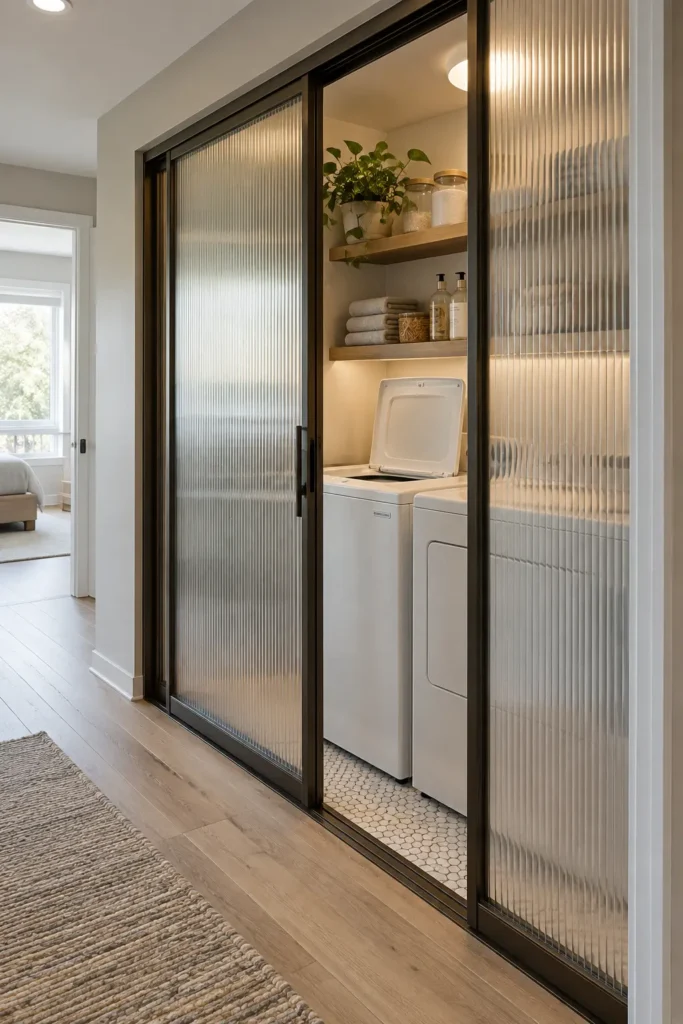
Fluted-glass sliding doors can turn a hallway laundry closet into an architectural feature. The textured glass softens views of the appliances while still allowing borrowed light to reach the closet. Slim bronze or black frames add definition without making the opening feel heavy.
Sliding panels work particularly well where bifold or swinging doors would interfere with the hall. Confirm that the doors can open far enough for appliance service and that the track doesn’t restrict ventilation. Renters can create a similar effect by applying removable reeded-glass film to existing glass panels.
5. Hang an Oval Drying Rail
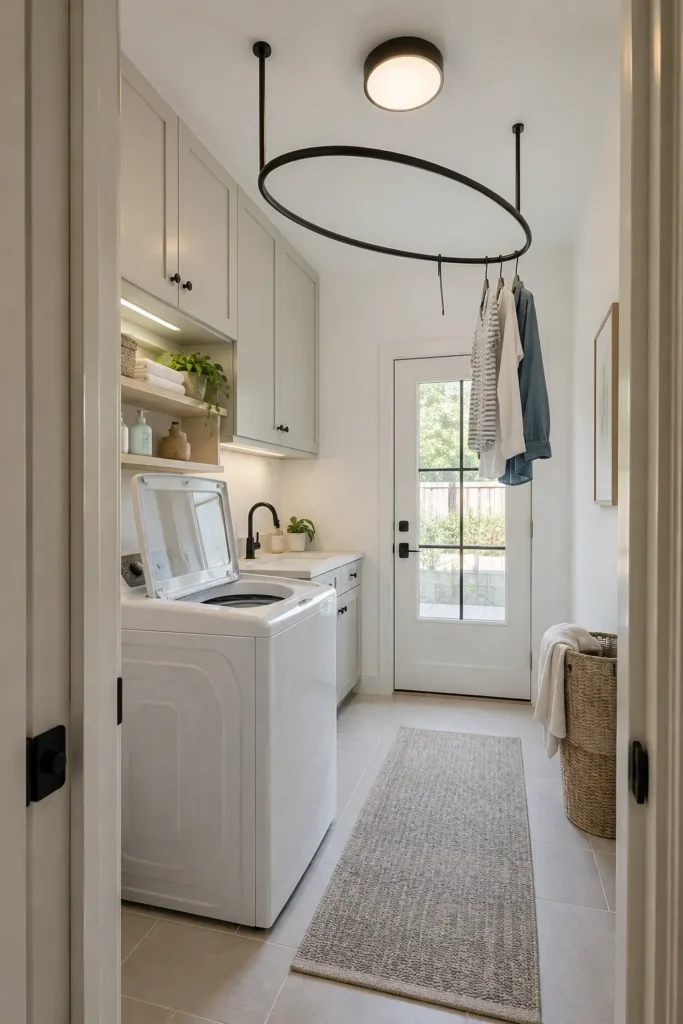
Use the ceiling above the walkway for drying rather than crowding the wall behind the washer. A slim oval rail in blackened steel looks like a simple ceiling sculpture when empty and offers several hanging positions when laundry day arrives.
Position the rail beside or in front of the washer—not over its open lid—and keep garments clear of doors and light fixtures. Check the ceiling structure before installation and use hardware rated for the expected wet-clothing load. In a low-ceilinged room, a shorter wall-mounted rail may be more comfortable than a suspended design.
6. Try Shallow Apothecary Cabinets
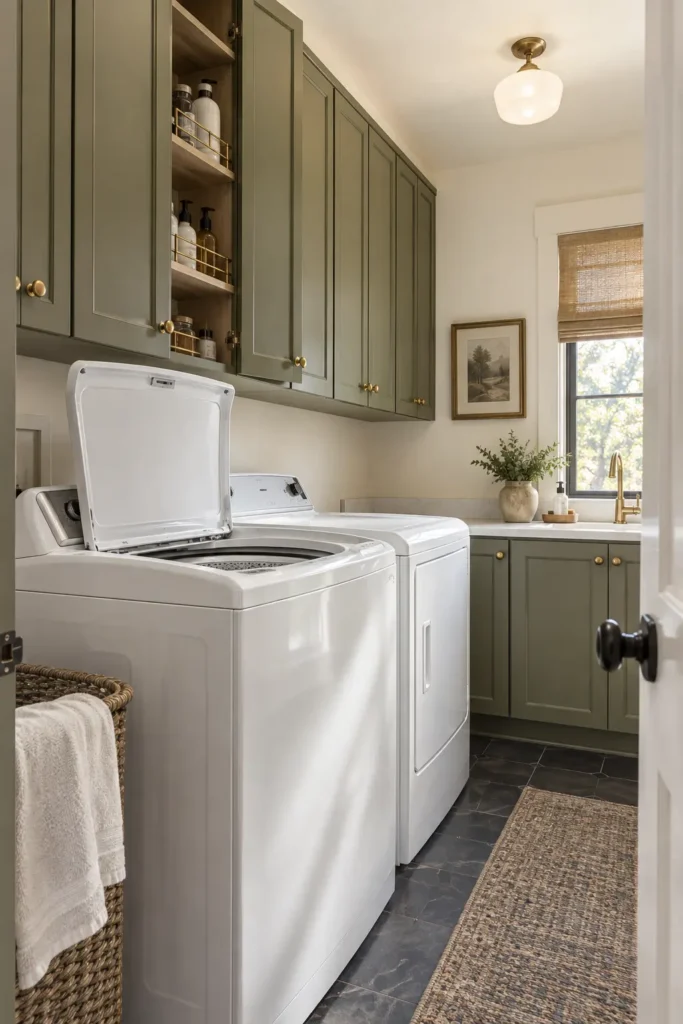
Replace one deep overhead cabinet with a row of narrow, apothecary-style compartments. Doors approximately 6–8 inches deep can hold stain treatments, dryer supplies, cleaning cloths, and smaller detergent bottles without projecting heavily over the appliances.
Muted olive paint and small aged-brass knobs give the repeated doors a furniture-like rhythm. Start the cabinets above the washer’s fully open lid and add interior rails so bottles cannot tip forward. This design works best for smaller products; bulk detergent belongs in a lower cabinet where it can be lifted safely.
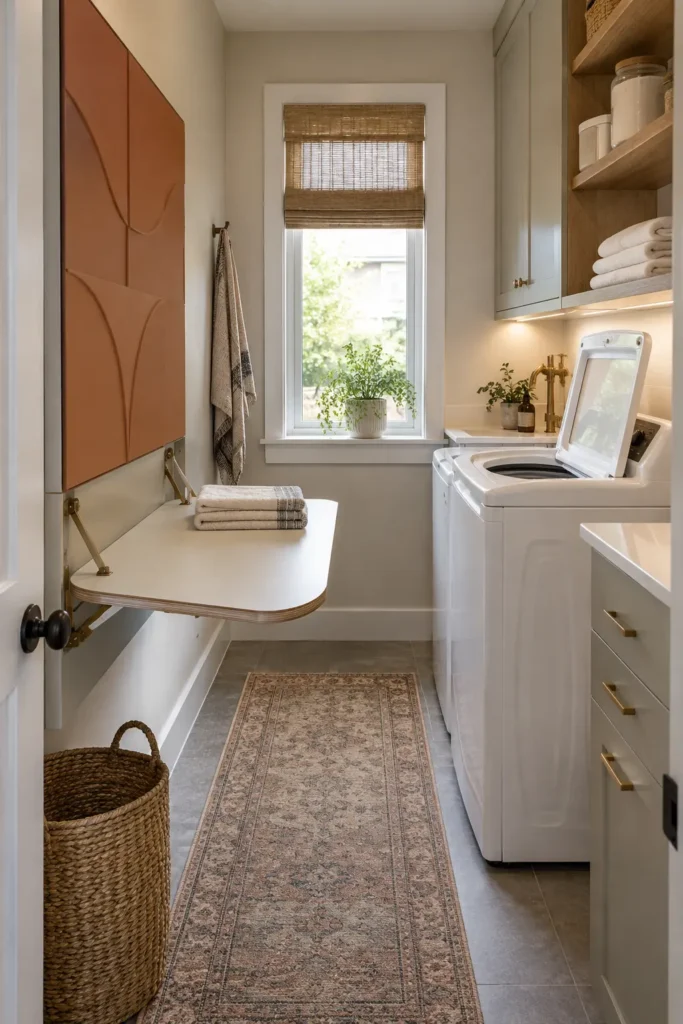
7. Mount a Fold-Down Laundry Table
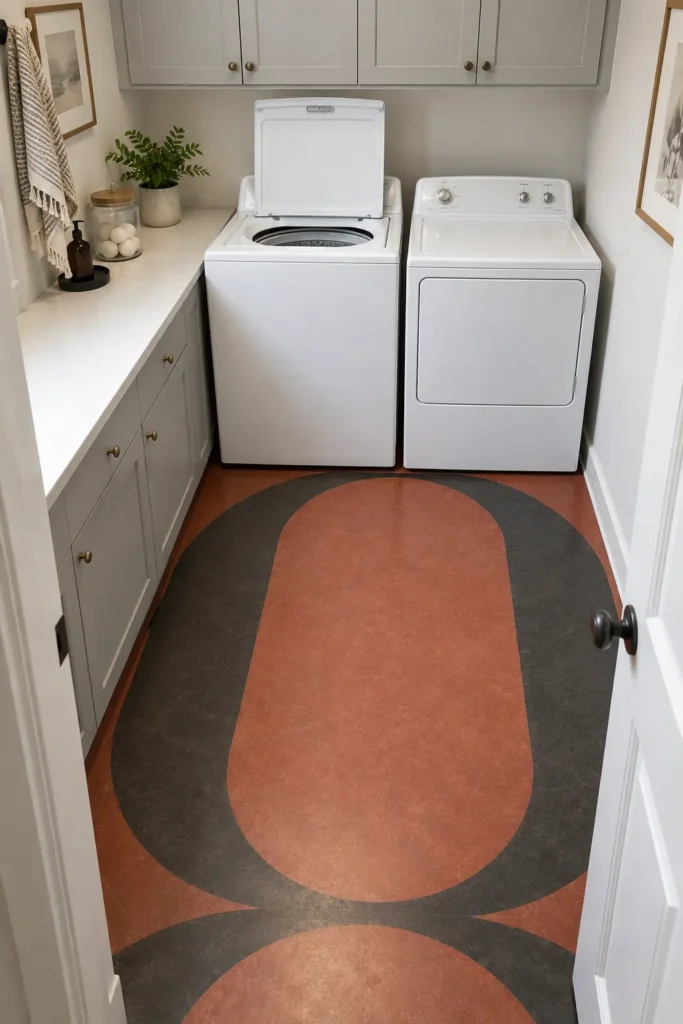
When there’s no room for a permanent counter, attach a fold-down table to the wall opposite the washer. A compact-laminate or sealed plywood surface approximately 12–15 inches deep provides enough room for folding shirts, sorting socks, or treating stains.
Choose rounded corners and wall brackets that lock firmly in both positions. The closed panel can become part of the room’s design through a terracotta color block or simple geometric shape. Before installation, lower the table and confirm that it leaves a comfortable passage—roughly 30–36 inches where the room allows.
8. Paint a Graphic Laundry Floor
Skip the predictable runner and make the floor itself the visual feature. An oversized clay-red and charcoal capsule, arch, or circular motif can visually widen a small room while introducing color without occupying usable space.
Floor paint is affordable, but preparation determines whether it lasts. Clean and lightly abrade a compatible surface, use the recommended primer, and protect the pattern with the correct topcoat. Cut linoleum or contrasting porcelain tile will wear better in a busy household. Keep appliance feet on a stable, level surface rather than across raised seams.
9. Build a Mesh Drying Cabinet
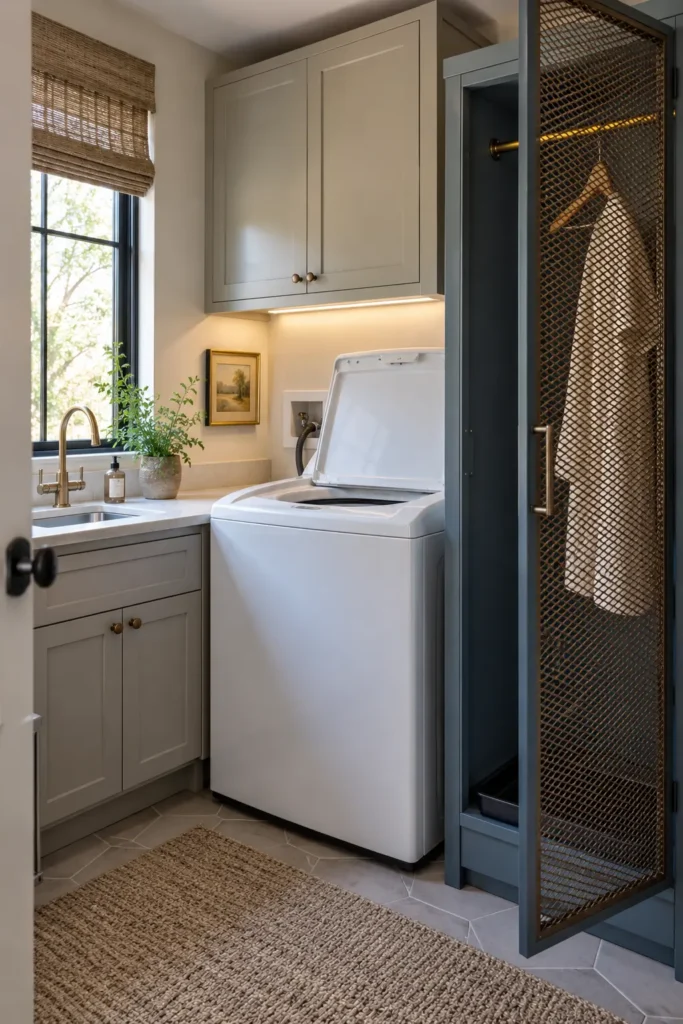
Use an awkward corner for a narrow drying cabinet with a bronze mesh door, interior hanging rail, and removable drip tray. A dusty blue or muted charcoal frame allows the cabinet to feel like furniture while the perforated front keeps damp garments ventilated.
A depth of approximately 14–18 inches suits shirts and smaller items without consuming the entire aisle. Place the cabinet beside the washer rather than above it, and leave enough room for its door and the washer lid to operate separately. Clean the tray regularly and avoid storing dry supplies beneath dripping clothes.
10. Wrap the Room in Green Linoleum
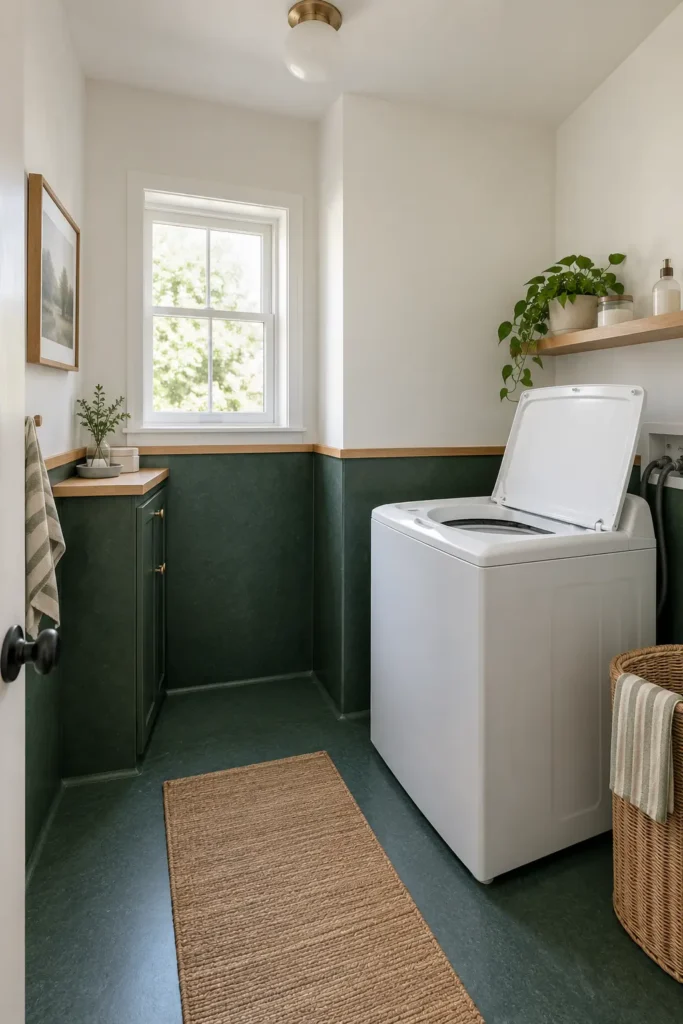
For a memorable final layer, run deep forest-green sheet linoleum approximately 42–48 inches up the walls and finish it with a narrow natural-oak ledge. The seamless band protects splash-prone areas and gives the room stronger visual structure than a small backsplash.
Linoleum’s matte surface hides minor marks better than high-gloss paneling, although edges and seams must be installed carefully around moisture. Keep the upper walls chalk white to balance the dark lower half. In a rental, reproduce the proportions with washable paint and a removable picture rail instead of applying flooring material to the walls.
If you’re planning a laundry area beyond the main house, explore these outdoor laundry room ideas for weather-resistant storage, practical layouts, and durable finishes.
What to Check Before You Start
Open the washer lid fully and measure its highest and widest points before ordering cabinets, rails, shelves, or lighting. Follow the appliance manufacturer’s requirements for ventilation, hoses, shutoff access, and spacing rather than relying on a standard clearance that may not fit your model.
Preserve a practical route to the machines as well. Deep cabinets, thick doors, loose hampers, and projecting hardware can make a compact room frustrating even when everything fits on paper. Use painter’s tape and cardboard templates to test moving elements at full scale before drilling or commissioning millwork.
Materials also need to tolerate damp clothes and occasional splashes. Sealed plywood, compact laminate, powder-coated metal, porcelain, linoleum, and scrubbable paint generally suit utility areas better than raw wood, paper-faced panels, or loosely bonded decorative finishes.