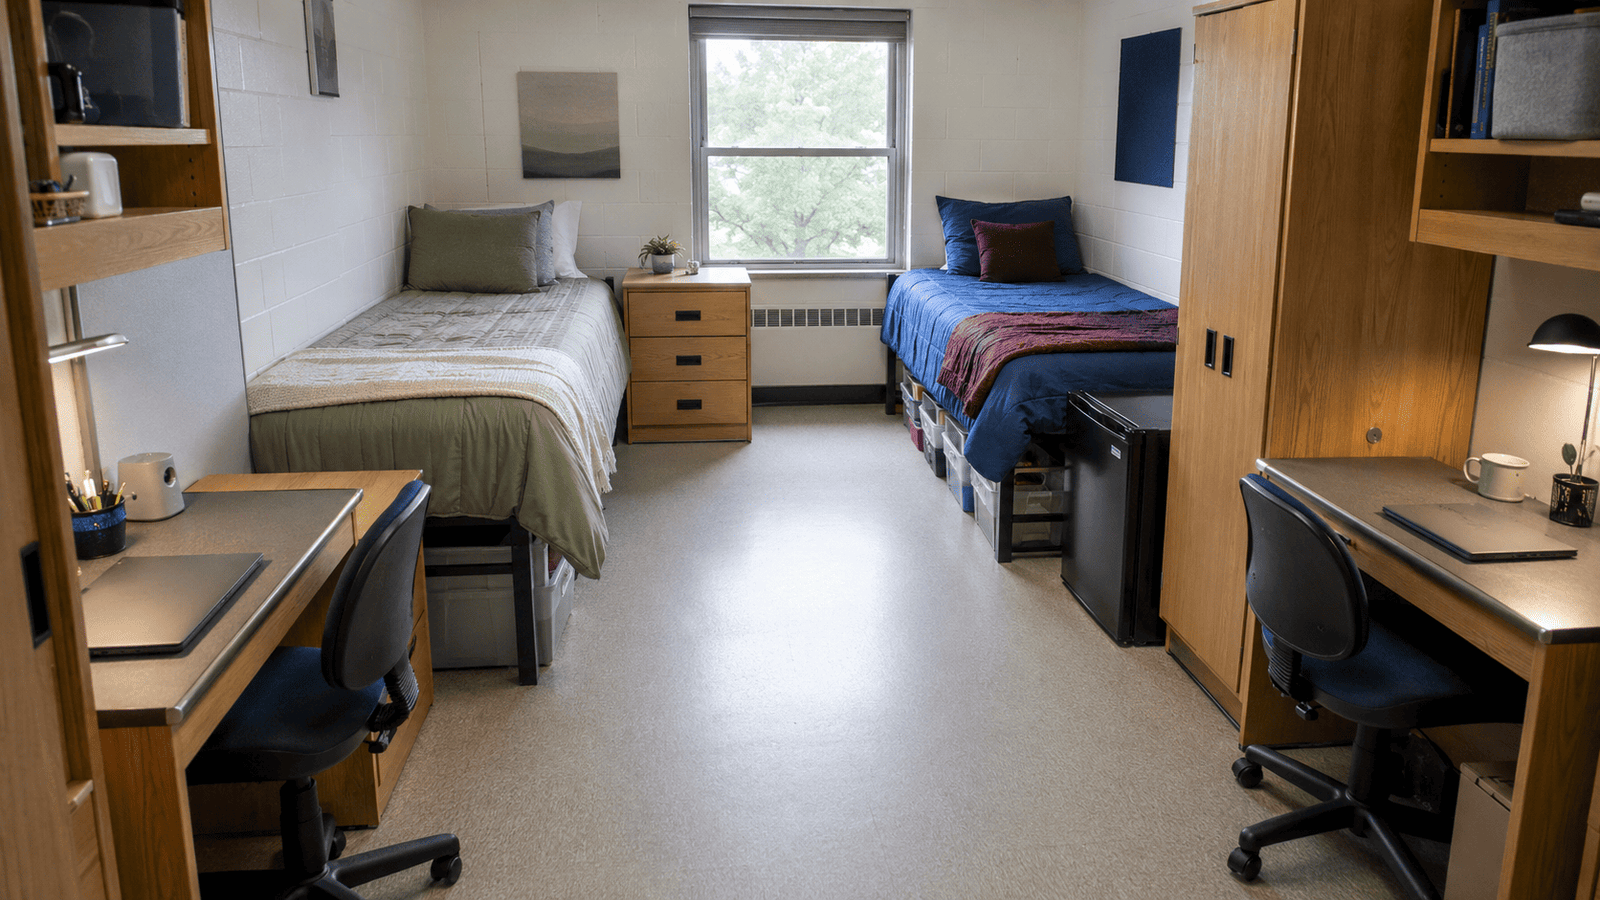
A dorm can feel crowded before you’ve unpacked a single box. Two Twin XL beds, desks, dressers, wardrobes, and a mini fridge must fit inside one compact room without blocking drawers, doors, or the route to the hallway.
These 18 dorm room layout ideas that maximize every inch treat the room like a functional floor plan, not just a decorating project. Each arrangement addresses a different room shape or student priority, from privacy and studying to storage and open floor space. Before moving anything, confirm which furniture your college allows you to loft, bunk, or relocate.
1. Opposite-Wall Beds With a Clear Center Aisle
Place the two beds lengthwise against opposite walls, creating one straight walking route through the center. Keep approximately 30–36 inches between the beds when the room width permits. Position each desk near the foot of its corresponding bed so both roommates have a clearly defined side.
This familiar layout works because it makes a narrow rectangular room feel orderly. Both under-bed areas remain accessible, and neither student must cross the other’s sleeping zone. Check that desk chairs and dresser drawers don’t extend into the center aisle when open.
2. L-Shaped Beds With One Shared Open Corner
Position one bed along a long wall and the second against the adjoining short wall. The beds form an L, leaving a larger section of open floor on the opposite side. Use the inside corner for a permitted mini fridge, a shared nightstand, or a compact drawer unit already supplied by the dorm.
This arrangement works especially well in a square room where parallel beds would create two narrow strips of floor. Leave several inches between the bed frames when possible so sheets can be changed without moving both beds.
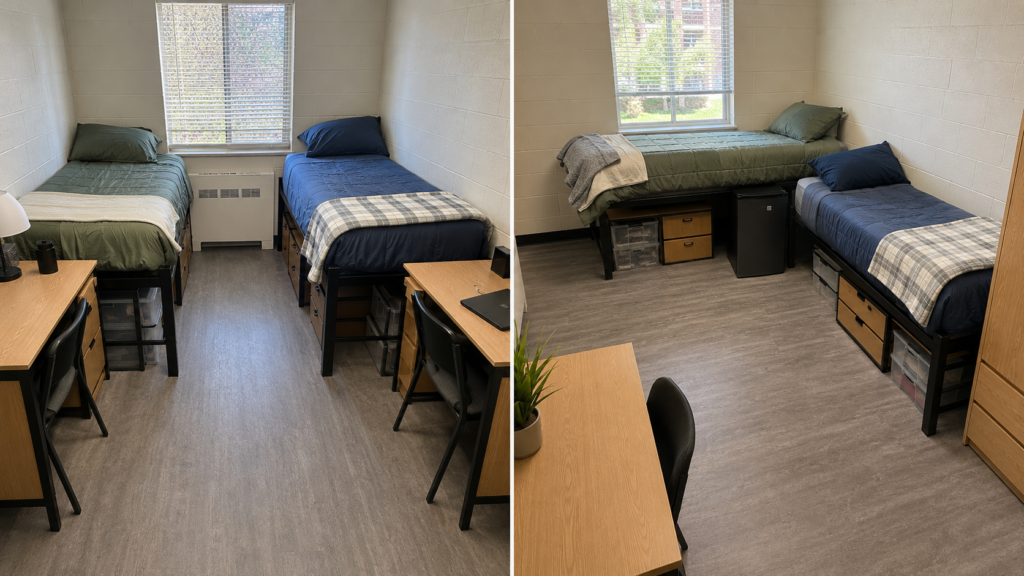
3. End-to-End Beds for a Long, Narrow Dorm
Arrange both beds along one long wall with the foot of one bed facing the head of the other. The opposite wall can then hold desks, dressers, and shared appliances in one continuous functional zone.
This layout creates a long, uninterrupted path from the entrance to the window. It’s useful when the room is too narrow for beds on opposing walls, but it offers less separation between sleeping areas. If space permits, place a low dresser between the beds rather than adding a tall divider that would block light.
4. Mirrored Roommate Zones for an Equal Split
Divide the room visually down the center and give each student the same basic sequence: bed, desk, dresser, and access to an outlet. The arrangement doesn’t need perfect symmetry, but both sides should provide similar storage capacity and usable floor area.
A mirrored layout reduces confusion about which surfaces belong to whom. It also photographs neatly because furniture and color repeat across the room. Measure door swings and built-ins first, since a radiator, closet, or off-center window may require slight adjustments on one side.
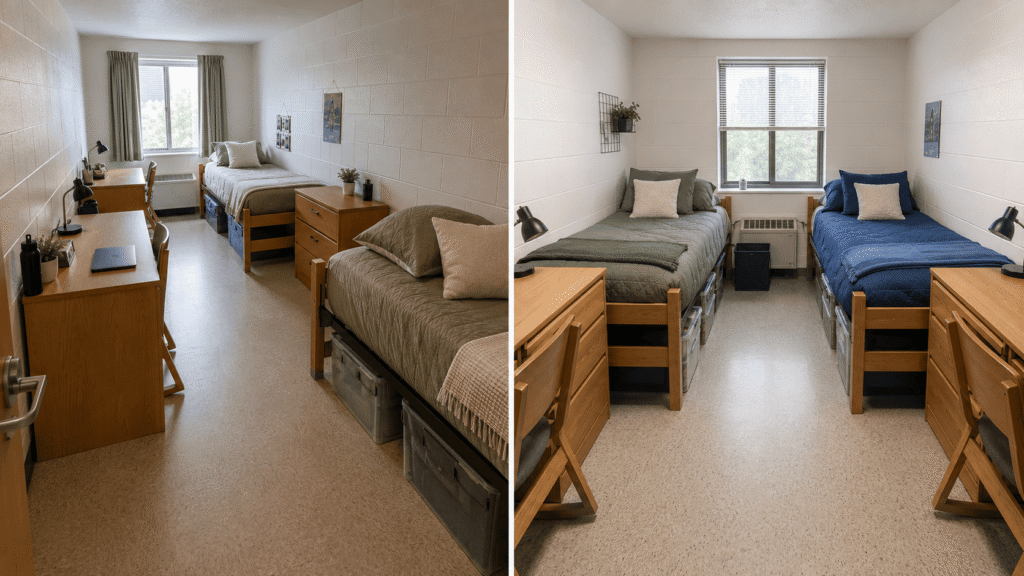
5. Beds at Opposite Ends for Better Privacy
Place one bed near the entrance and the other closer to the window, with the two sleep zones facing in different directions. Position the desks between them or along opposite side walls, depending on the room’s width.
Separating the beds makes each sleeping area feel less exposed, especially when roommates keep different schedules. However, the window-side bed must not cover a radiator, HVAC unit, or required window access. Keep the path from both beds to the door direct and free of storage bins, chairs, and loose cords.
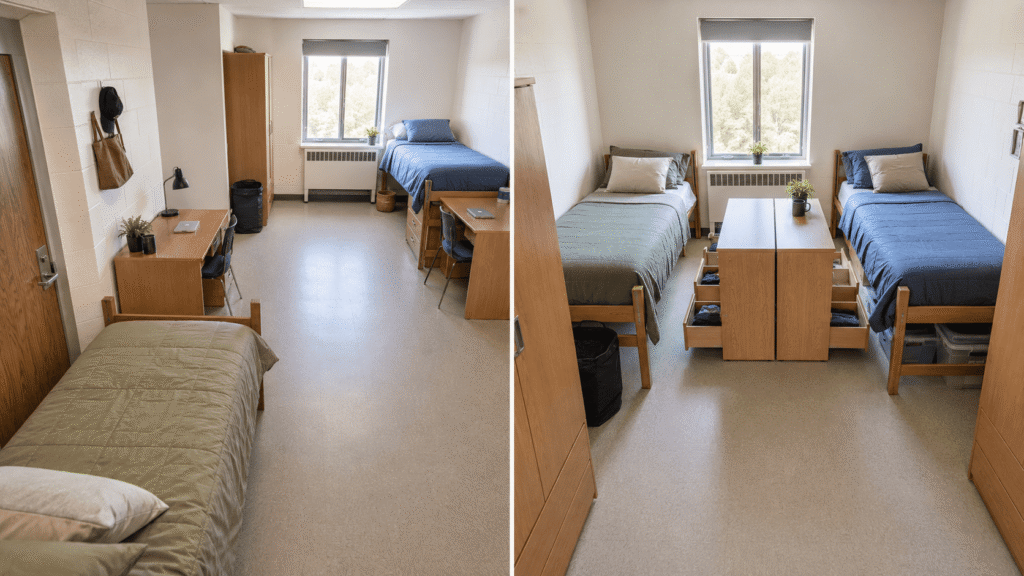
6. Dresser-Defined Sleep Zones
Arrange the beds in a parallel layout, then position two low dressers back-to-back between the sleeping zones. The drawers should open toward each student’s side, with sufficient clearance for both people to use them without moving other furniture.
This creates a subtle boundary without installing curtains or bringing in another divider. Use only sturdy dorm-provided dressers with finished backs, and never stack unsecured furniture to gain height. A low division preserves daylight and sight lines while giving both roommates a clearer sense of personal space.
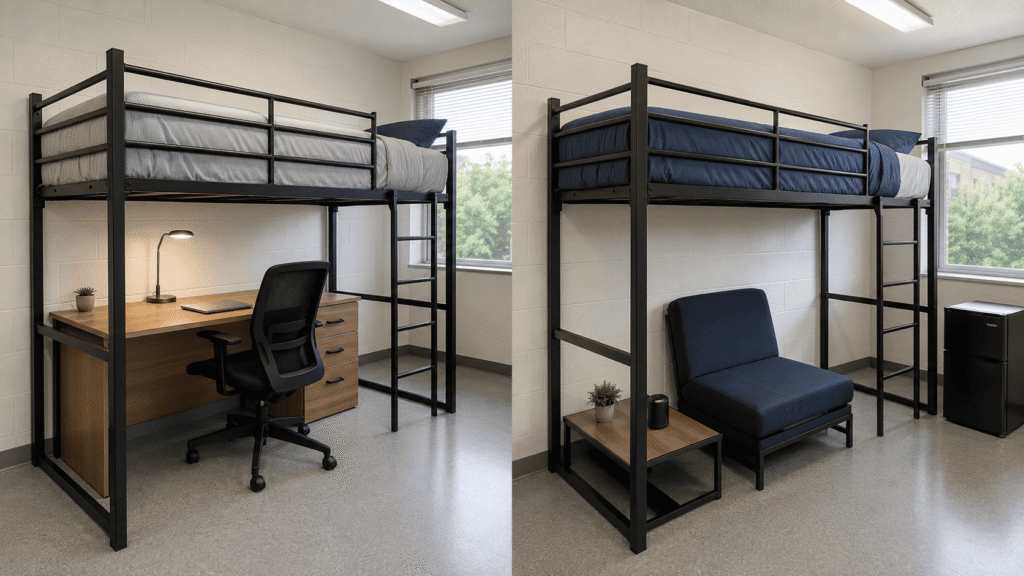
7. Lofted Bed With a Full Study Zone Below
Raise one university-approved bed high enough to place the desk and desk chair beneath it. Add the supplied drawer unit beside the desk if it doesn’t interfere with the ladder, bed supports, or chair movement.
This is one of the most efficient layouts for a small single dorm because the sleeping and study zones use the same floor area. Before lofting, confirm approved height settings, guardrails, ladder placement, ceiling clearance, and sprinkler restrictions. The desk surface also needs enough light; a loft can make the area beneath it noticeably darker.
8. Lofted Bed With a Low Lounge Zone Below
Use the space beneath an approved lofted bed for a compact futon, dorm chair, or existing floor cushions rather than a desk. Keep the seating low enough that a student can sit comfortably without hitting the bed frame overhead.
This arrangement gives a small dorm a distinct social area without using the center walkway. Place the mini fridge outside the enclosed space so its ventilation remains clear. Avoid hanging loose fabric around the loft, since dorm fire-safety policies often restrict canopies, curtains, and materials near sleeping areas.
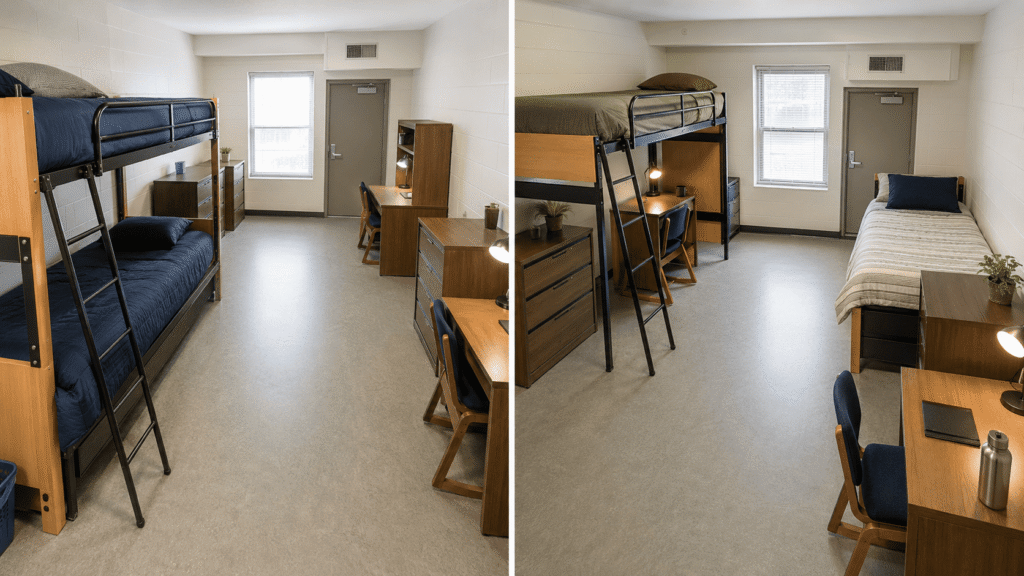
9. Bunked Beds With a Shared Work Wall
When the college provides approved bunking hardware, stack the two beds against one wall. Arrange both desks and dressers along the opposite wall, leaving the middle of the room open for movement.
Bunking usually releases more continuous floor space than any other double-dorm layout. The trade-off is reduced privacy and a noticeable temperature difference between the upper and lower bunks. Roommates should agree on positions before moving in and confirm ladder access, guardrails, ceiling clearance, and proximity to lights or sprinklers with housing staff.
10. One Lofted Bed and One Low Bed Hybrid
Loft one approved bed while leaving the other at its standard height. Place one desk under the loft and the second desk near the low bed’s foot or along the opposite wall. This asymmetrical layout can work around fixed wardrobes, radiators, and awkwardly positioned windows.
Because one student receives usable space beneath a loft, the rest of the room should be divided fairly. The roommate with the low bed might receive the more accessible dresser position or additional open wall space. Discuss the trade-offs instead of assuming both sides must look identical.
11. U-Shaped Perimeter Layout for a Square Double
Place the two beds against opposite side walls and position both desks along the window wall. From above, the main furniture forms a U around an open center. Dressers can sit near the foot of each bed if the entry and closet doors still open fully.
This plan works best in a square dorm with enough width for desk chairs to pull out. Don’t push desks against a radiator or built-in HVAC unit. The central floor remains open, making the room feel less congested and giving both students direct access to their beds.
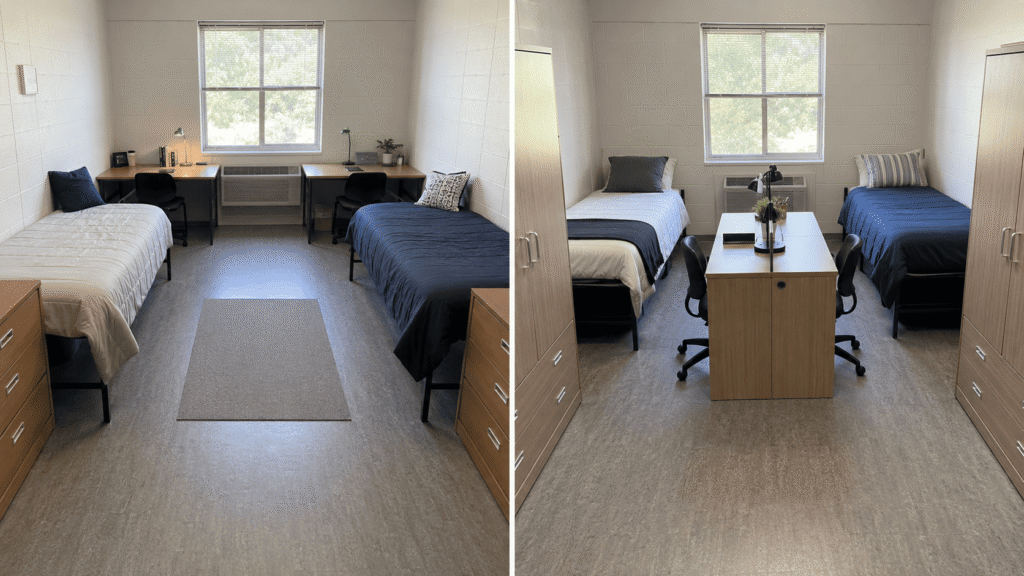
12. Back-to-Back Desk Island Layout
In a wider square room, position two desks back-to-back in the center while keeping the beds against opposite perimeter walls. Run cords toward the nearest approved outlets without stretching them across the walking route.
A central study island separates focused work from the sleeping zones and gives each student a dedicated side. It requires more width than most layouts because both chairs need room to pull back. Test the setup before committing: if an occupied chair blocks the route to a bed, closet, or door, return the desks to the walls.
13. Desks at the Foot of Each Bed
Align each desk with the foot of its corresponding bed, either directly across from it or slightly offset along the wall. Place dressers closer to the entrance so clothing storage doesn’t interrupt the path between the sleeping and study areas.
This creates two compact student lanes, with each person’s bed, desk, and storage grouped together. Leave enough space for the desk chair to pull out without hitting the bed frame. If the gap is tight, turn the desk perpendicular to the bed rather than accepting an uncomfortable chair position.
14. One-Wall Sleep-and-Storage Layout for a Single Dorm
Consolidate the bed, dresser, and approved storage pieces along one long wall. Reserve the opposite side for the desk and desk chair, creating a simple division between sleeping and studying.
Placing most large furniture on one side makes a narrow single dorm appear wider and creates a clearer route through the room. Keep the open side of the bed accessible if you use under-bed drawers or bins. A technically empty floor area isn’t useful when storage can’t be reached without moving the desk or dresser.
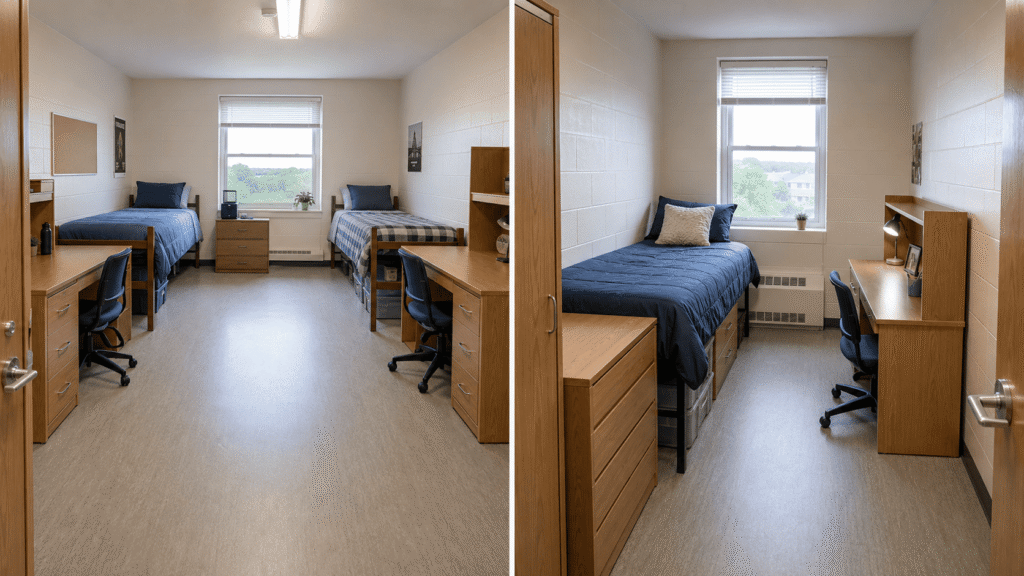
15. Window-Centered Double Study Layout
Place one desk to the left of the window and the other to the right, rather than positioning either directly across the glass. Keep the beds along the side walls and preserve a clear central sight line toward the window.
Both students receive natural light without one desk monopolizing the view. Turn computer screens slightly away from direct sun to reduce glare during daytime study sessions. Confirm that window handles, blinds, radiators, and HVAC controls remain accessible, and leave enough side clearance for each chair.
16. Staggered Beds for Offset Doors and Built-Ins
When doors, closets, or built-in wardrobes prevent a symmetrical layout, stagger the beds along opposite walls. One bed can sit closer to the window while the other begins nearer the entrance, allowing the frames to avoid conflicting door swings.
The uneven positions create useful pockets for a desk, dresser, or mini fridge. Treat each gap as part of the floor plan instead of filling it with random accessories. Maintain a continuous path through the room and ensure that open drawers don’t meet in the center.
17. Wide-Path Accessible Dorm Layout
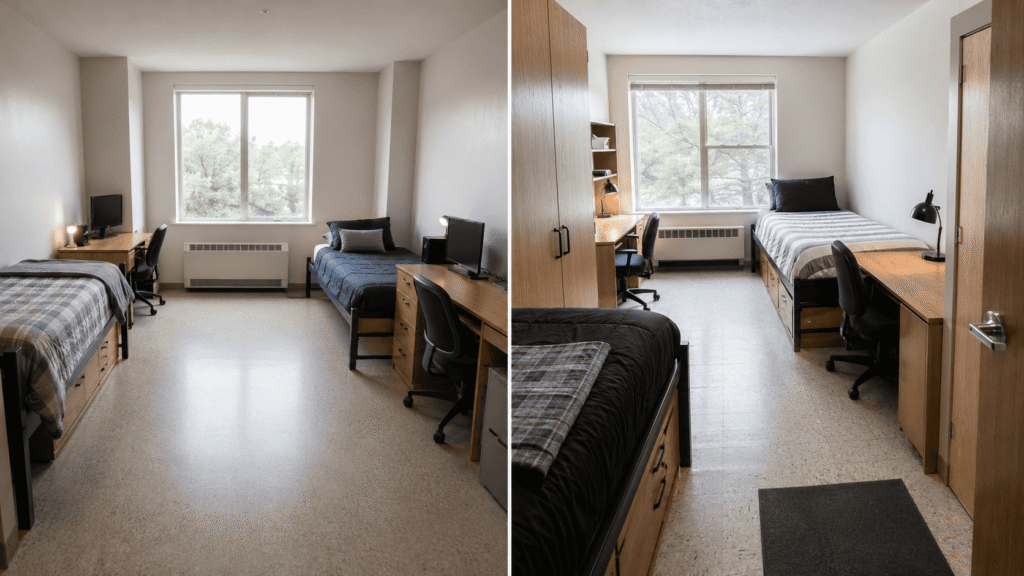
Concentrate furniture around the room’s perimeter to establish a direct, unobstructed route from the entrance to the bed, desk, closet, and bathroom access point. Keep cords, rug edges, storage bins, desk chairs, and movable decor completely outside this path.
Accessibility requirements depend on the student and the room, so work with the college’s disability services and housing team rather than relying on a general measurement. Controls, outlets, drawers, and storage must remain reachable. A room isn’t truly accessible simply because its center looks open in a photograph.
18. Privacy-First Layout With Wardrobes as Side Screens
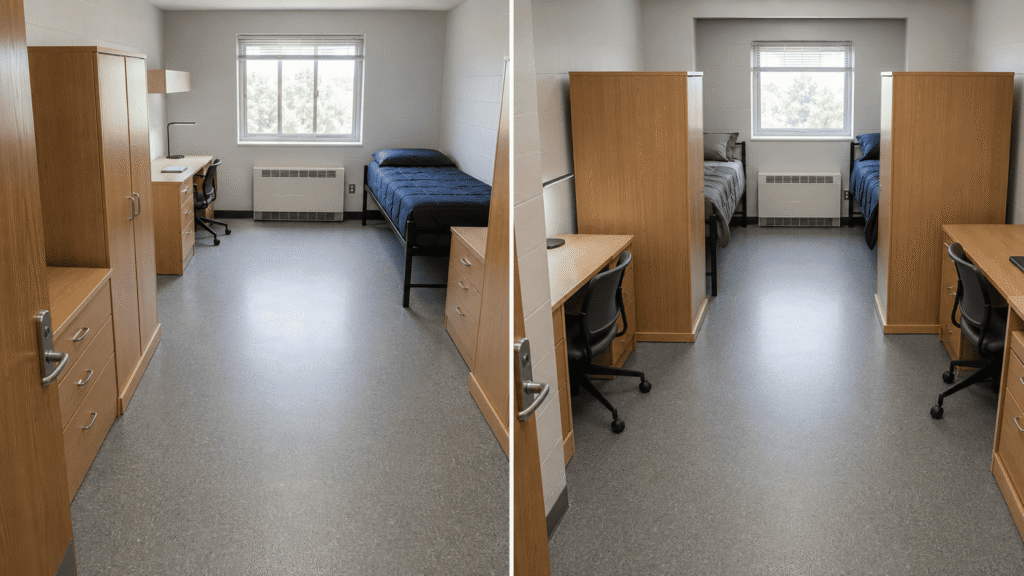
Position the beds on opposite walls, then use existing freestanding wardrobes near the head of each bed to interrupt direct sight lines. Turn only furniture with a finished, stable back, and secure it if required by dorm policy.
A perpendicular wardrobe can create a partial sleep nook without adding curtains or purchasing a divider. It must never block the entrance, window, vent, sprinkler, or required exit route. This layout works best in a wider room; in a narrow double, tall screens can make both sleeping areas feel enclosed and reduce natural light.
What to Measure Before Rearranging a Dorm Room
Measure the room itself along with every supplied furniture piece. Note the door and closet swing, window position, radiator or HVAC location, outlet placement, and the clearance needed to open drawers. Twin XL mattresses are commonly used in US dorms, but bed frames and room dimensions vary by college.
Photograph the original furniture arrangement before moving anything. Don’t remove university furniture, disassemble bed frames, or place heavy pieces on risers until you’ve checked housing rules. Fire exits, sprinklers, smoke detectors, vents, and electrical panels must remain unobstructed regardless of how efficient a layout appears.