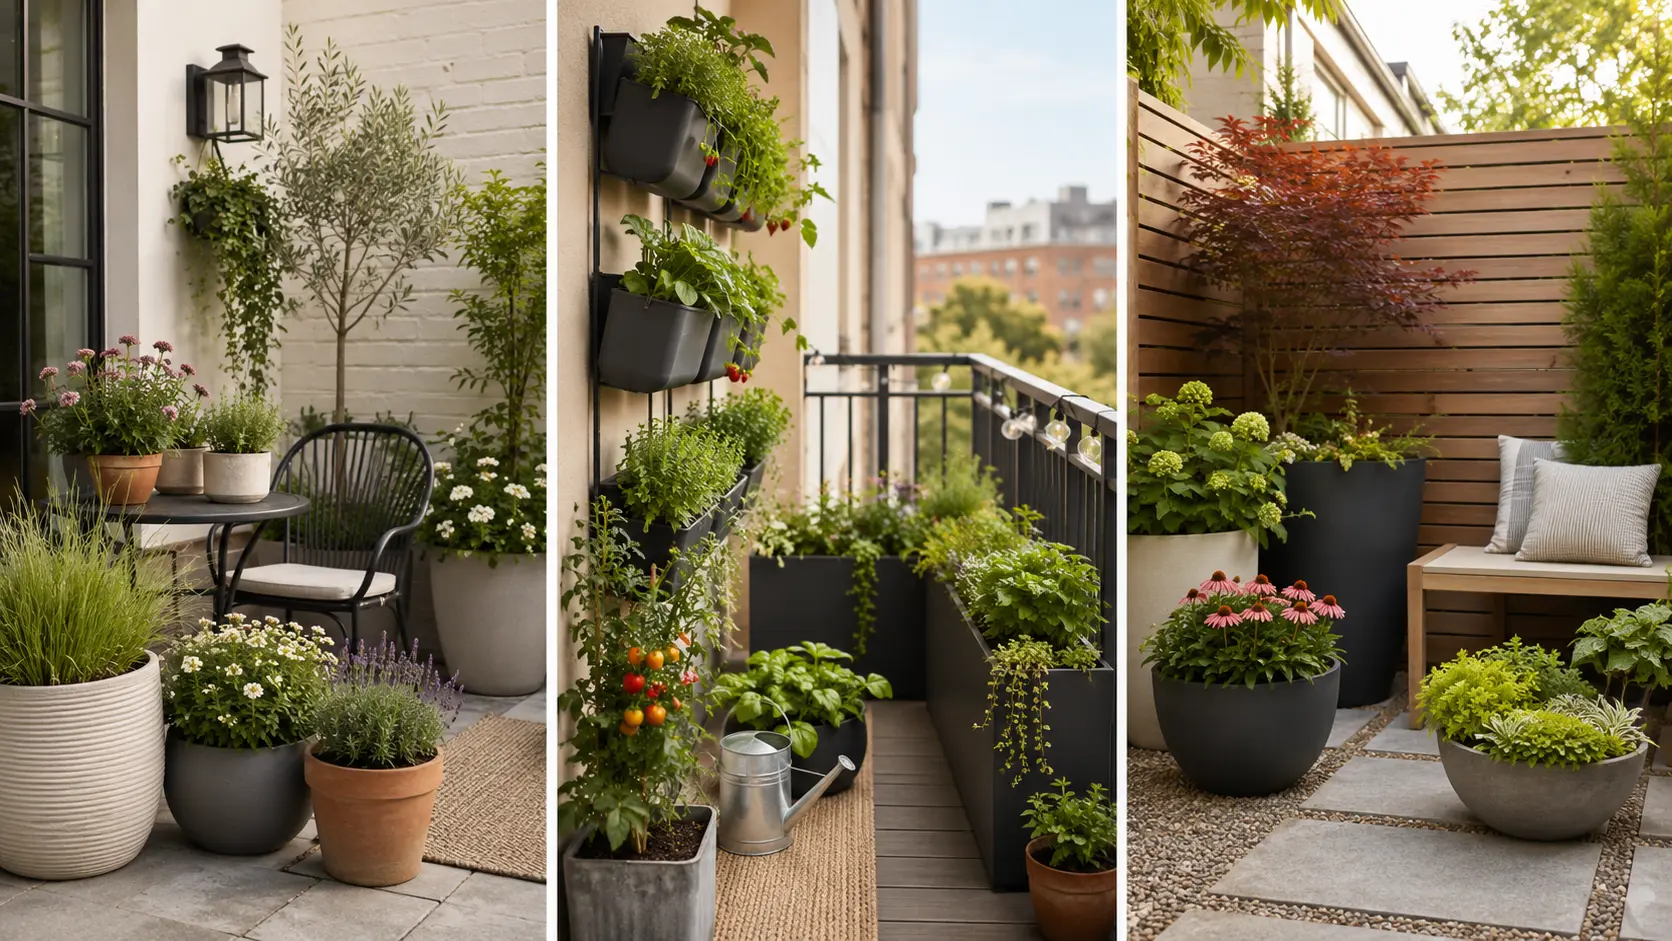
A small outdoor area can quickly feel crowded once you add seating, a table, and a few scattered flowerpots. The most successful container garden ideas for small spaces don’t simply squeeze in more plants. They use walls, corners, railings, furniture edges, and movable structures to create greenery without blocking the way you live outdoors.
These ideas are designed for real patios, apartment balconies, and tiny yards. Each one solves a different problem, from limited sunlight and missing storage to privacy, food growing, and flexible floor space.
1. Try a Pivoting Trellis Garden
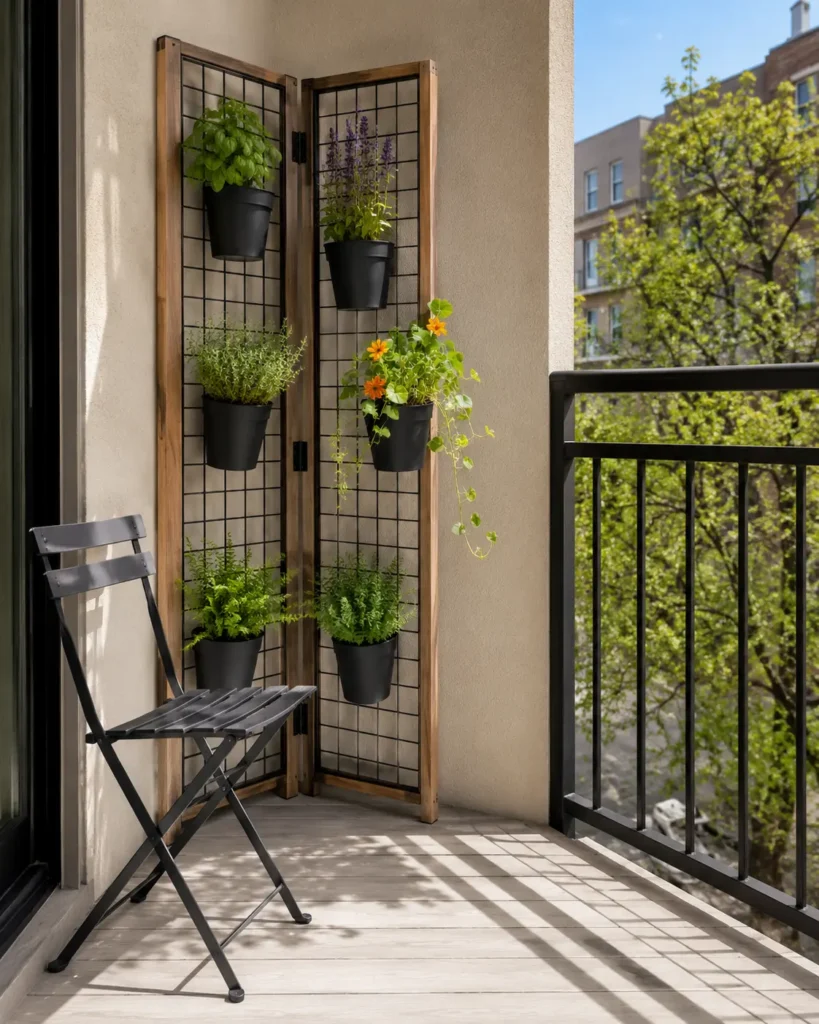
Connect two narrow freestanding trellis panels with outdoor-rated hinges so they can fold flat or open into a shallow angle. Hang lightweight pots from secure metal brackets, placing sun-loving herbs and flowers on the brighter side and shade-tolerant foliage on the other.
The hinged design lets you adjust the garden as sunlight shifts through the day. Choose a cedar frame or powder-coated steel, and keep the structure no deeper than about 12 inches when folded so it doesn’t consume valuable balcony or patio space.
2. Add a Fold-Down Garden Table
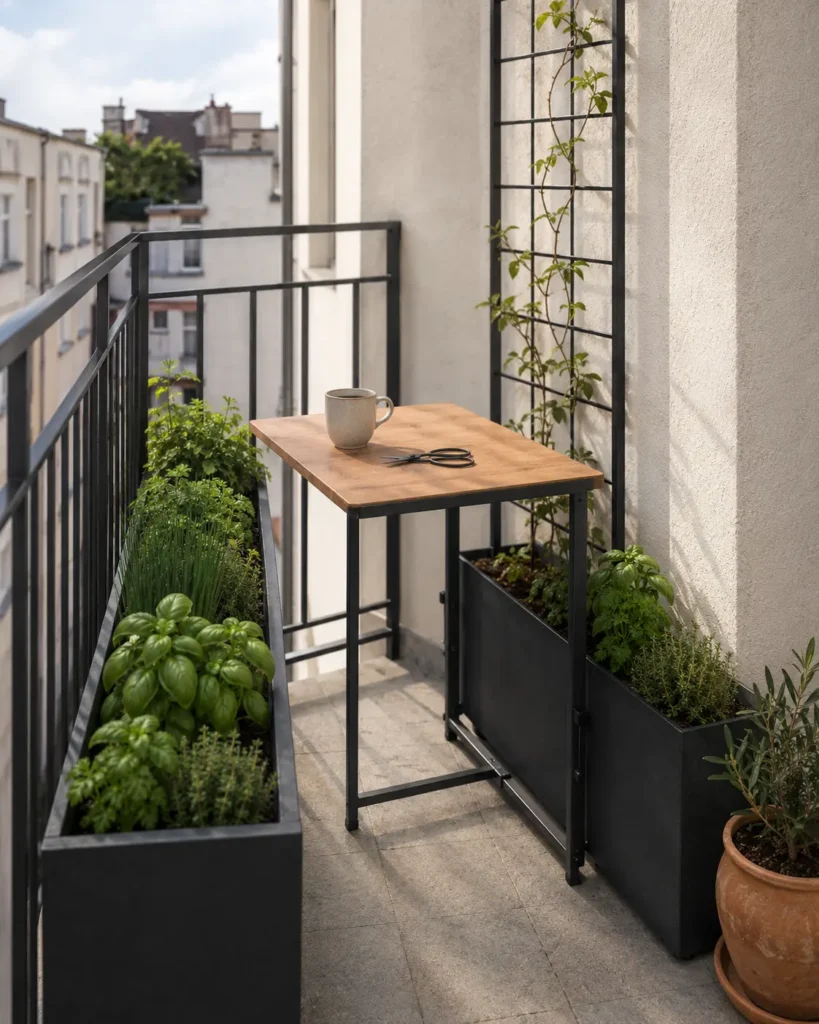
A fold-down balcony table can become the center of a compact edible garden. Position narrow herb troughs on either side and train a lightweight vine up a slim freestanding frame behind it, leaving the tabletop clear enough for coffee, meals, or potting work.
When the table is closed, the planting still reads as a finished green wall rather than unused furniture. Select herbs you use often, such as basil, parsley, thyme, and chives, and avoid trailing plants that could hang into the seating area or catch on clothing.
3. Hide Storage Inside a Planter
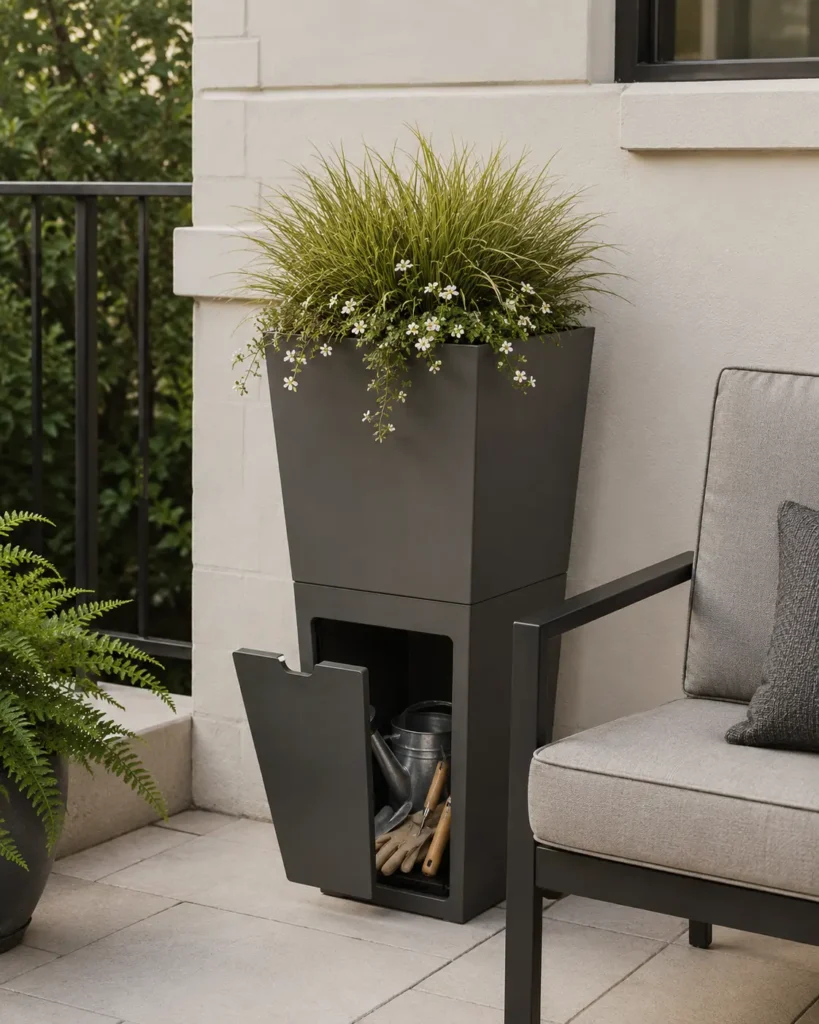
Choose a deep planter with straight sides and install a removable false shelf 10 to 14 inches below the rim. The top section holds a nursery pot and lightweight growing medium, while the space underneath stores gloves, hand tools, plant food, or a compact watering can.
This solution gives one container two jobs without looking like storage furniture. Use rot-resistant plastic or sealed exterior plywood for the inner shelf, and make sure excess water drains away from the compartment rather than dripping onto anything stored below.
4. Create a Crescent Garden Nook
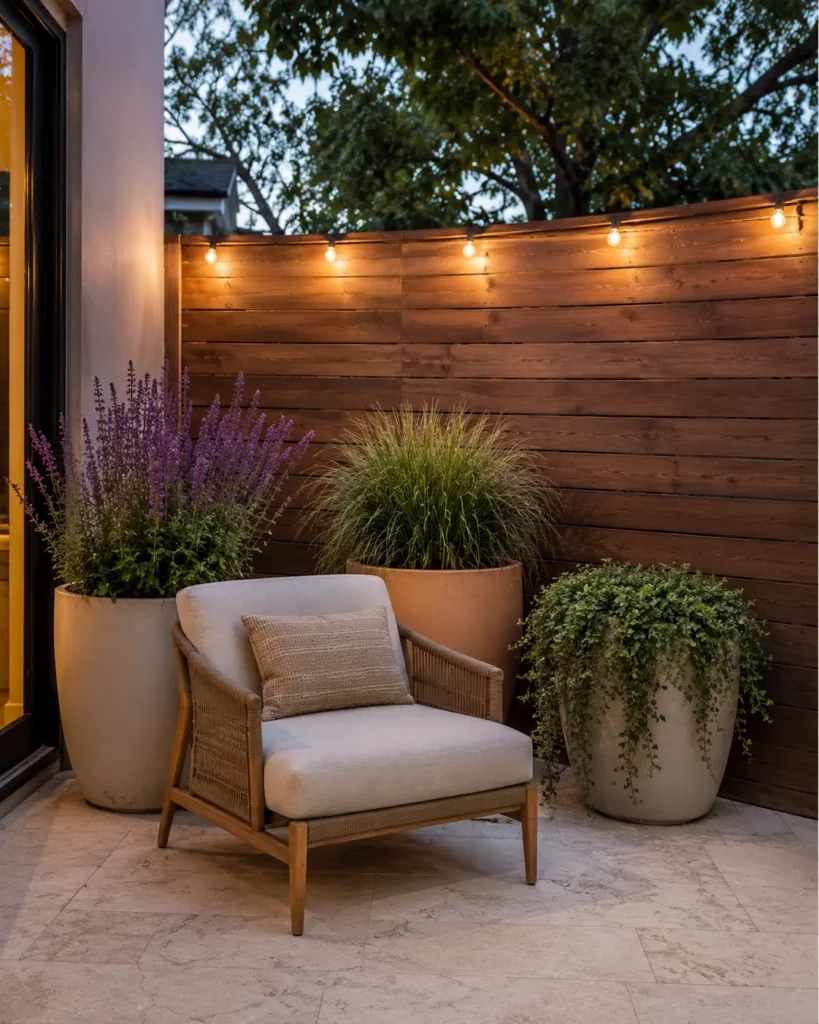
Arrange three rounded planters in a loose semicircle behind a single lounge chair. Place the tallest planting in the center and step down to medium and low foliage on both sides, creating a green backdrop without enclosing the front of the seat.
This layout gives a tiny patio the feeling of a private garden nook while preserving a clear path in and out. Airy grasses, compact flowering shrubs, and trailing plants work better than dense, thorny, or wide-growing varieties that could lean into your shoulders.
5. Use a Freestanding Pot Rail
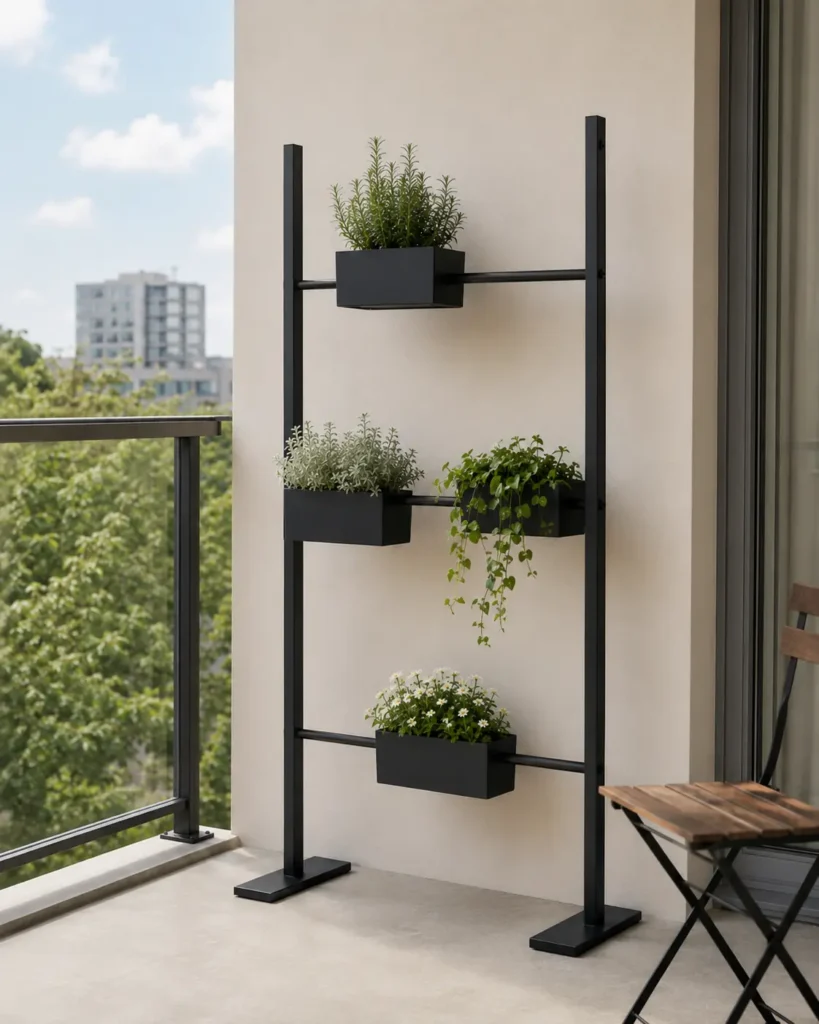
Use a slim metal frame fitted with two or three horizontal rails, then attach removable hanging pots that can slide from side to side. Vary the spacing rather than filling every inch, allowing the frame and negative space to remain visible.
The adjustable system makes it easier to move plants toward better light or remove one for watering without disturbing the full display. A narrow frame between 48 and 60 inches wide can create a strong visual feature while using only a few inches of floor depth.
6. Add an Herb Planter Behind Seating
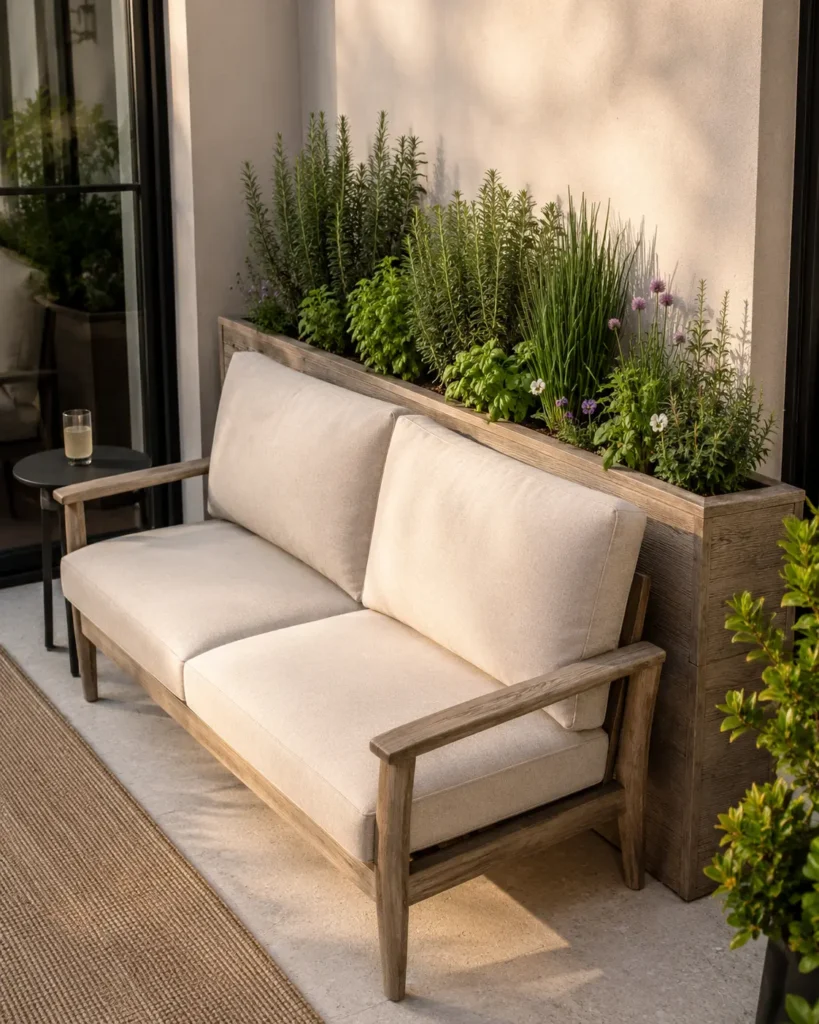
Place an 8- to 10-inch-deep planter behind a compact outdoor sofa or bench. Fill it with upright rosemary, chives, dwarf basil, thyme, and edible flowers, keeping the plants trimmed just above the seat back.
The greenery creates a soft planted backdrop without requiring a separate garden corner. It also places fresh herbs within reach of an outdoor dining area. Use a lined wood box, resin trough, or galvanized planter, and leave enough space behind the sofa to inspect drainage and clean fallen leaves.
7. Make a Mini Greenhouse Cabinet
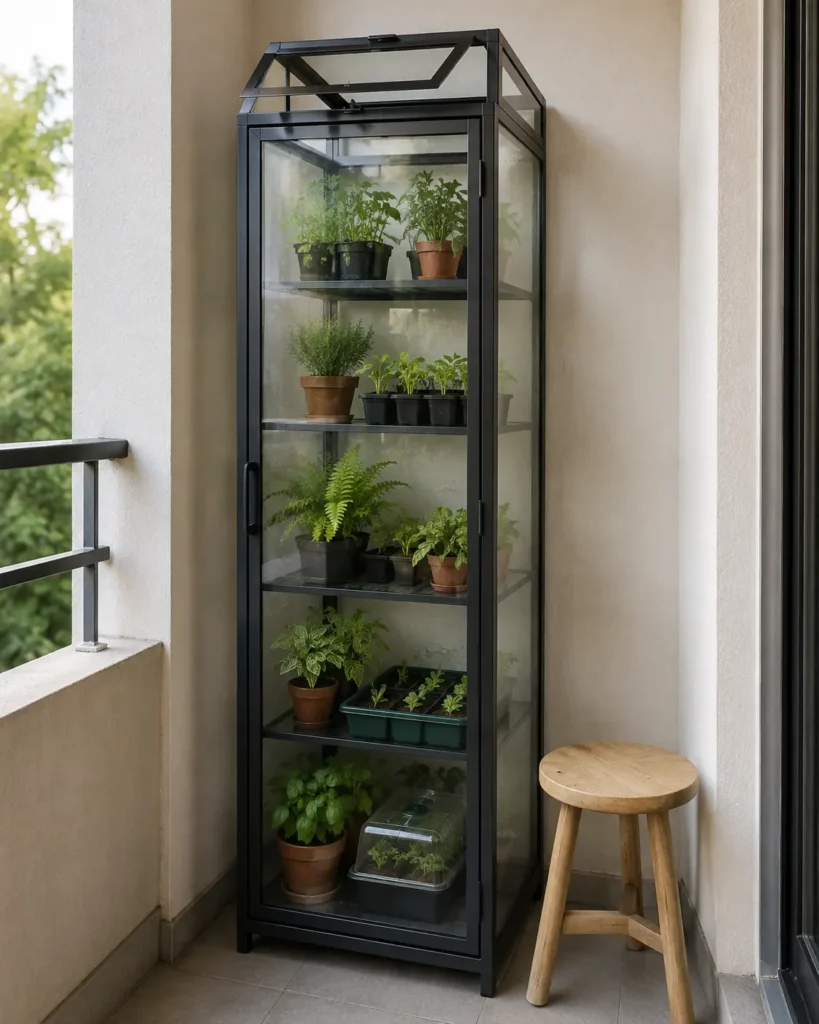
A slim glass-front cabinet or weather-rated cold frame can turn an unused corner into a protected vertical garden. Fit it with adjustable shelves for seedlings, small herbs, and plants that benefit from shelter from wind or sudden temperature changes.
The glass reflects light and makes the collection feel more organized than a group of pots on the ground. Vent the cabinet on warm days, since enclosed shelves can heat quickly even in partial shade. In exposed locations, anchor the unit securely so it cannot tip.
8. Build a Stepped Produce Garden
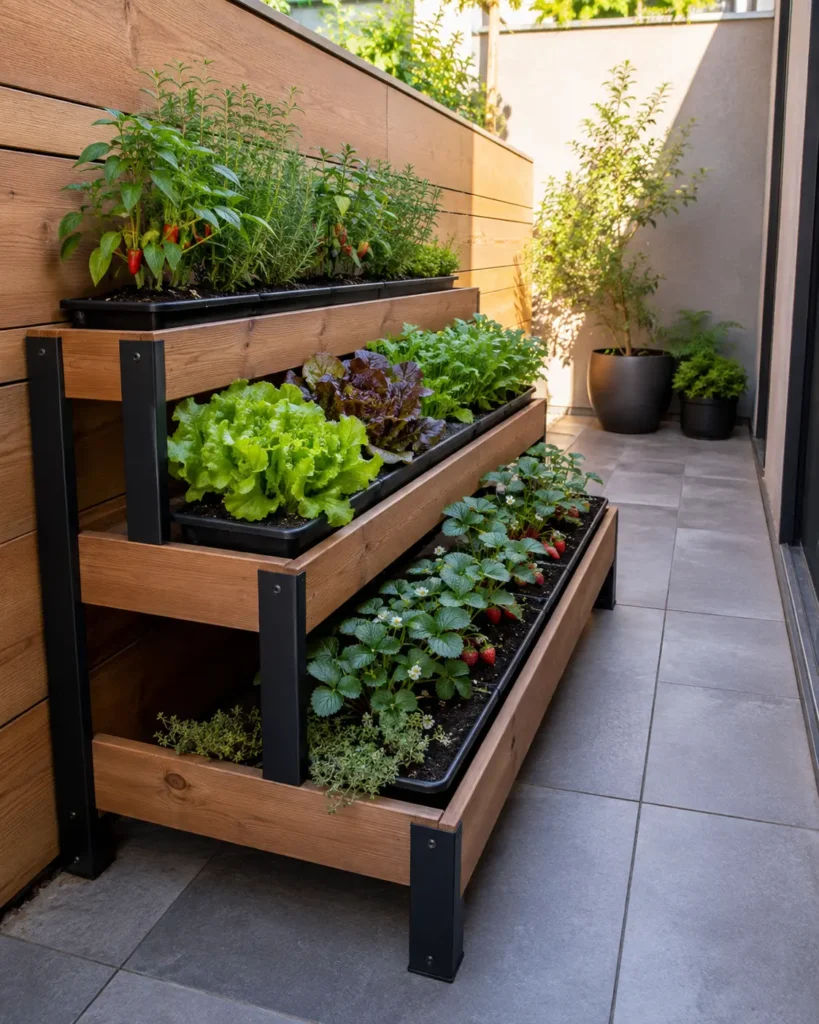
Arrange shallow planting boxes on a stepped frame so each level sits slightly higher and farther back than the one below. Use the lowest bins for strawberries or trailing herbs, the middle for lettuce, and the upper level for compact peppers or upright herbs.
The stadium-style layout helps sunlight reach every row while keeping crops visible and easy to harvest. Removable bins simplify soil changes and cleaning. Keep the overall depth around 18 to 24 inches so the garden remains productive without overwhelming a narrow patio.
9. Create a Double-Sided Garden Divider
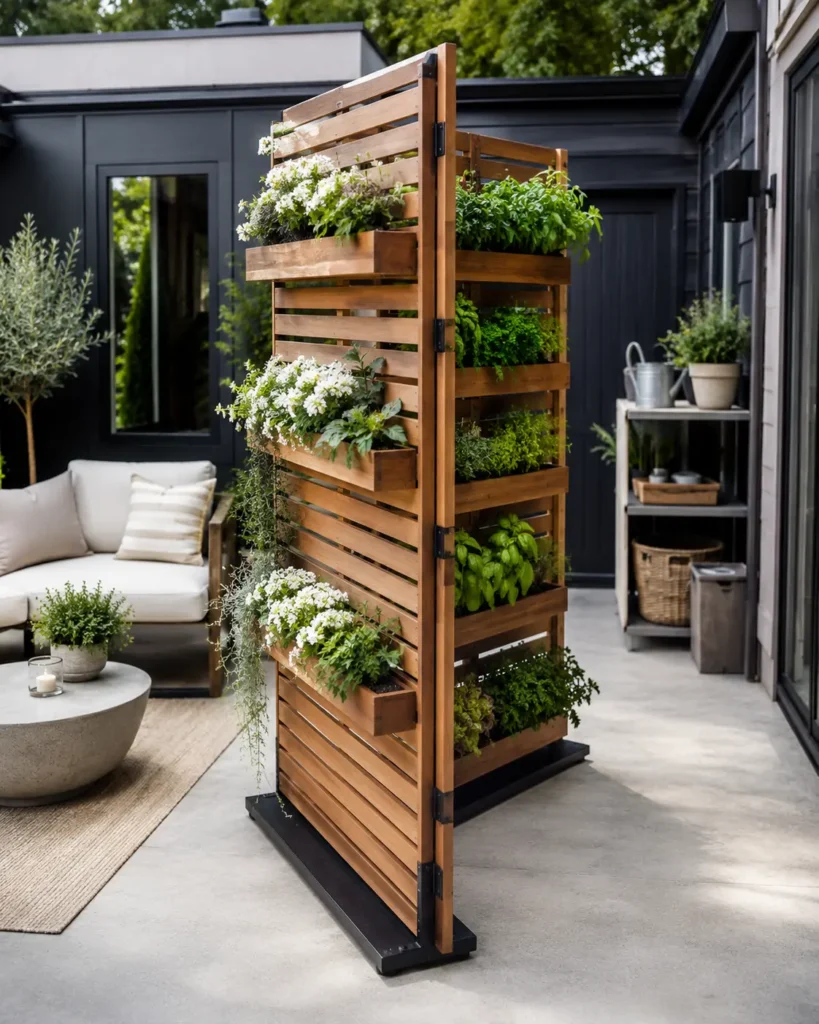
Choose a freestanding divider that supports shallow planting troughs on both sides. Face the seating area with flowers or decorative foliage, then use the reverse side for herbs, salad greens, or compact vegetables.
This arrangement separates two functions while using one footprint. It can screen a utility corner, air-conditioning unit, or neighboring view without creating a solid visual wall. Select plants with similar watering needs, and avoid attaching heavy containers high on the divider where they could make the structure unstable.
10. Grow Vines Over a Corner Trellis
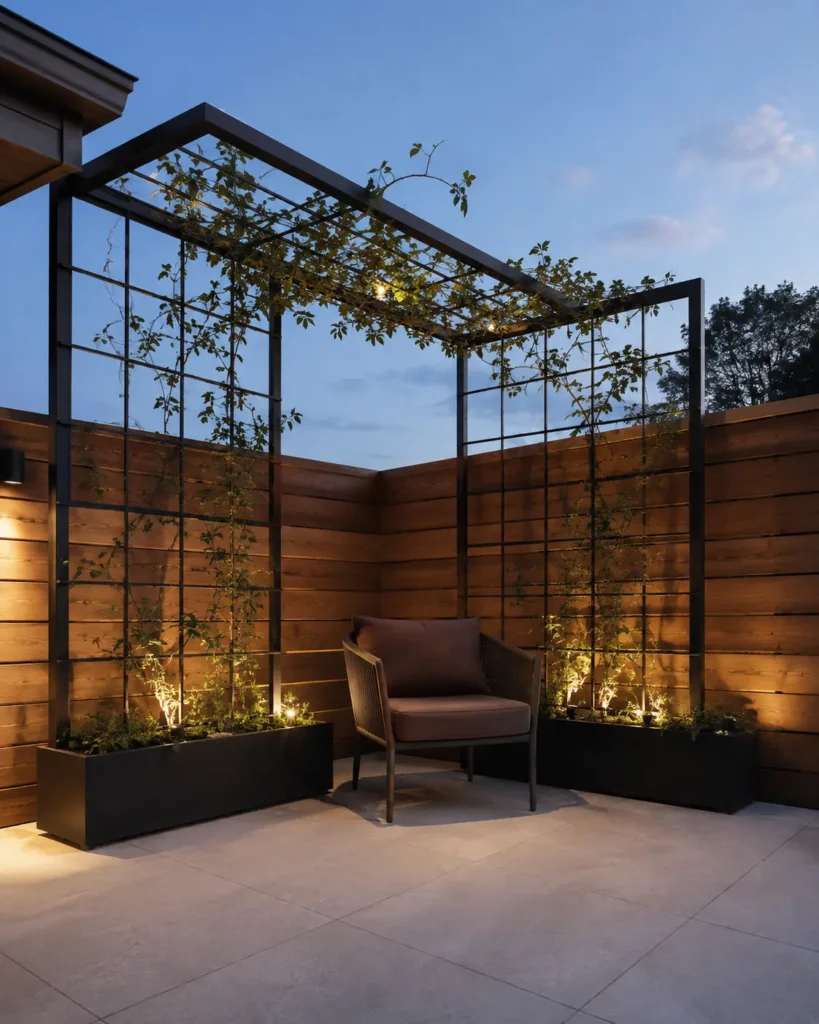
Position an L-shaped trellis in an empty corner and extend a short overhead section above one chair or the edge of a table. Train a manageable vine across the structure to form a light green canopy rather than a dense ceiling.
The overhead growth draws the eye upward and makes a tiny yard feel more layered. Choose vines suited to containers and your local climate, and prune them regularly so stems don’t block doors, lights, or upper-level neighbors. A weighted planter base is safer than relying on wall attachments in a rental.
11. Add a Planted Back to a Bench
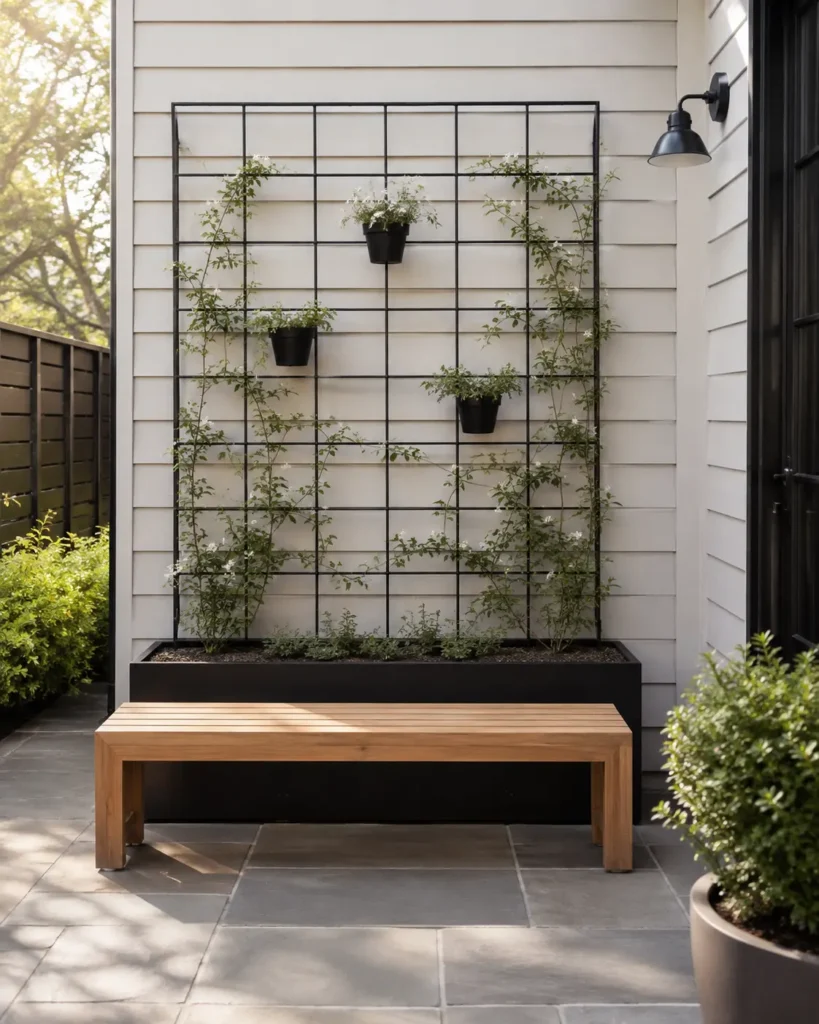
Set a long, narrow planter directly behind a simple bench and add a freestanding grid or trellis inside it. Train compact climbers upward and attach only a few small pots to the frame, leaving enough open space for light to pass through.
The planting gives the bench a green backrest effect without changing the furniture itself. Keep the trellis several inches behind the seat so leaves don’t brush against clothing. This is especially useful along a blank fence or apartment balcony wall where a conventional garden bed won’t fit.
12. Make a Rolling Privacy Garden
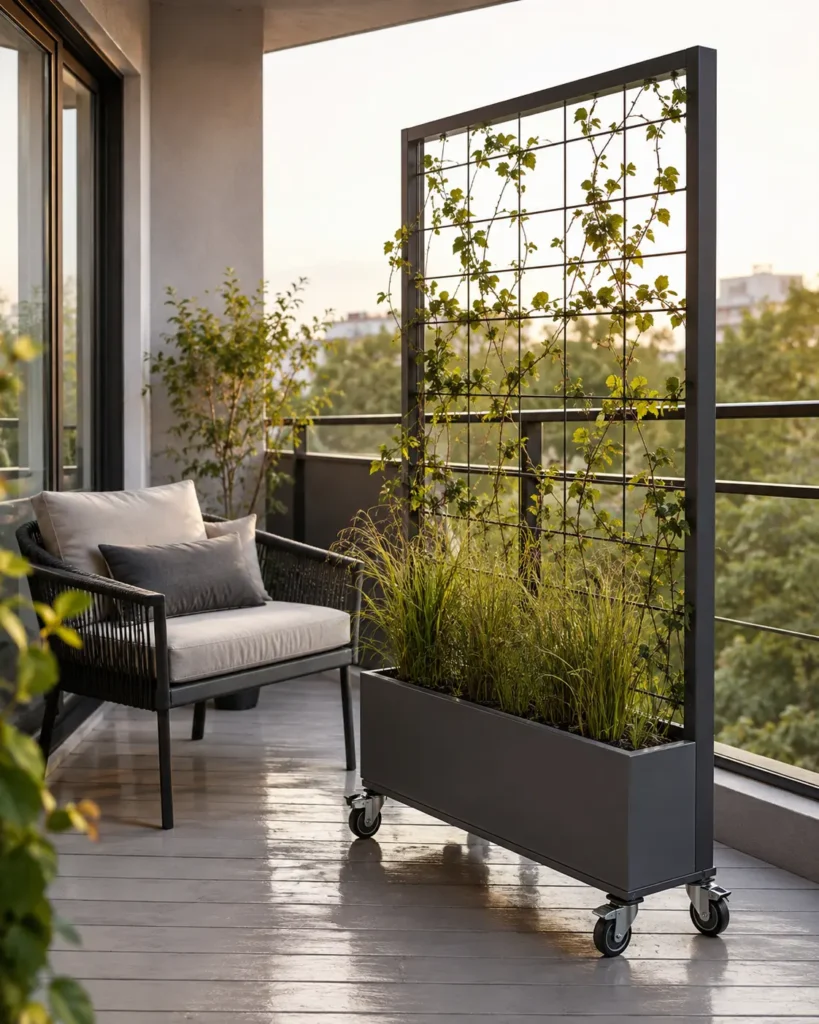
Mount a narrow planter frame on locking outdoor casters and fill it with light pots or one shallow trough. Use upright foliage and climbing plants to create a movable screen that can sit beside a chair, block a neighboring view, or roll against the wall when guests need more room.
Mobility matters in small spaces because one fixed layout rarely serves every activity. Check that the wheels are rated for the combined wet weight of the planter, soil, and frame, and always lock them on sloped surfaces.
13.Try a Color-Block Pot Display
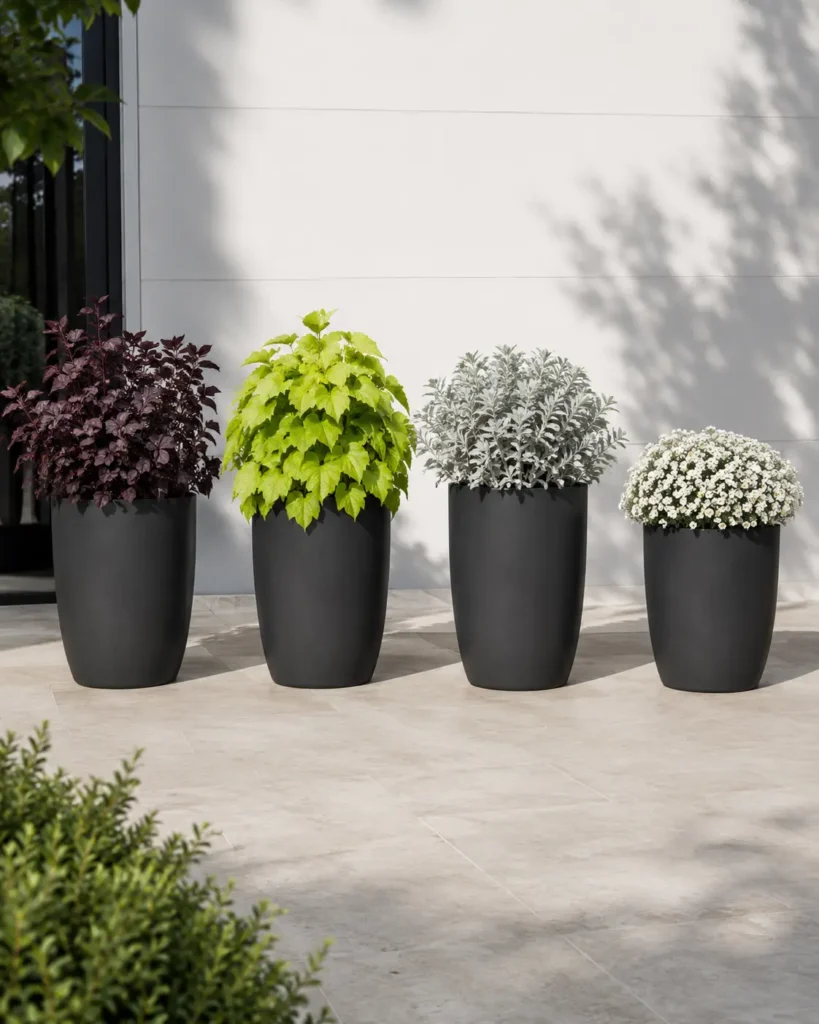
Instead of mixing several flower colors in every pot, give each container one dominant plant color. A row might move from burgundy foliage to lime green, silver, and soft white, using pots in one restrained finish to keep the composition connected.
The controlled blocks create clearer visual rhythm than a random mix of blooms. Place the darkest color near the brightest wall or strongest light, since deep foliage can disappear in shadow. This idea works especially well along a narrow fence, balcony edge, or plain exterior wall.
14. Create a Sunken-Pot Effect
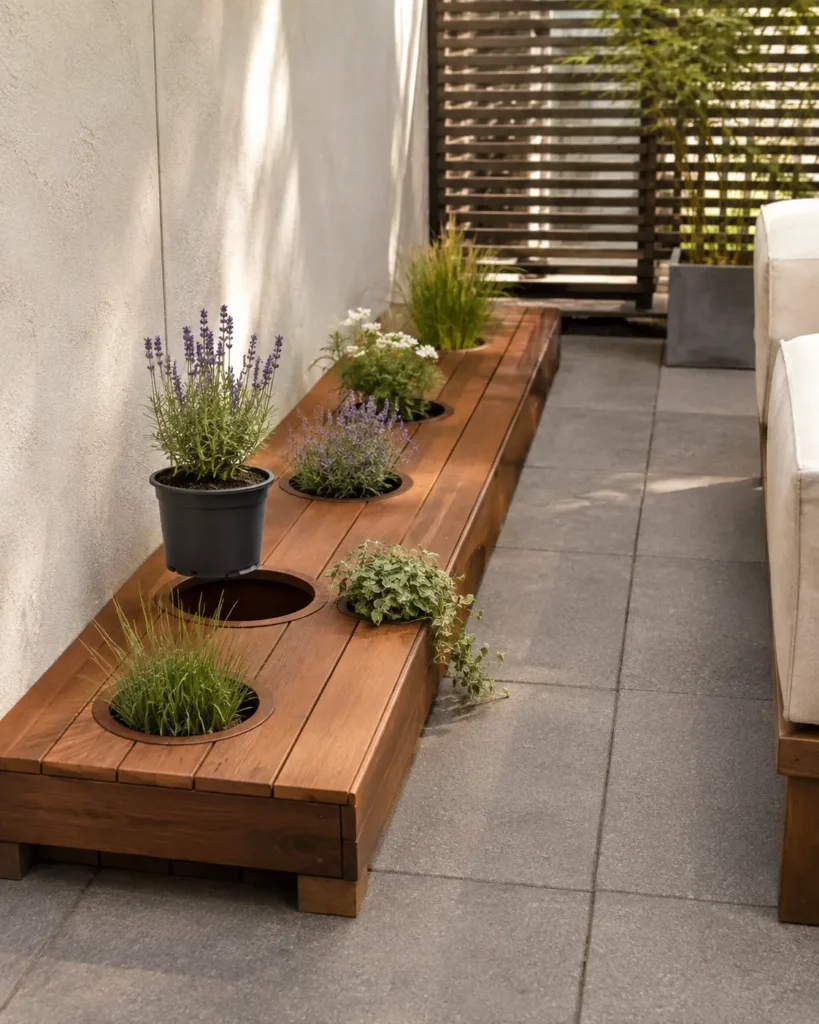
Build a low platform with circular openings sized to hold standard nursery pots just below the surface. The containers remain removable, but the plants appear to rise directly from the deck or patio structure.
This gives a compact garden a clean, built-in appearance without permanent landscaping. Exterior plywood must be sealed on all sides, and the platform needs ventilation and drainage beneath each opening. Keep the height low enough that it doesn’t become a trip hazard, particularly near doors and narrow walkways.
15. Turn a Ladder Into an Edible Garden
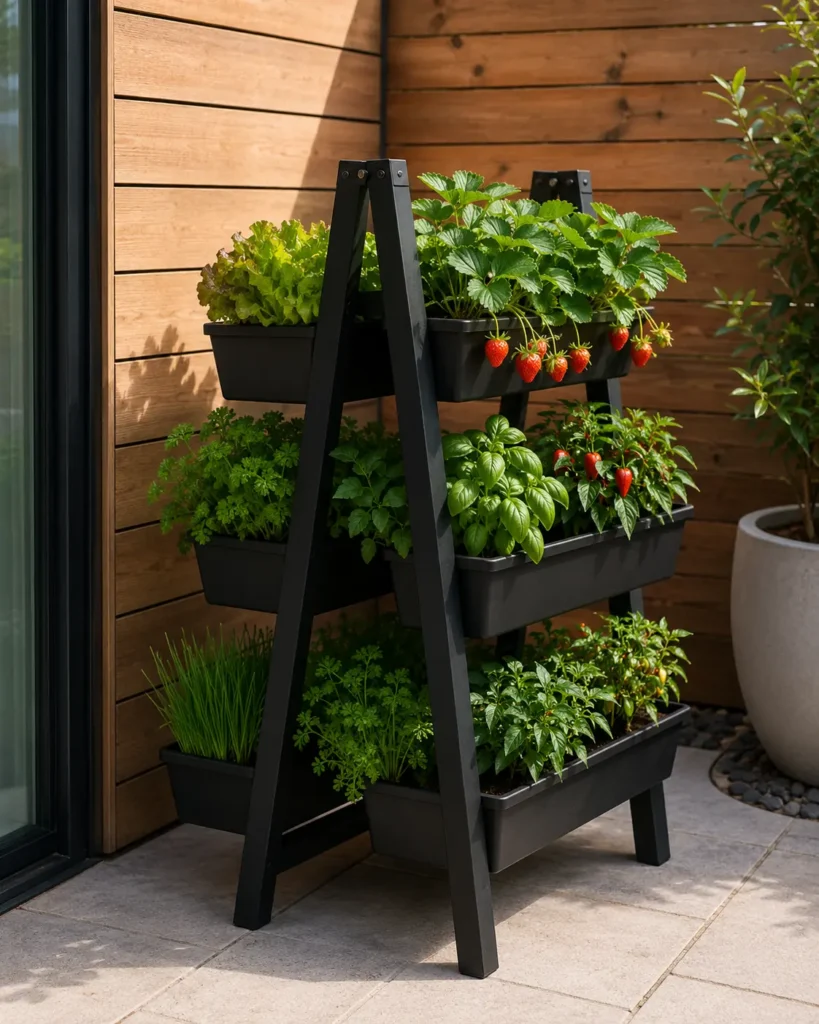
Use a sturdy outdoor A-frame ladder as a double-sided support for removable planting troughs. Place sun-loving herbs and strawberries on the brighter side and leafy greens on the side that receives softer light.
The triangular frame provides planting space at several heights while keeping the base relatively narrow. Secure each trough independently instead of resting it loosely on a rung. A painted metal ladder handles rain better than an unfinished indoor wood ladder, which can warp and loosen outdoors.
16. Anchor Shade With Large Planters
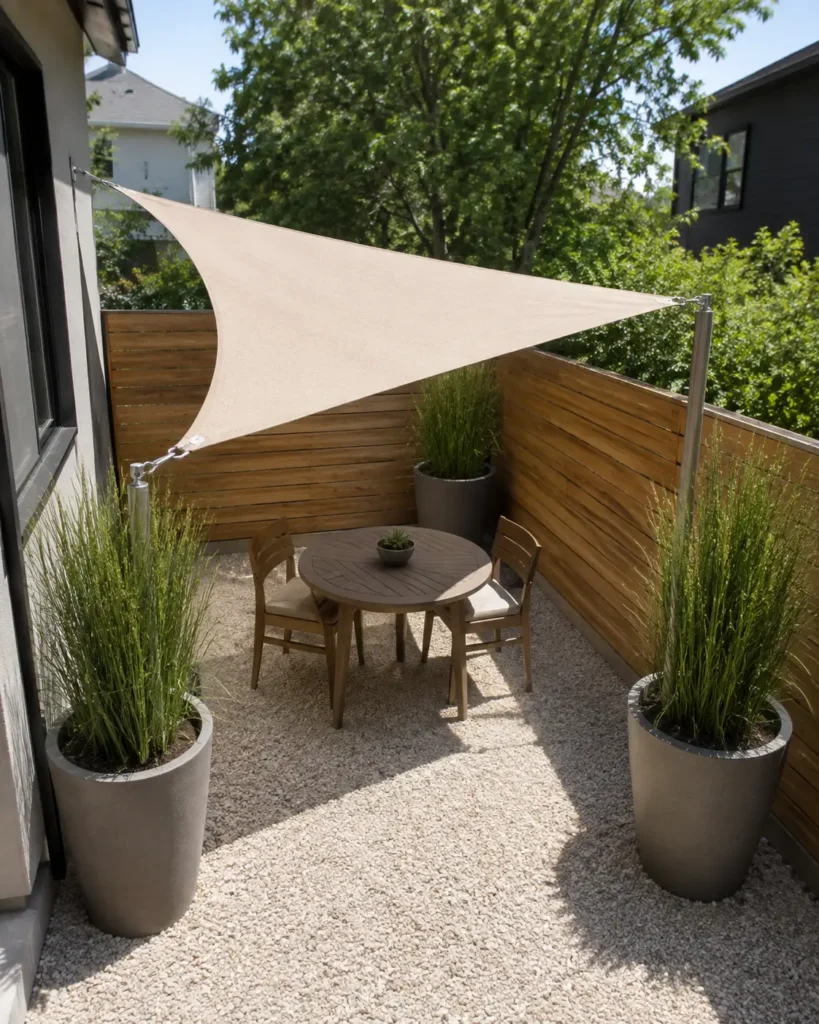
Use three large, weighted planters as anchor points for a small triangular shade sail rather than fastening the fabric to walls. Fill the containers with sturdy ornamental grasses, compact shrubs, or upright evergreens that help conceal the support posts.
The structure adds both shade and planting without a permanent pergola. The containers must be heavy enough to resist wind, and this setup isn’t suitable for exposed balconies unless local rules and a qualified installer confirm it’s safe. In sheltered yards, it can define a small dining zone beautifully.
17. Hide Grow Crates Behind Wood Slats
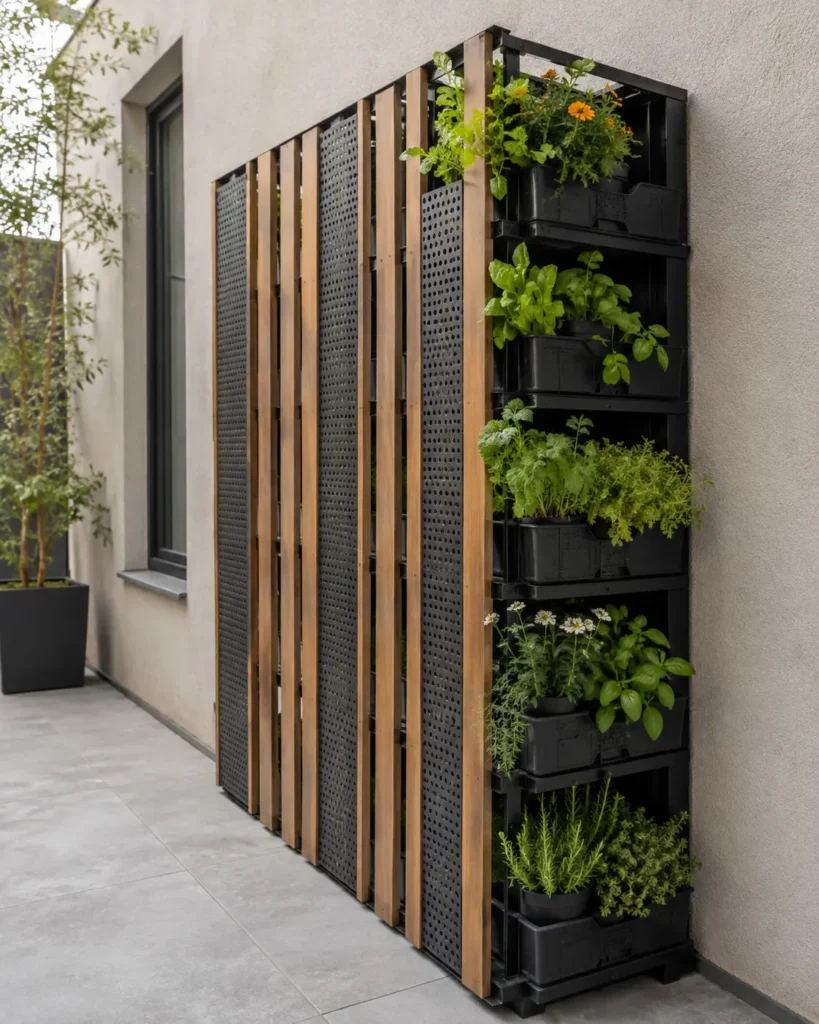
Stack durable plastic crates in an offset arrangement and place individual grow pots inside them. Cover the visible front and sides with removable wood slats or perforated metal panels, leaving the back open for airflow and access.
The crates provide inexpensive structure and allow each plant to be removed separately. A finished outer skin prevents the garden from looking temporary or makeshift. Use identical panels and repeat one container color so the unit reads as a single custom planter rather than a stack of storage boxes.
18. Create a One-Sided Garden Path
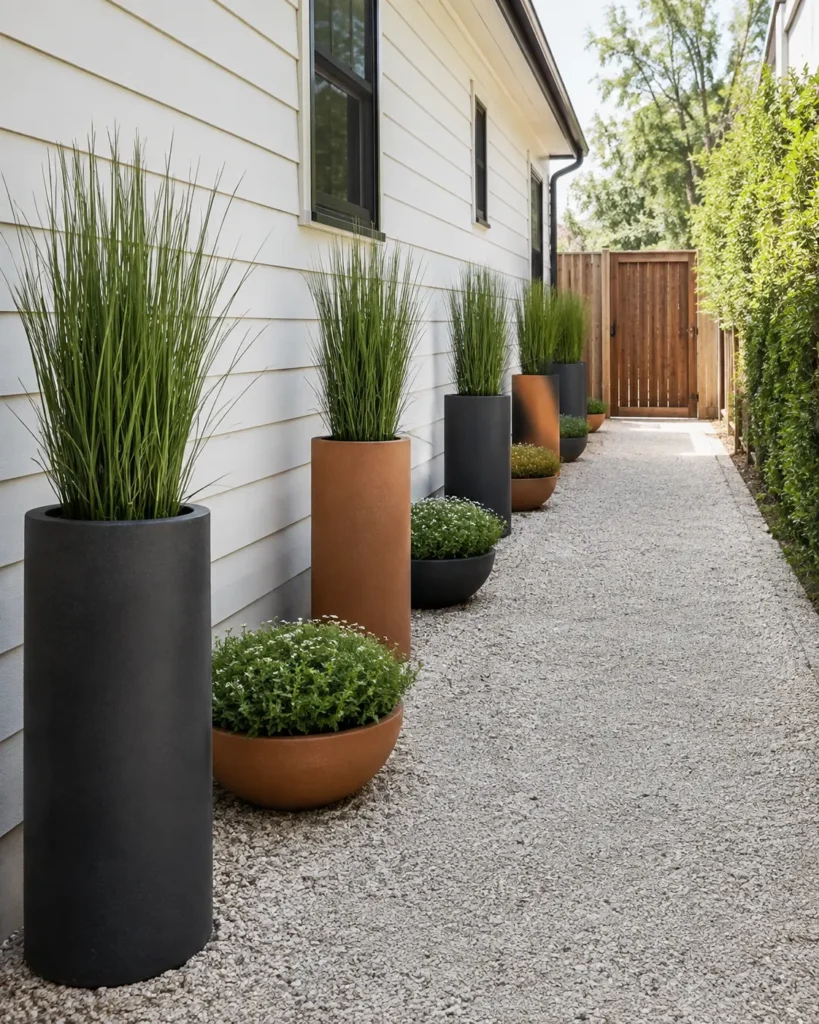
Line containers along only one side of a narrow passage, alternating tall, narrow plants with low ground-hugging forms. Keep the opposite side completely clear and repeat the same two or three pot finishes from beginning to end.
This creates a continuous garden edge without making the walkway feel pinched. Maintain at least 30 to 36 inches of clear walking space where possible. Avoid plants with thorns, stiff leaves, or wide branches that could catch clothing and make the path uncomfortable to use.
19. Build a Four-Season Planter
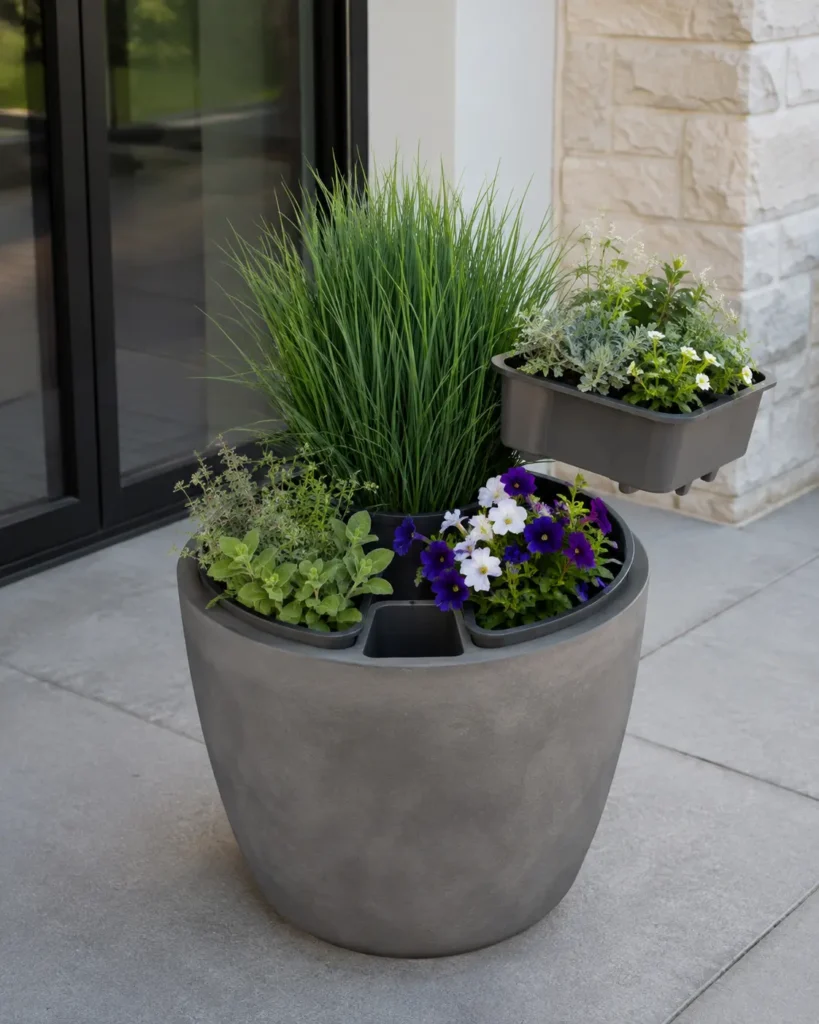
Plant one structural evergreen or ornamental grass in the center of a large container, then surround it with three or four removable inserts. Fill those inserts with seasonal flowers, herbs, bulbs, or cool-weather foliage and replace them as conditions change.
The permanent center gives the planter year-round shape, while the inserts prevent repeated digging around established roots. Black nursery pots work well as hidden liners, but their rims should sit below the surface and be concealed with bark, gravel, or a low trailing plant.
20. Create a Foldaway Garden Room
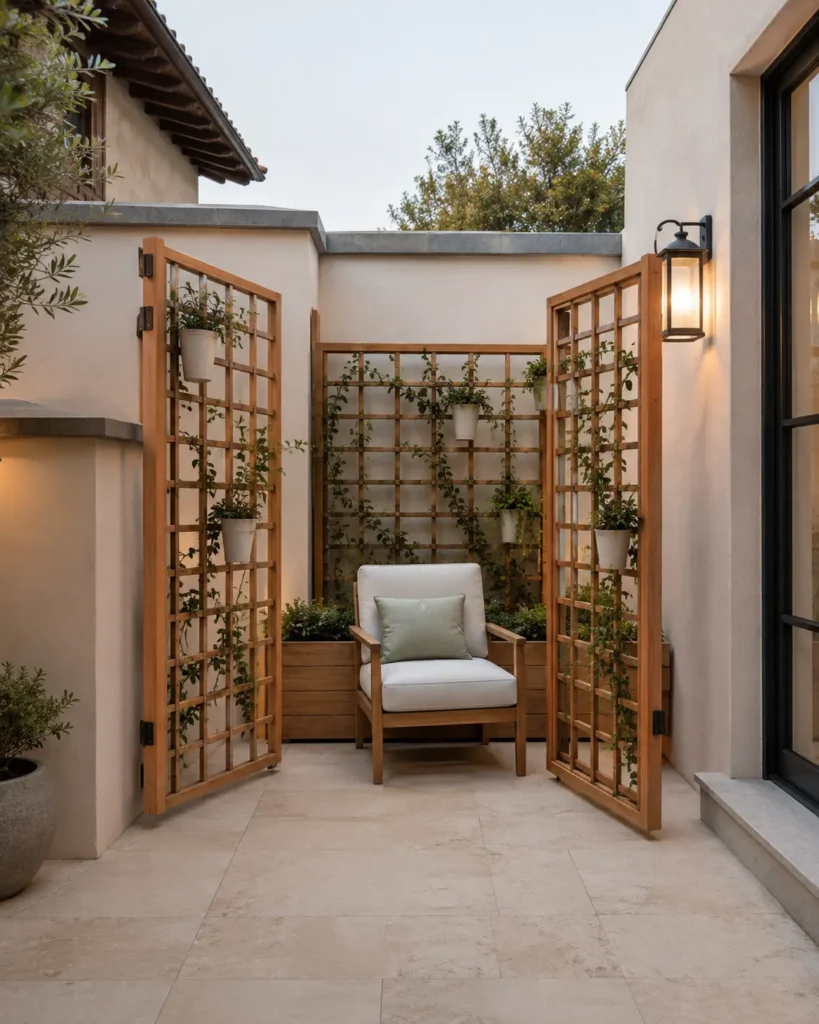
Build a freestanding central planter with two narrow trellis panels attached on hinges. Open the panels outward to frame a chair or compact dining table, then fold them inward when you need the patio for entertaining, cleaning, or storage.
This design creates the feeling of a planted outdoor room without permanently sacrificing floor space. Keep the panels lightweight and use compact plants rather than heavy ceramic pots. When closed, the unit should remain shallow enough to sit neatly against a wall or fence.
What to Consider Before Starting a Small Container Garden
Begin with weight, drainage, and sunlight rather than plant color. Wet soil is much heavier than dry potting mix, so balcony gardeners should check building rules and avoid filling large containers with rocks, which adds weight without improving drainage. Lightweight resin, fiberglass, fabric grow bags, and high-quality plastic can look convincing when the shape and finish are simple.
Watch the space for a full day before deciding where plants should go. A balcony may receive direct sun for only two hours, while a tiny fenced yard can hold heat long after sunset. Leave clear access to doors, utilities, and seating, and place saucers or protective trays beneath containers where water could stain decking or drip onto a lower unit.